In this tutorial, we are going to provide you with the information on several important terminal commands to check your Internet connectivity on your device.
How to check Internet Connectivity through Raspberry Pi Terminal
Here, we will see the information of several commands you can execute on your Raspberry Pi terminal to check the internet connectivity on your device. The details of these commands are given below:
1: hostname command
The hostname command is widely used for finding the IP address of your Raspberry Pi device, which can only be accessible if your device is connected to the internet. If the following command provides you with the IP address, your device has an active internet connection.

2: iwconfig command
The iwconfig command is dedicated to wireless interfaces and provides information about your wireless connection. You can execute the following terminal command to check the internet connectivity on your Raspberry Pi.
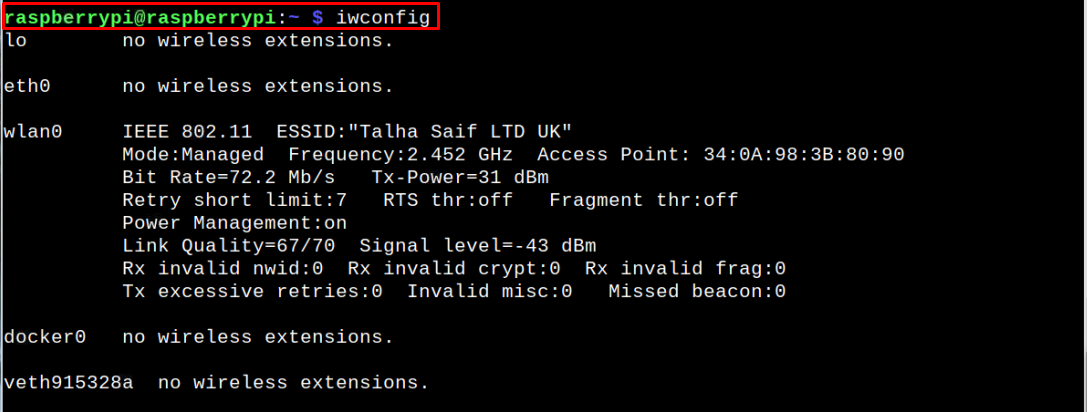
From the above command, you will be able to find out the information of Wireless network and data transfer rate that ensures the working of your internet on the device.
3: ifconfig command
The ifconfig command is another mostly used network command that displays the information of all the active network interfaces on your device. You can execute this command to check the internet connectivity on your Raspberry Pi terminal.
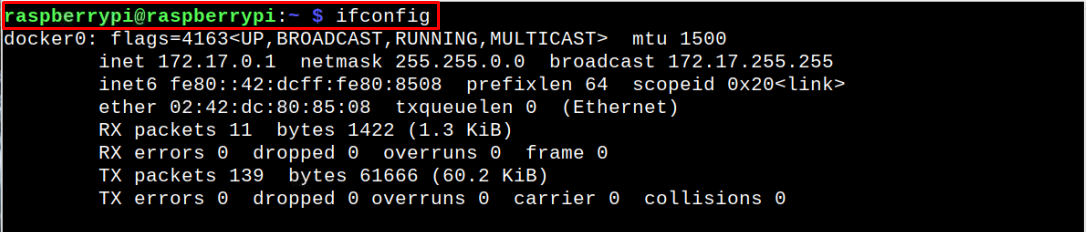
Scroll down and find the wlan0 option in case you are accessing the network through WIFI.

From the above command, the IP address assigning ensures that your internet connection is active on your Raspberry Pi device.
4: iwlist command
This iwlist command is used to display the detailed information of your network interface and if you want to check your Wireless internet connectivity, you have to issue the following command:
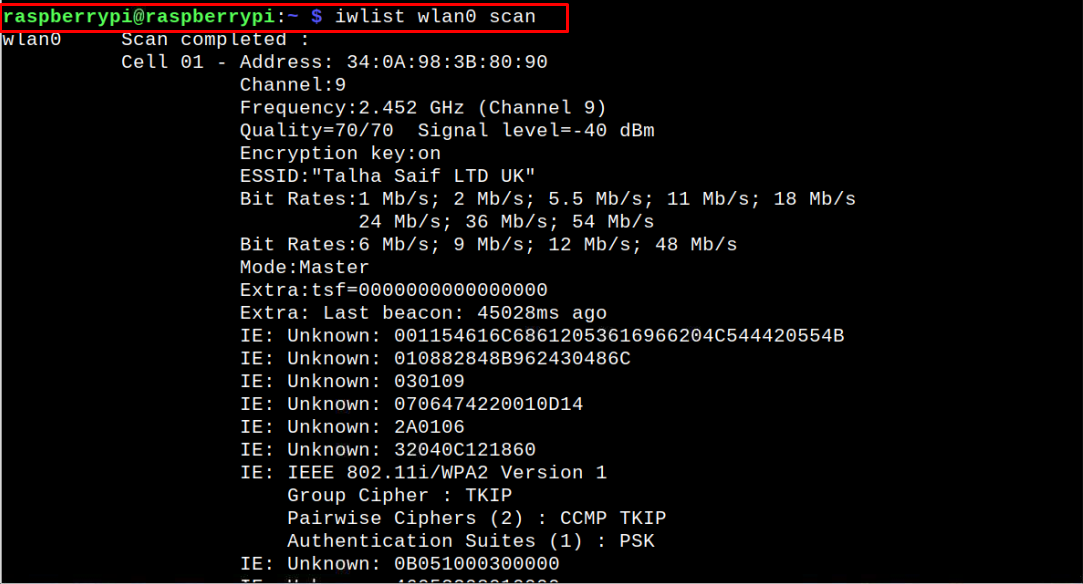
It is important to note that the wireless interface may be different in your case and if you want to know about your wireless interface, you can use the “iwconfig”, or “ifconfig” command.
5: ping command
You can also use the ping command on your Raspberry Pi terminal to check your internet connectivity. This command helps to ensure that your internet connection is running perfectly fine on your device if it doesn’t drop any packet. To use this command, you will also need to provide a website address and if it pings successfully, your internet is in working condition.
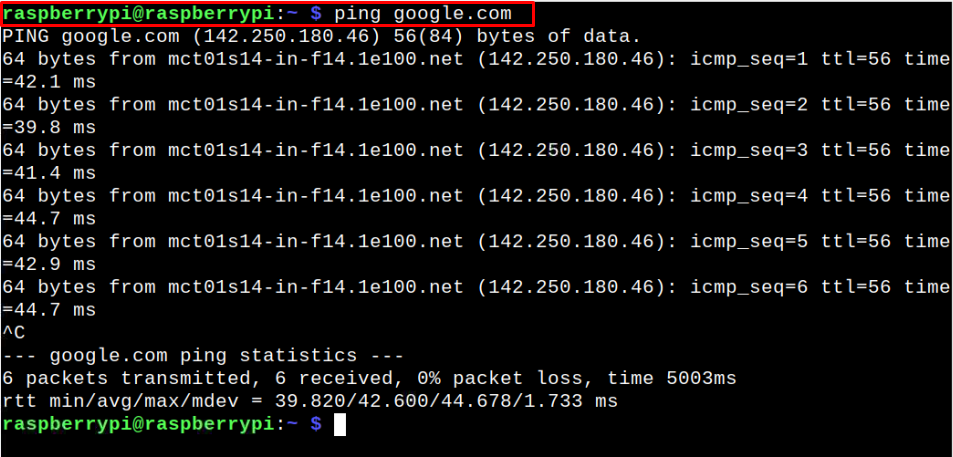
You will also need to stop the ping command wherever ever you want using “CTRL+C” keys to get the required information.
Conclusion
Checking the internet connection on your Raspberry Pi device ensures that you can execute your internet-related tasks without worry and is extremely important for an operating system with no GUI. If you are having a problem with the internet, you can use the commands mentioned above to check your internet connectivity through the Raspberry Pi terminal. These commands ensure you will get your required information onto your terminal screen.