The Graphic Processing Unit, or GPU, is a component of the Raspberry Pi board. Its main objective is to increase the calculating speed for images. Raspberry Pi has a Broadcom VideoCore VI that supports both 2D and 3D graphics along with normal general-purpose GPU computing. If users face difficulty in running videos or experience graphics issues, they can change the GPU memory whenever they want to smoothly run videos or graphics on their system.
In this write-up, you will learn how to change the GPU memory on Raspberry Pi.
Changing GPU Memory on Raspberry Pi
To change the GPU memory on Raspberry Pi, follow the below-mentioned steps carefully:
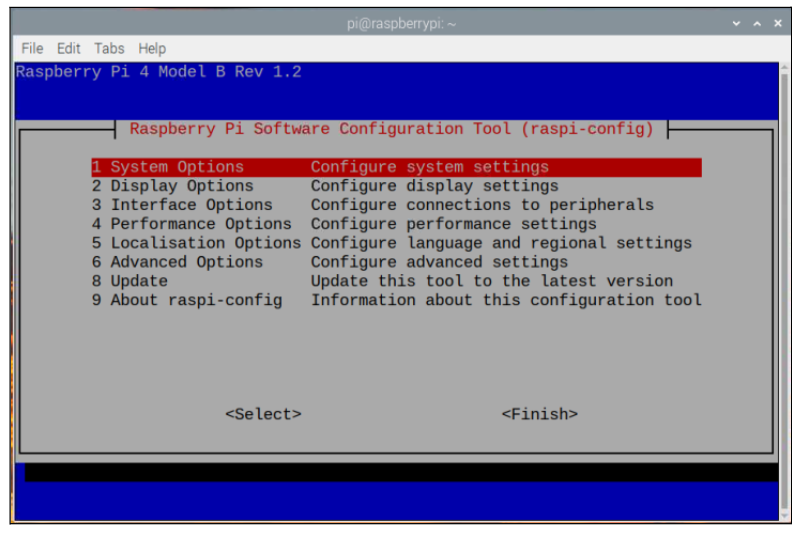
Step 1: First, open the terminal and type the below-mentioned command to access the Raspi Configuration Tool:
Step 2: A raspi- config tool window will appear on screen with various options.
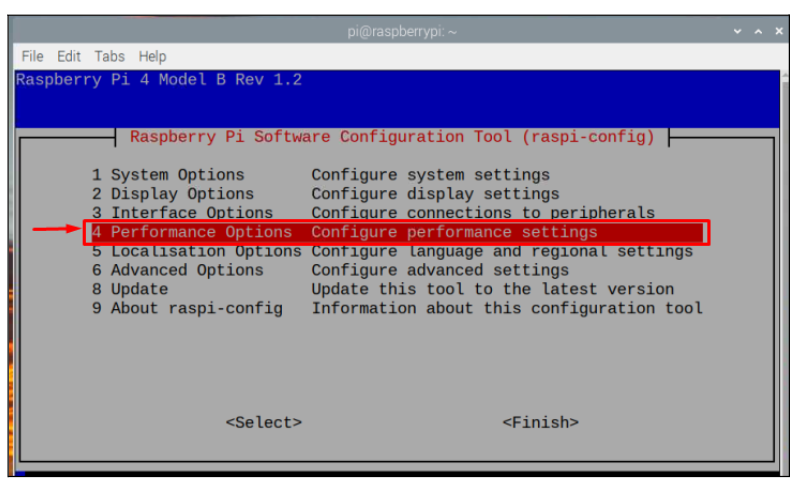
Step 3: Among the options, select “Performance Options”.
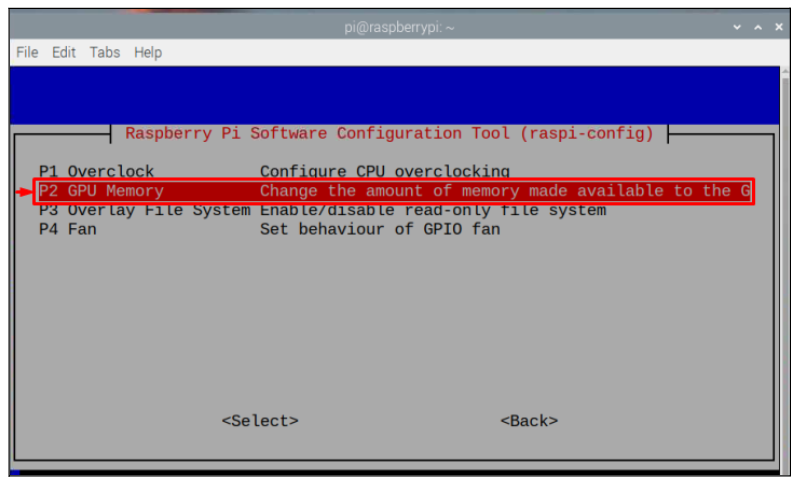
Step 4: Then choose the “GPU Memory” option.
Step 5: Update the memory by typing in the number according to your memory requirement. Here, I have changed it to 256, and press “Enter”.
Note: Remember that this memory is in MBs.
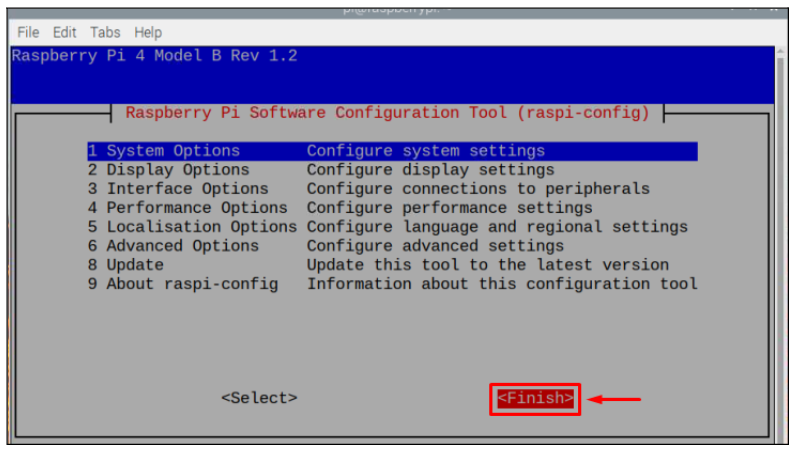
Step 6: Select the “<Finish>” option.
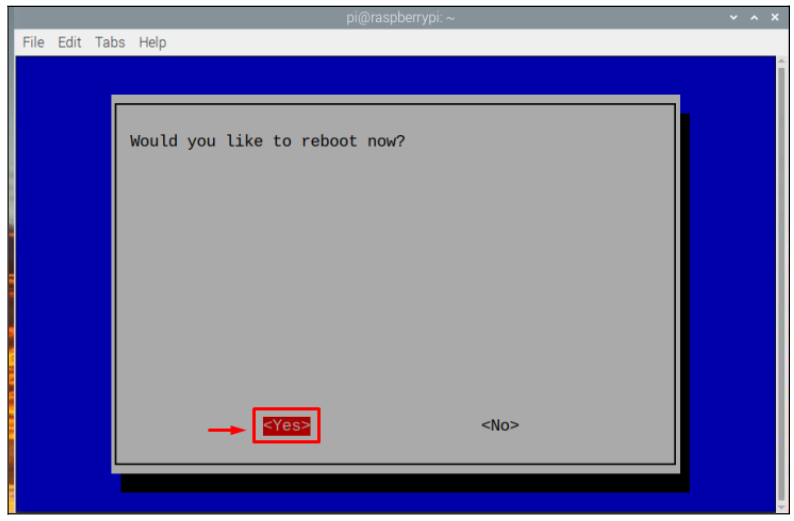
Step 7: Then a prompt will appear on the screen asking you to reboot, select “<yes>” option to confirm rebooting the device.
After the device reboot, your system’s GPU memory will be changed.
Conclusion
If videos are not properly running on Raspberry Pi, users can change GPU memory through the Raspberry Pi Software Configuration tool. By going into the “Performance Options” and selecting “GPU Memory”, one can change the memory according to his/her need. Once the configuration is done, a reboot is required to apply the changes. After the reboot, the GPU memory will be changed successfully and the user can test the performance by running videos on the system.


