Screen savers are the images or text animations that are displayed on the screen of the computer when the operating system is in an idle state. It was originally created to prevent older monitors from burning; an effect that distorts the screen colors. But now it is used to disallow anybody viewing your desktop content when you are away. In this article, we are going to discuss the methods by which we can set the screensavers on the Raspberry Pi operating system.
How to set a screensaver on Raspberry Pi using the xscreensaver
To use the xscreensaver package to set the screensaver, we will first install its package with the apt manager using the command:
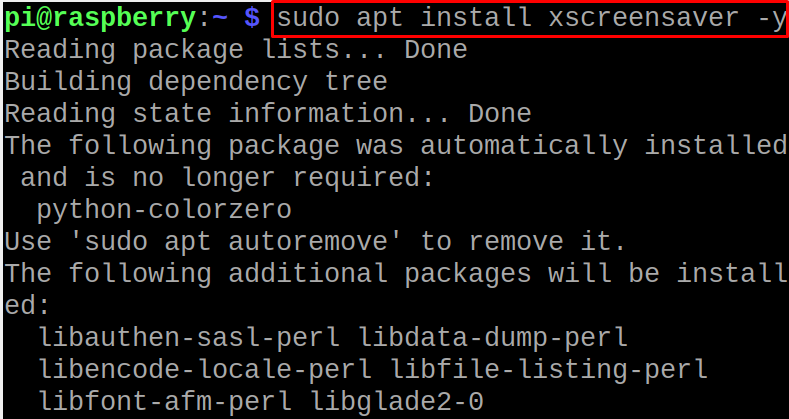
When the execution of the installation command is complete, we will reboot the Raspberry Pi OS using the command:
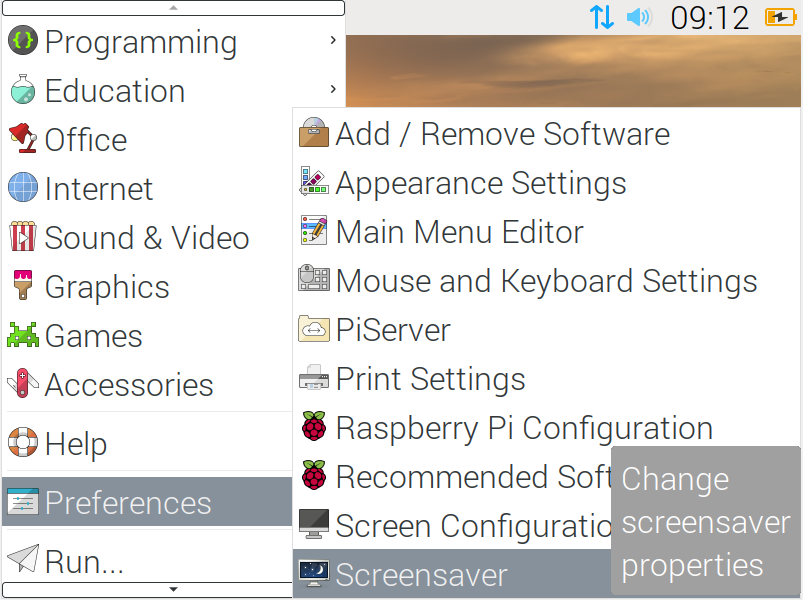
After the system is rebooted, click on the “Applications menu” on the main screen of the Raspberry Pi operating system:
Then click on the “Preferences” and choose the “Screensaver” to launch the installed application of the xscreensaver:
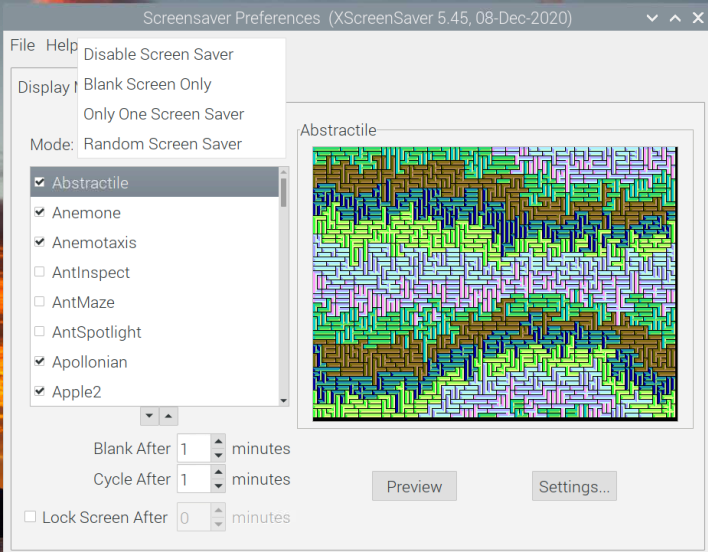
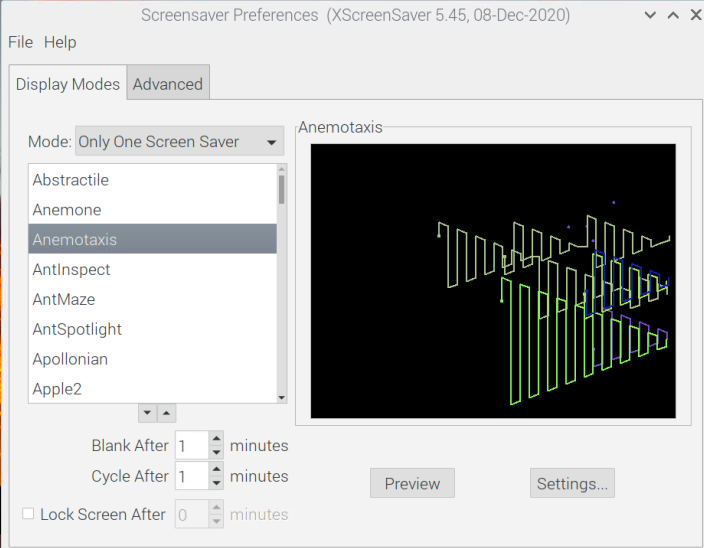
The home screen of the xscreensaver will be opened:
There are four types of different modes of the screensaver whose usage are explained in the table below:
| Disable Screen Saver | It will disable the screen saver and there will be nothing displayed on no activity of Raspberry Pi |
|---|---|
| Blank Screen Only | It will display no screen saver but the the screen will go blank will remain on the screen on no activity of Raspberry Pi |
| Only One Screen Saver | It will display the selected screen saver on the inactivity of the Raspberry Pi |
| Random Screen Saver | It will display different screen savers on the screen when the Raspberry Pi is inactive |
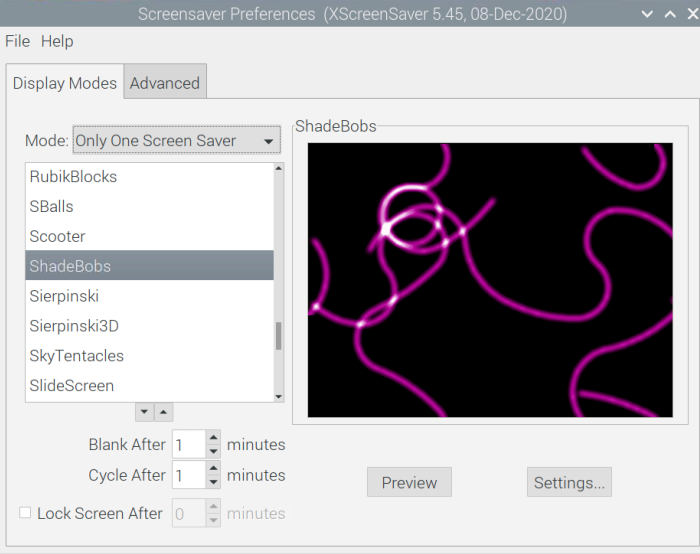
You can click on the “Mode” button to set the mode of the screensaver, as we are choosing the “Only One Screen Saver” and then we have chosen the “ShadeBobs” screen saver:
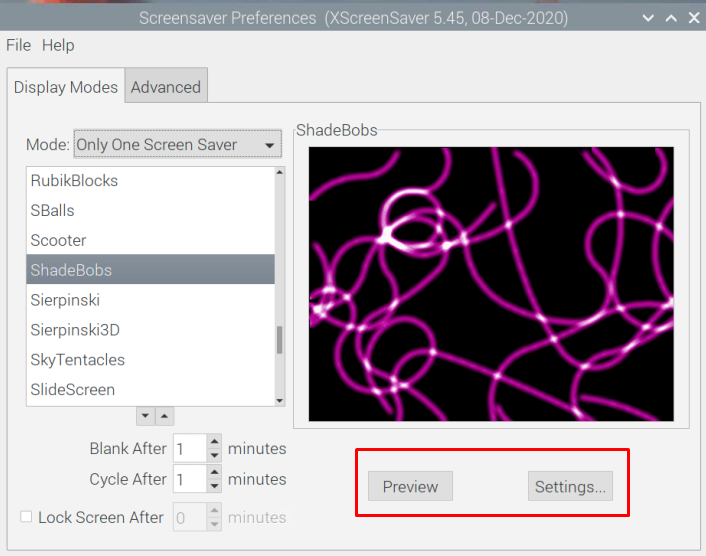
You will notice two buttons on the window, the “Preview” and the “Settings”:
When you click on the “Preview” button, it will display how the screensaver will work on the screen:
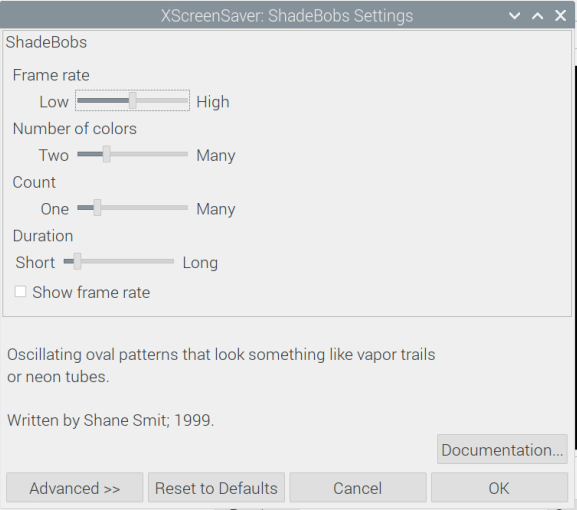
And when you click on the “Settings” button, it will open the settings of the screensaver, here you can change the settings such as frame rate, number of colors, and duration according to your wish:
Next, you will see some options with the units “minutes” in the bottom-left section of the screen, which will set the timing when the screen saver should start, we have set it “1”, so after one minute of inactivity on Raspberry Pi, the screen saver will appear:
Now there are different screensavers in the list of xscreensaver, which are not installed, we will run the following command in the terminal of Raspberry Pi to install more screensavers:
When the command is successfully executed, then reboot the Raspberry Pi:
When the Raspberry Pi is restarted, again open the Screensaver app and you will see all the screensavers are now installed:
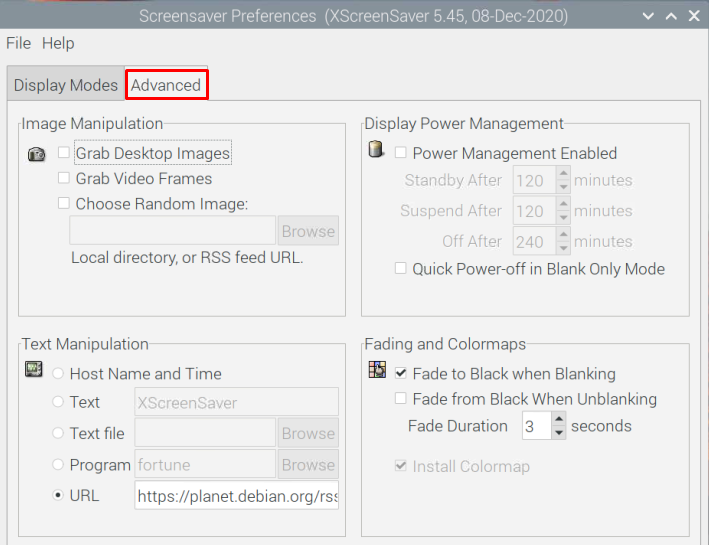
At the top, there is another option of the “Advanced” from here you can add the custom texts and images. Also, you can manage the display power settings, fading and colormaps:
Conclusion
Screen savers are the images or animations that are displayed on the screen of the operating system when there is no activity. In this article, the screen saver is set on the Raspberry Pi operating system by installing the “xscreensaver” application. Method to apply and change the screensaver on Raspberry Pi is also discussed.


