How to Change Language on Raspberry Pi
There are two ways to change the Raspberry Pi language:
Method 1: Through GUI
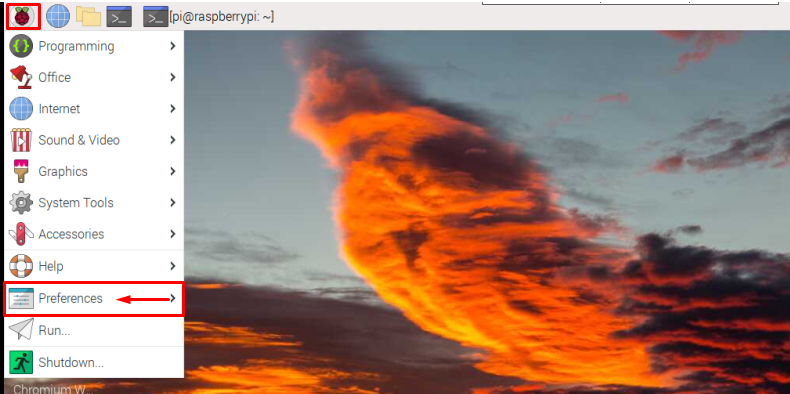
To change the language through GUI first go to the Application Menu present at the top left of your Raspberry Pi desktop screen and select “Preferences” from the dropdown list.
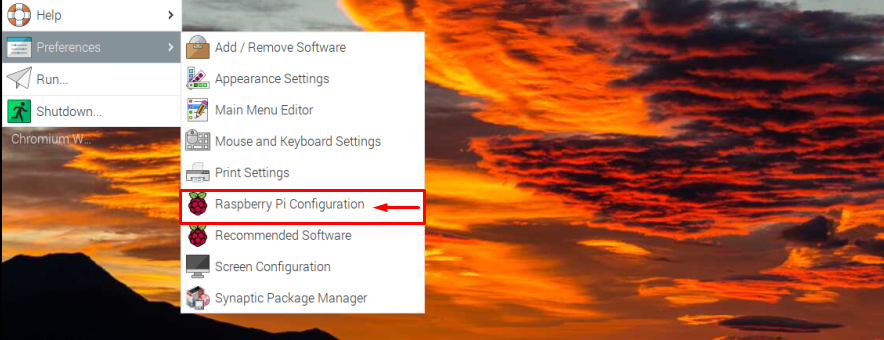
Then choose the “Raspberry Pi Configuration” option to open the Raspberry Pi configuration window.
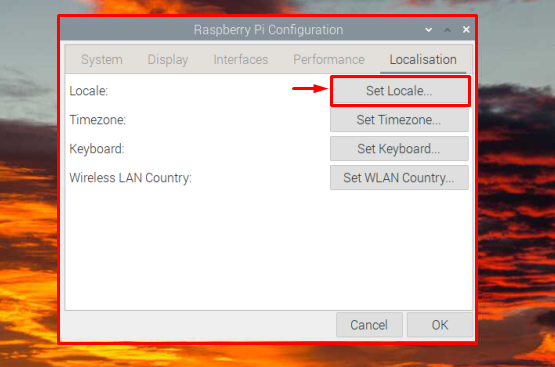
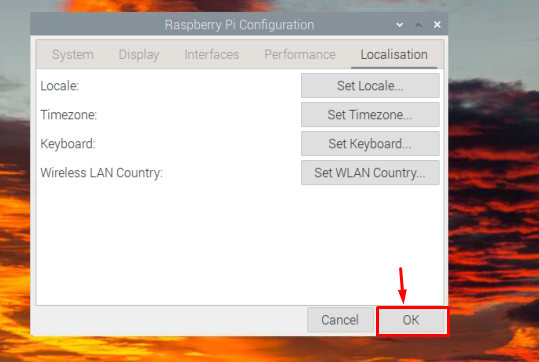
Then hit on the Localisation tab.

Select the Set Locale from where you can choose the language, country, and Character Set.
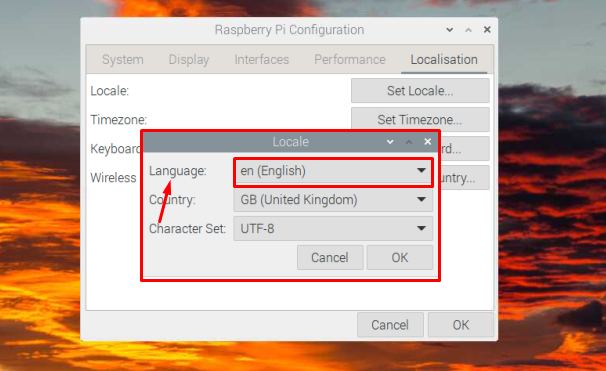
Then click OK to save the required changes.

Then again click the OK button to close the window configuration window.
That’s it for the process the language has been changed to the required language.
Method 2: Through Terminal
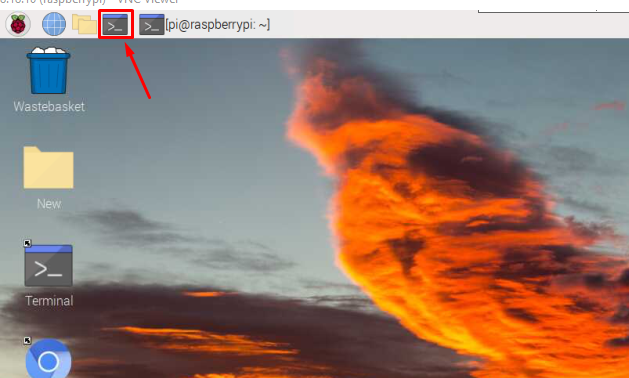
To change the language through the terminal launch the terminal by clicking on the Terminal icon which is highlighted in the image below:
Then copy the below-mentioned command into the terminal to open the Raspberry Pi configuration tool.
As a result of the above command the Raspberry Pi configuration tool window will appear on the screen as shown in the image below:
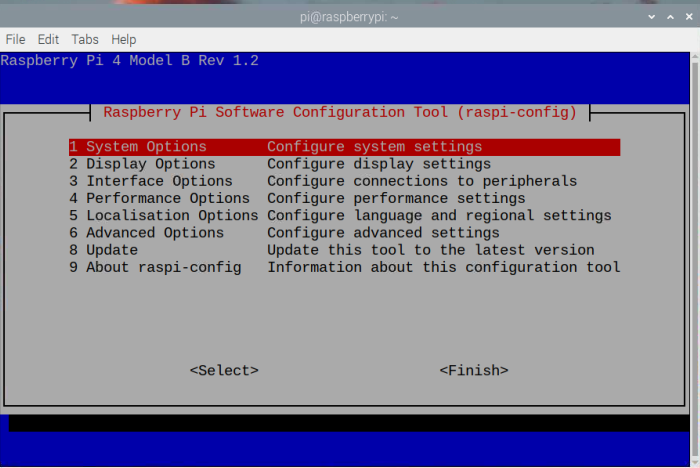
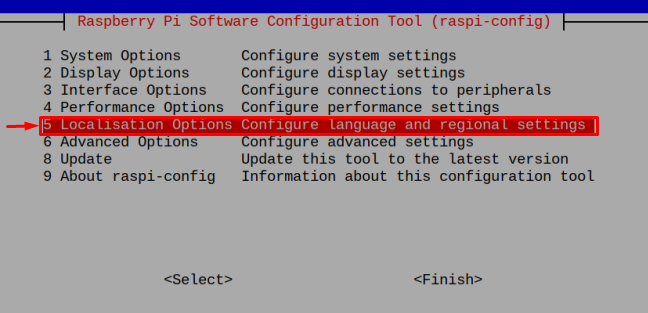
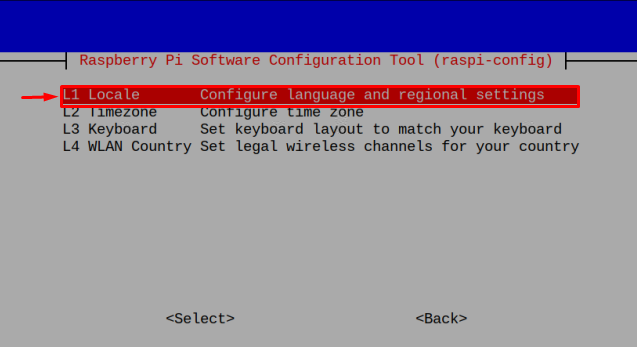
Then select the Localisation Options.
Choose the L1 Locale option.
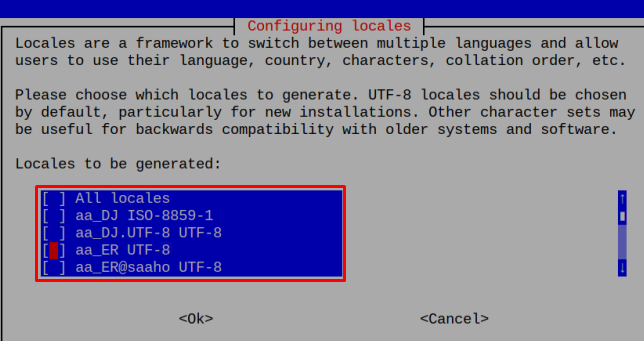
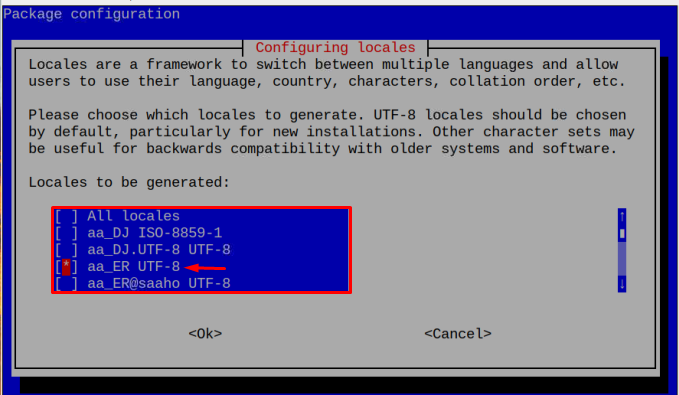
A Configuring locales window will appear on the screen from where you can pick your required locale to change the system language according to the selected locale. To Pick the locale press the “Space” key and then “Enter”.
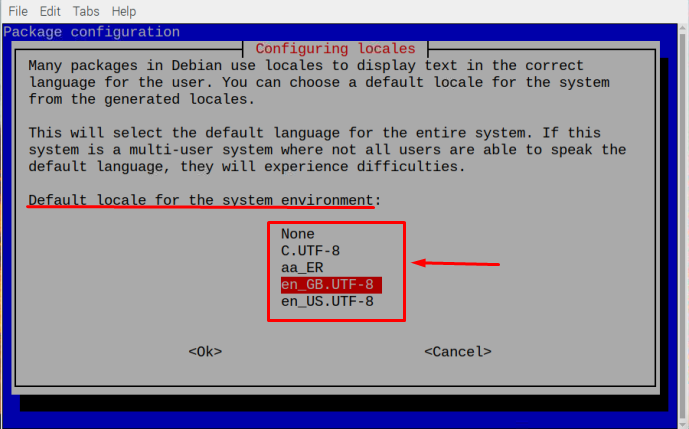
Once the locale is selected then you will be asked to pick the default locale for the system environment. Pick one locale here, you can pick the same locale here too.
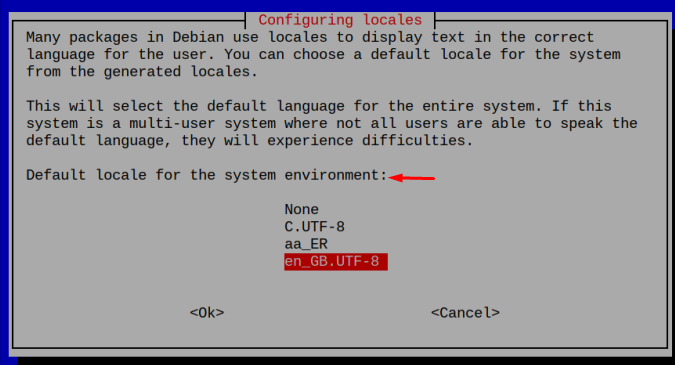
Then select <Ok> and press “Enter”.

And that’s it the language has been changed to your required locale.
If you do not want to change the language by using the configuration tool then there is another simple terminal command through which the locale can be set directly. The below-written command can be utilized to set up the required language/locale:
The Configuring locales window will appear where you can choose the required locale.
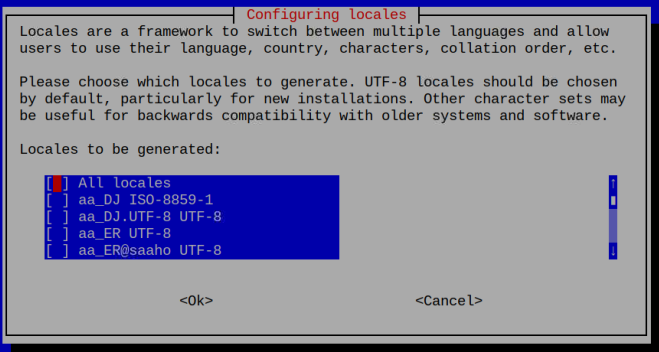
Then by pressing the “Space” key select the required locale and hit the “Enter” button.
Also, set the default locale for the system environment and press “Enter”.
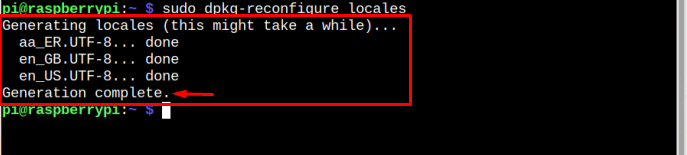
It will take you back to the terminal where after a little time the locale will be generated.
Conclusion
To change the Raspberry Pi system language there are two methods: one is to change the language through GUI and the other one is by using the terminal. Through both methods, the Raspberry Pi configuration tool will be accessed. Then from the localization option, the required language will be set from the Configuring Locale options. The Configuring locale can also be accessed directly through a command shared in the article.