This write-up will show you how to change the canvas size in Inkscape by using the “Documents Properties” menu. The “Documents Properties” menu also permits you to change the size of the canvas with numerical input. You can also customize your canvas size to fit the specific objects added in your Inkscape document. So, let’s get this guide started!
How to change canvas size in Inkscape
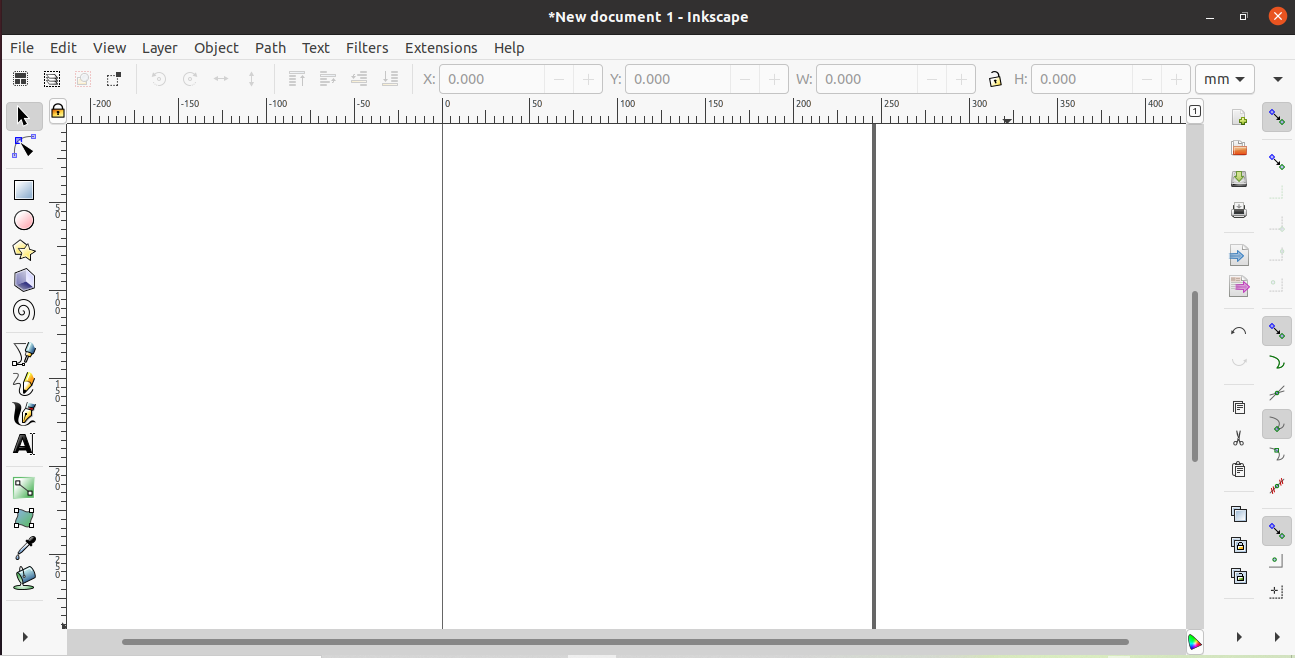
The canvas size of an image is its working area in Inkscape, and it also defines the image dimensions. You can easily change the canvas size in Inkscape through the “Document Properties” menu. Using the Inkscape “Documents Properties” menu, you can increase, decrease, or customize canvas size. Firstly, open up the Inkscape application on your system:
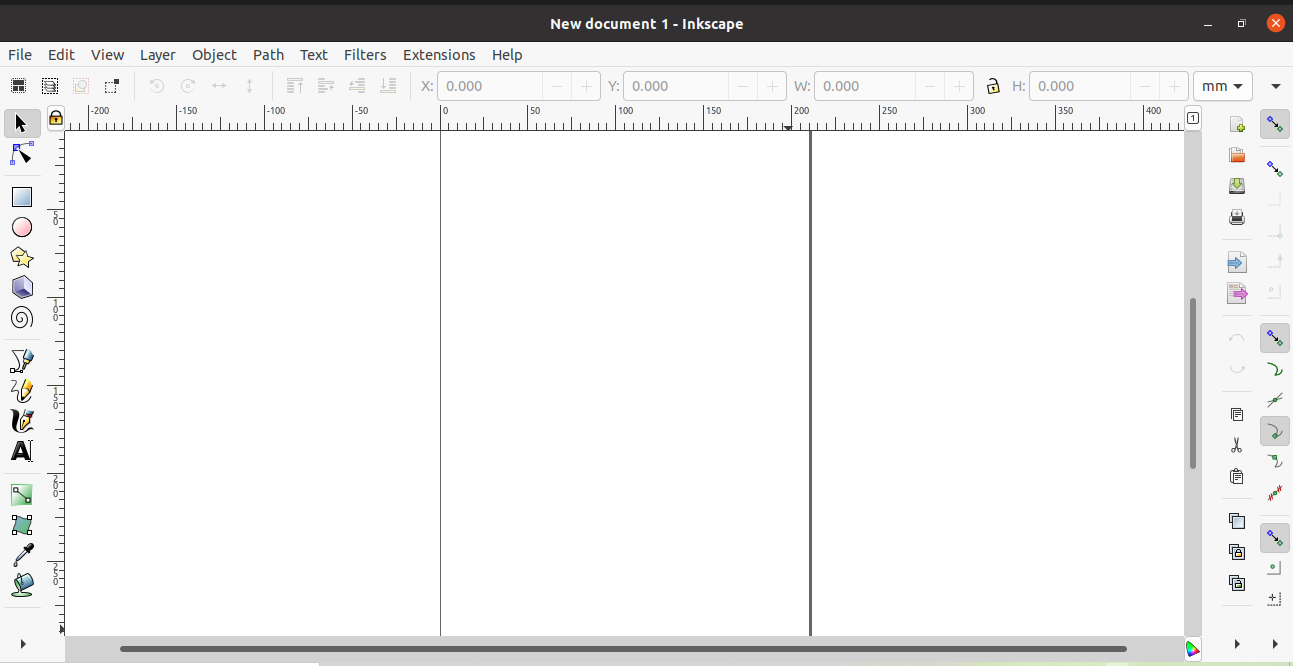
Click on the “File” option from the Inkscape menu bar, which is located at the top of the opened window:

From the drop-down “File” menu, click on the “Document Properties…” option. You can also press “CTRL+SHIFT+D” for the same purpose:

Your Inkscape Document properties window will somehow look like this:

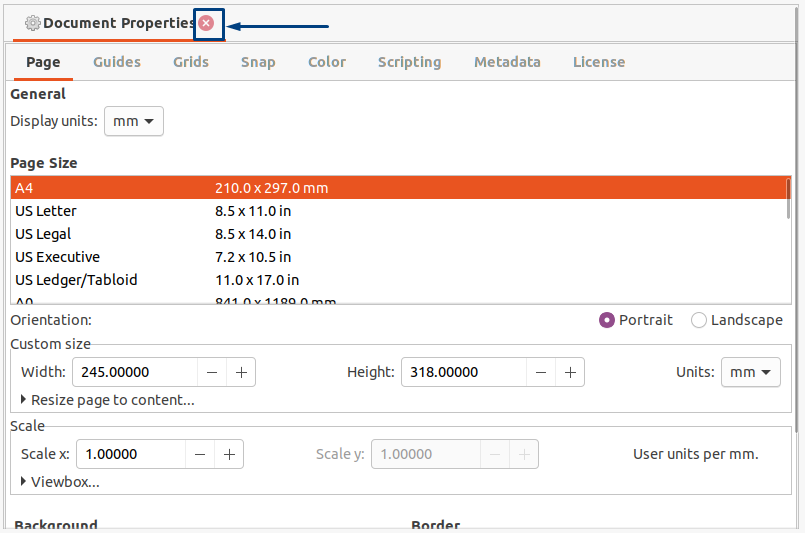
Now, look for the “Custom size” option under the “Page” tab. The “Customize size” option represents three properties of your canvas, its “Width”, “Height”, and the measurement “Units”. Here, click on the “+” and “–” buttons of these properties to change the canvas size according to your requirements:
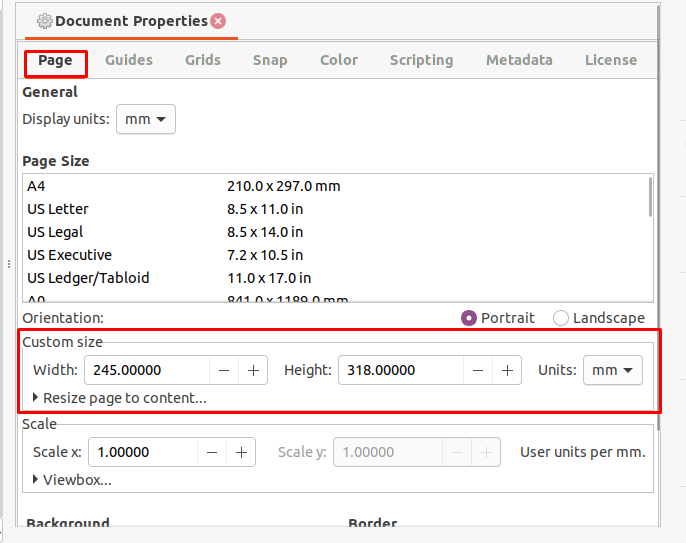
The default unit of canvas size is set to Millimeters “mm“. To change it accordingly, click on the drop-down menu, which is highlighted in the below-given screenshot:

You can set the measurement unit to Centimeters (cm), Inches (in), Points (pt), Parsec (pc), Millimeters (mm), and Pixels (px):

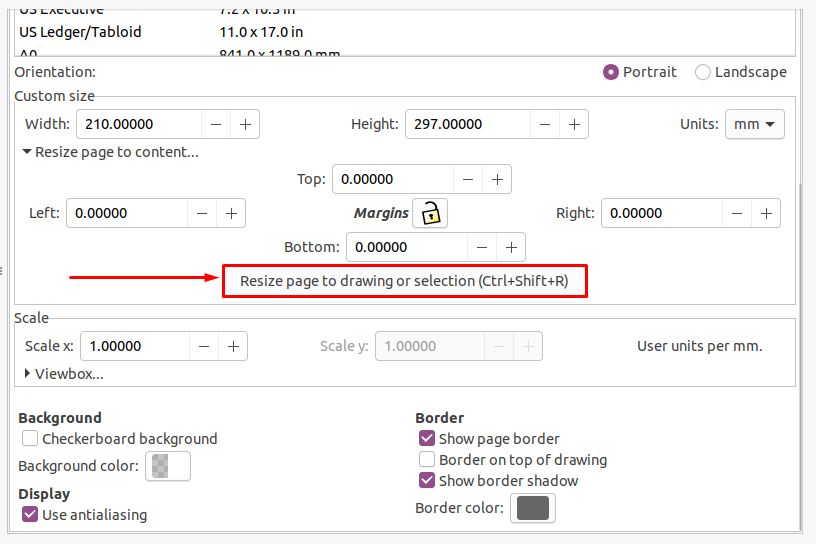
If you are working on a print project, then expand the menu that says “Resize page to content..”, it will add a bleed area to the canvas. You can then enter the “margin” or “bleed” size for each margin:

If you want to change the canvas size for a specific object or design, click on the “Resize page or drawing selection” button. Upon doing so, your canvas’s size will match the selected object size. However, if you do not have chosen any objects, your Inkscape canvas size will be adjusted to accommodate whatever you have created so far:
The final step is to close the “Document Properties” window by utilizing the button highlighted in the below-given image. This operation will save the canvas size settings, whether customized according to a specific object or through the numerical input. After closing the “Document Properties” window, you are all ready to use your new canvas in Inkscape:
Conclusion
Canvas is the space the Inkscape allocates to draw or design something in its window. When you know the method of changing Inkscape canvas size, you can easily create vector documents based on your work rather than the default page size that Inkscape utilizes when it starts up. This write-up guided you about the method of changing canvas size in Inkscape. Moreover, the options related to the canvas size customization are also discussed.