One of the questions that people often ask is whether it is possible to use Arduino sensors with the Raspberry Pi. Yes, we can use Arduino sensors with the Raspberry Pi. But there are a few things to remember which are discussed below.
First, the Raspberry Pi and Arduino use two different systems. The Raspberry Pi runs on a Linux-based operating system, while the Arduino uses Arduino programming based on C and C++. This means that you will need to use a different programming language to control the Arduino sensors when they are connected to the Raspberry Pi.
Second, the Raspberry Pi and Arduino have different voltage levels. The logic level used by the Raspberry Pi is 3.3V, whereas the Arduino operates at a logic level of 5V. This means that you will need to use a level shifter to convert the voltage levels between the sensor and Raspberry Pi board.
Once you have resolved these two issues, you can use Arduino sensors with the Raspberry Pi. There are many different Arduino sensors available, so you can choose the sensors that are right for your project.
What are the Different Ways of Connecting Arduino Sensor with Raspberry Pi
Here are some ways of connecting Arduino sensor with Raspberry Pi:
Connect an Arduino to the Raspberry Pi: Establish a physical connection between the Arduino and Raspberry Pi using USB or serial communication to exchange data. After connecting both boards we can connect the sensor with Arduino and control it using the Raspberry Pi board.
Connect the sensor using SPI: Utilize the Serial Peripheral Interface (SPI) protocol to connect the sensor directly to the Raspberry Pi’s GPIO pins for high-speed data transfer.
Use an ADC to connect an analog sensor: Connect an analog sensor to an Arduino, convert the analog data to digital using an Analog-to-Digital Converter (ADC), and transfer the digital values to the Raspberry Pi.
Use a Raspberry Pi Pico and connect wirelessly: Employ a Raspberry Pi Pico microcontroller as a bridge between the Arduino sensor and the Raspberry Pi, establishing a wireless connection for data transmission.
Connect the sensor to a digital pin: Connect a digital sensor directly to a Raspberry Pi’s GPIO pin, enabling direct communication and data retrieval.
Use an I2C-enabled sensor: Connect an I2C-enabled sensor to the Raspberry Pi using the I2C communication protocol, allowing for efficient data transfer and control.
Use UART: Connect the Arduino sensor to the Raspberry Pi using Universal Asynchronous Receiver-Transmitter (UART) communication protocol, which enables serial data transmission between the two devices.
Arduino Sensors that Can be Used with Raspberry Pi
Here are some of the most popular Arduino sensors that can be used with the Raspberry Pi:
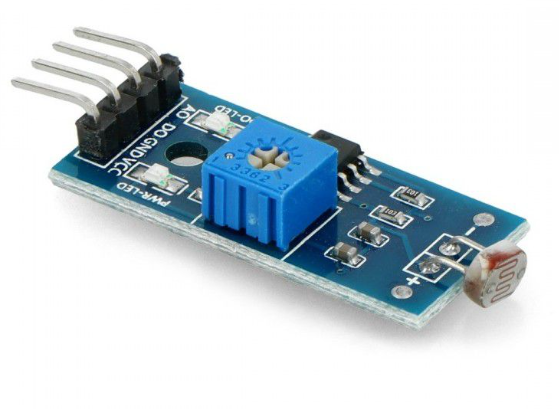
Light Sensor
Measures light intensity to provide information about the brightness of an environment, often used in automatic lighting systems or to adjust display brightness on devices. For example, the KY-018 LDR Light Sensor Module.
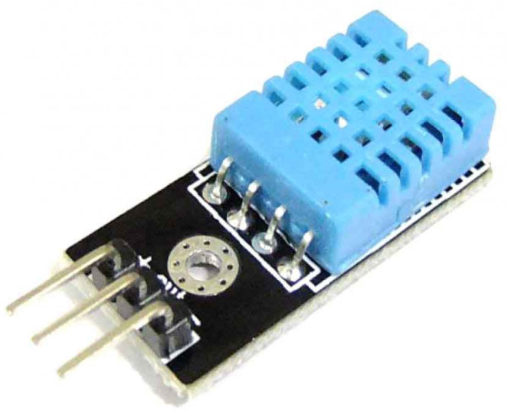
Humidity Sensor
Measures the amount of moisture or water vapor in the air, commonly used in weather stations, greenhouses, and HVAC systems to regulate humidity levels. For example: DHT11, DHT22 (also known as AM2302)
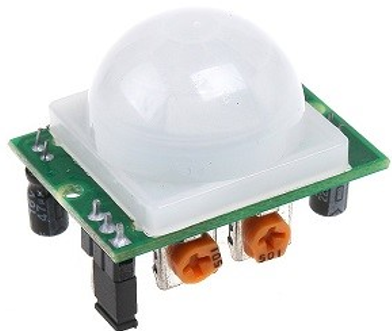
Motion Sensor
Detects movement or changes in the environment, commonly found in security systems, automatic doors, and lighting systems for energy conservation. For example, HC-SR501 PIR Motion Sensor.
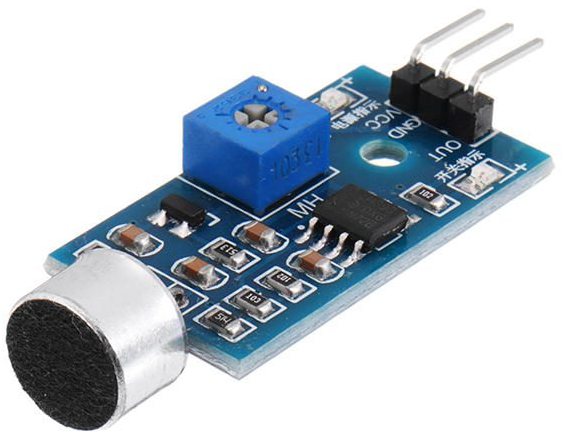
Sound Sensor
Detects and measures sound levels in the environment, used in applications such as noise monitoring, smart homes for voice commands, and audio recording devices. For example, Microphone Sound Sensor KY-038.
Ultrasonic Sensor
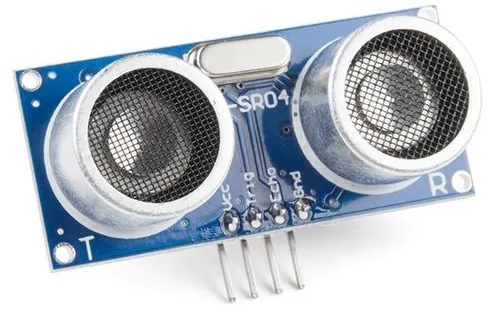
Ultrasonic sensors use sound waves to calculate distances and identify objects by utilizing their reflected signals. They are widely used in robotics, parking assistance systems, and object detection applications. For example, Ultrasonic Sensor HC-SR04.
Conclusion
The Raspberry Pi and Arduino boards can create a wide range of fascinating and practical projects. By using Arduino sensors with the Raspberry Pi, we can extend the capabilities of both devices and create even more complex and powerful projects. This article discusses Arduino sensor compatibility with the Raspberry Pi board.

