This article will guide you on how to build WSJT-X 2.5.4 from the source Raspberry Pi Bullseye.
Building WSJT from source Raspberry Pi Bullseye
The WSJT-X 2.5.4 building from the form source Raspberry Pi requires the following steps.
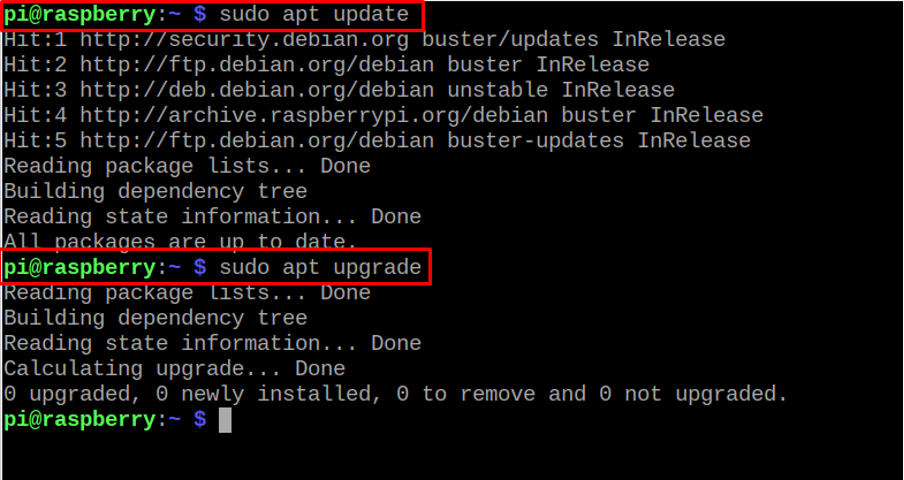
Step 1: Updating the Packages List
First ensure your Raspberry Pi’s packages are up to date and for this reason the following command will be used.
$ sudo apt upgrade
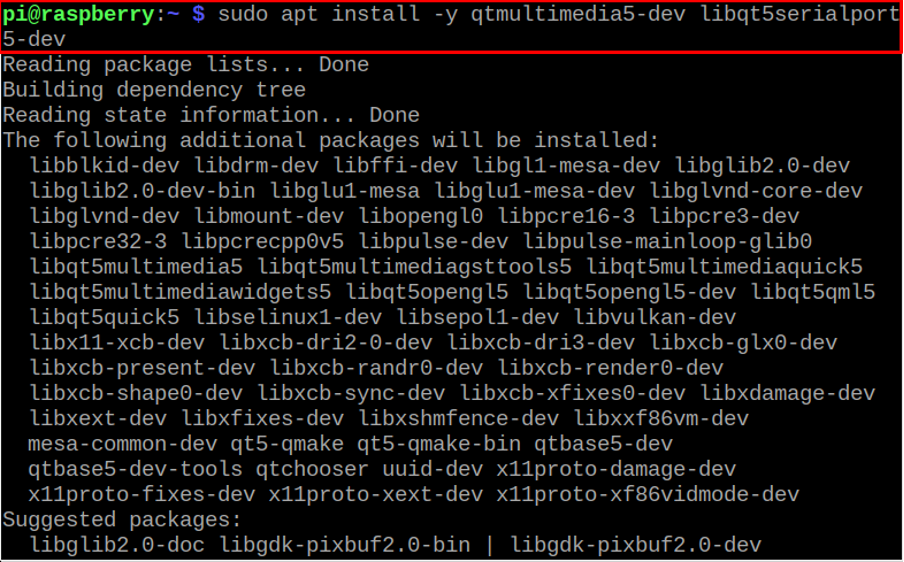
Step 2: Install Required Libraries and Dependencies
In this step, you will require to install some libraries and dependencies which are necessary to build WSJT-X on Raspberry Pi.
First, use the following command to install the media library on Raspberry Pi.
Then, use the following command to install some libraries.
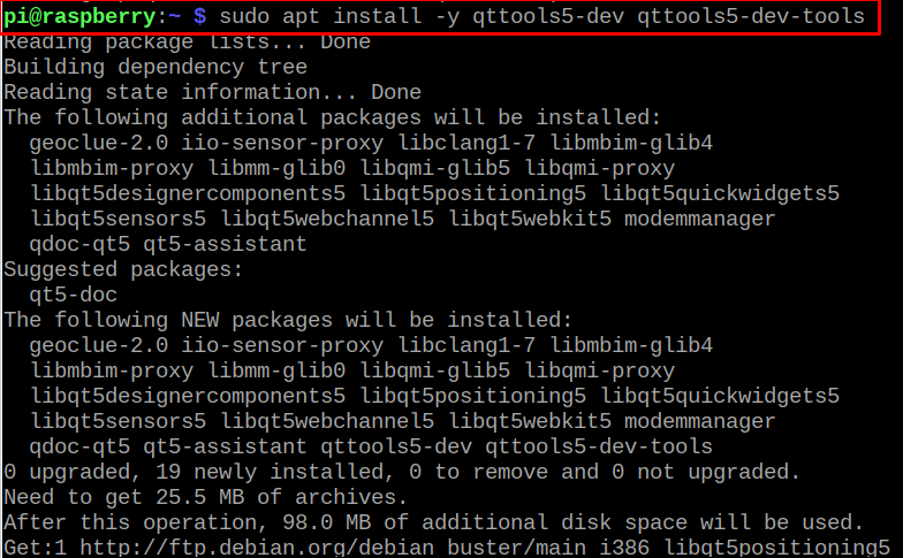
Next, run the following command to install required plugins and multi-media libraries.

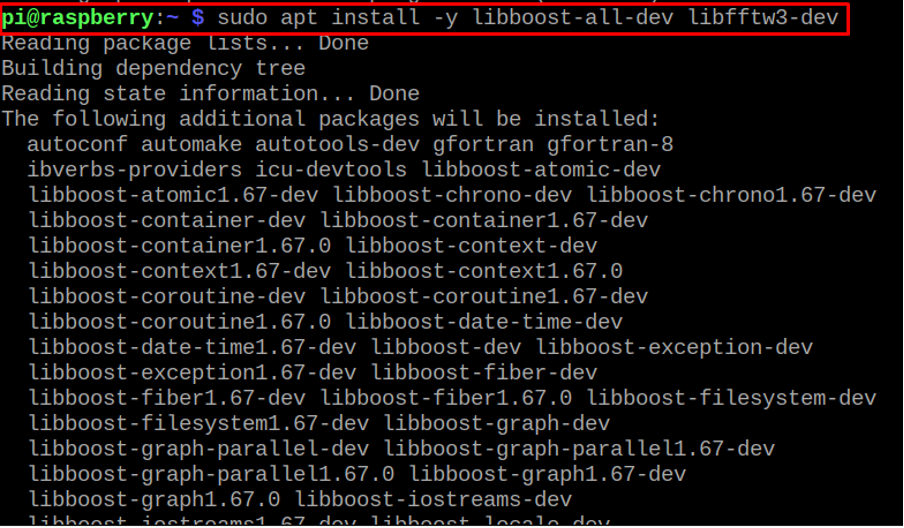
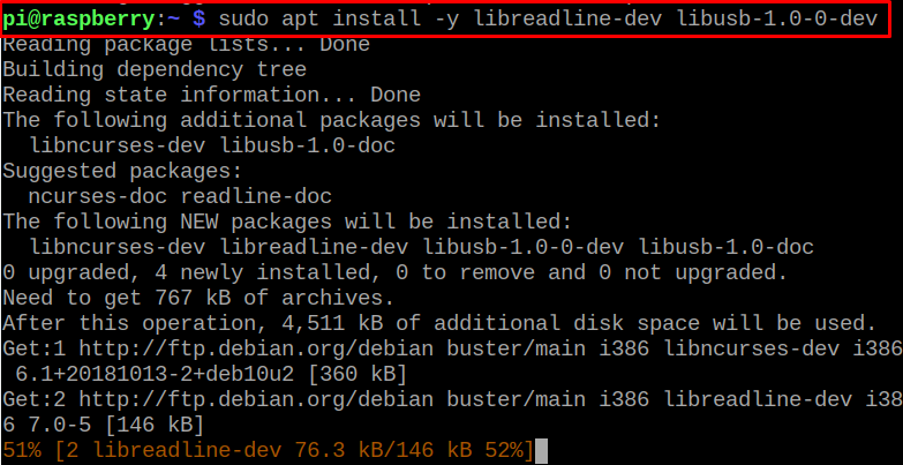
Next, install the set of libraries using the below-given command.
Also, run the following command to install libusb library as well.
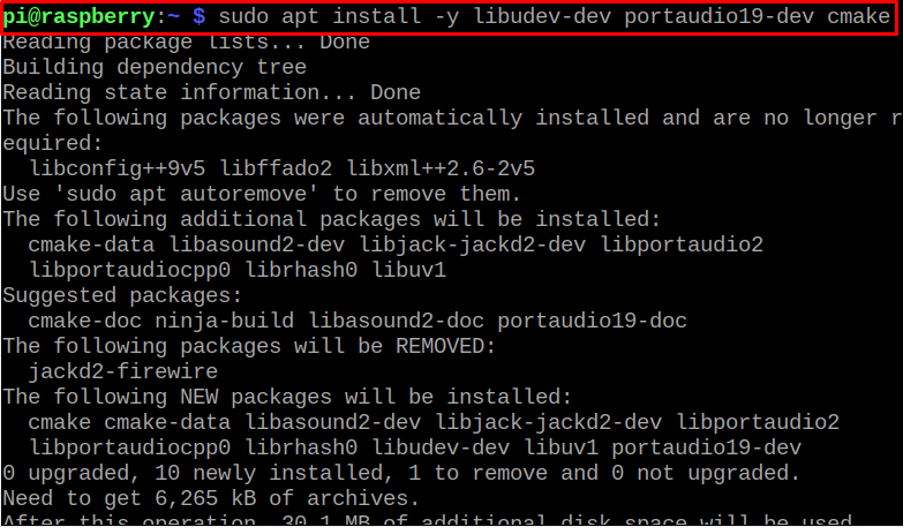
Further, execute the following command to install a portaudio library for audio back and recording.
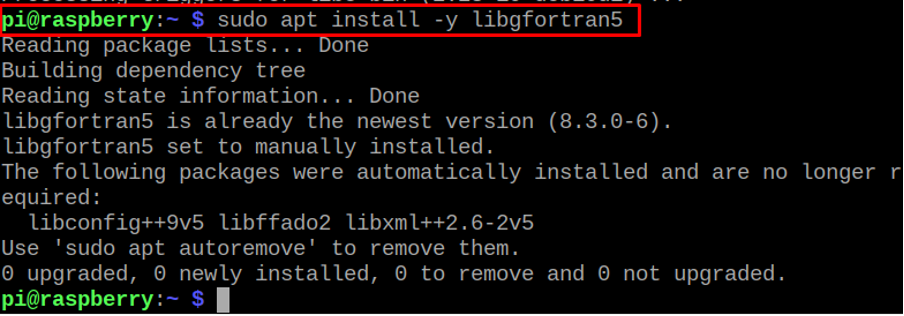
You will also require to install the Fortran library using the following command.
Step 3: Setup Folder Structure
Now in this step, you will require to create a directory with the name “build” and then enter the directory using the following commands.
$ mkdir build
$ cd build

Step 4: Download WSJT-X 2.5.4
Go to the browser and download the “WSJT-X 2.5.4” from the website. Copy the file and then paste it into the “build” directory.
Step 5: Building the WSJT-X file
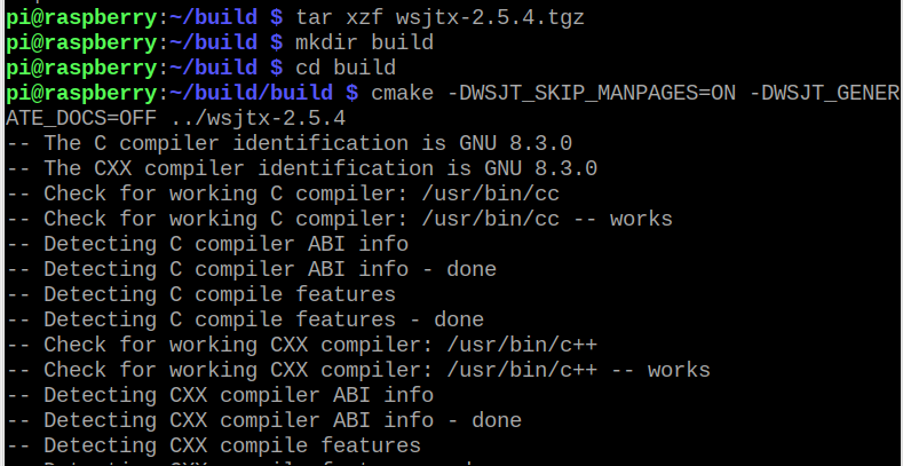
Go back to the terminal and in the “build” directory extract the WSJT-X tgz file using the tar command.
![]()
Step 6: Building WSJT-X file
Now in the final step, you will need to create another directory with the name “build” and enter the directory.
$ cd build

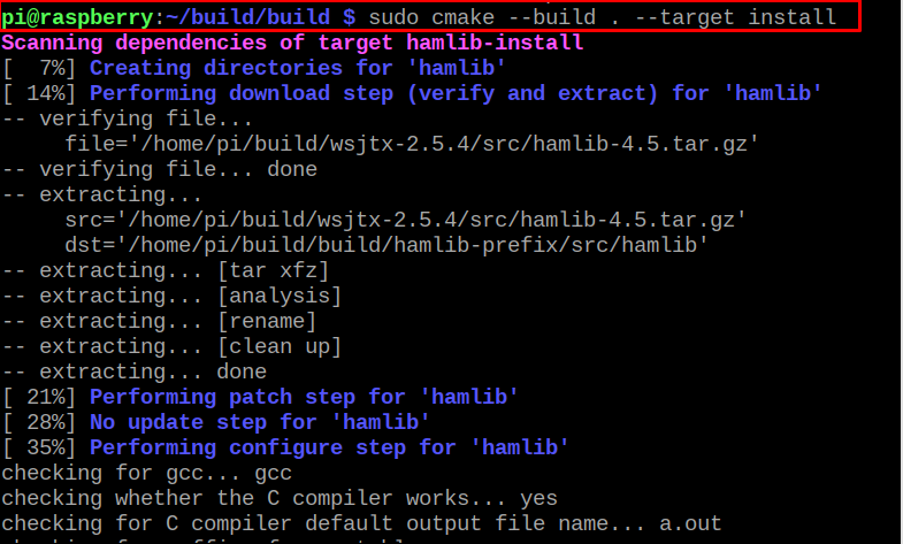
Then use the following command to prepare building the packages.
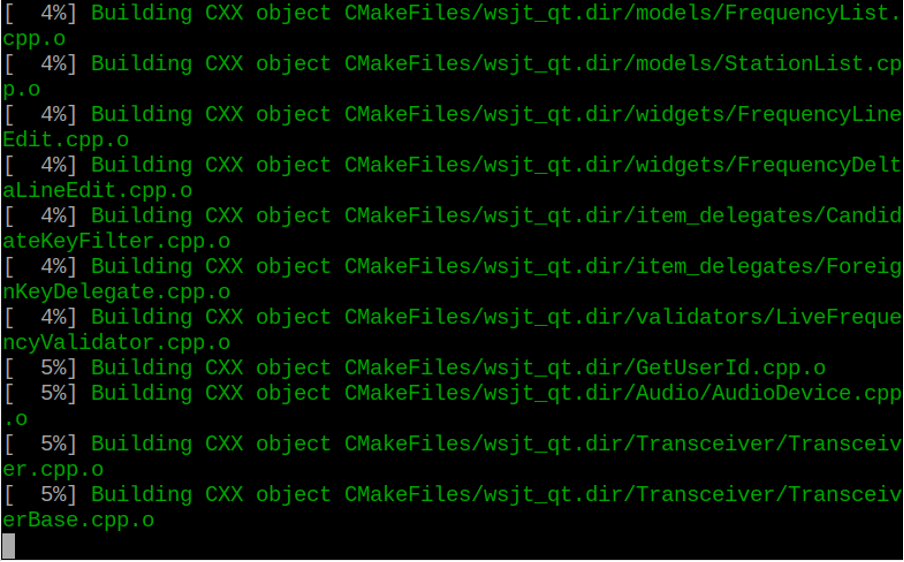
Then use the following command to execute the package building process that will install WSJT-X 2.5.4 from source Raspberry Pi.
After completing the installation, execute the “wsjtx” command to run the application on your Raspberry Pi.
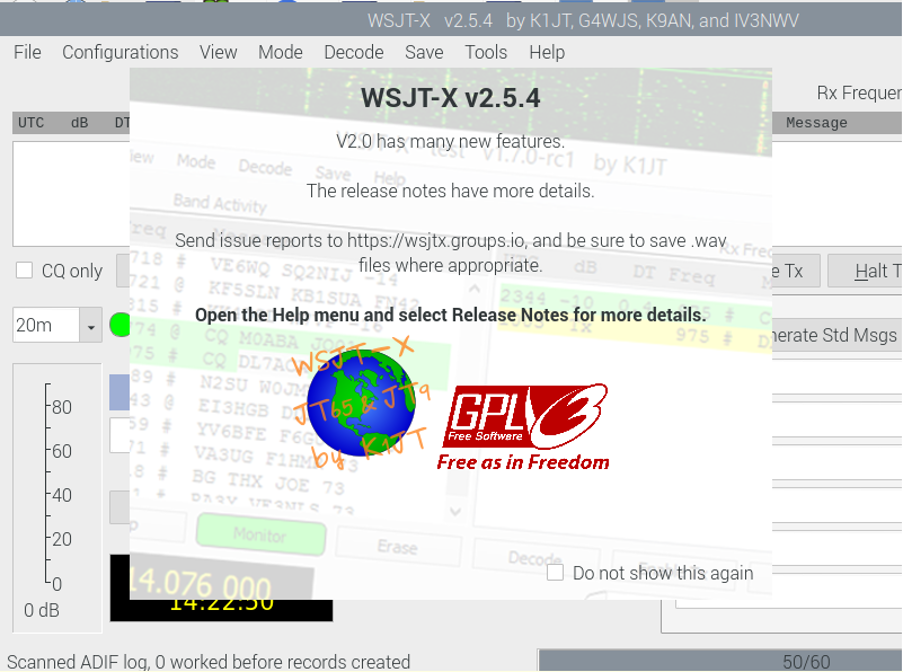
At this time, WSJT-X 2.5.4 is successfully running on Raspberry Pi.
Conclusion
WSJT-X is an excellent application used for radio communication where the signal strength is too low. It includes different features for the users, helping them enhance their communication performance. The above guide provides you step by step instructions to successfully install the latest WSJT-X 2.5.4 from source Raspberry Pi to kick start the radio projects.