On paper SD cards have a bandwidth of almost 50 MBps but they achieve 38 MBps which is quite low. On the other hand, the USBs have relatively higher bandwidth at least more than that of the SD cards, so they tend to be a better choice for Raspberry Pi, if you are absolute fanatic about the speed then go for an SSD storage for your Pi.
Booting Raspberry Pi from USB
The process of booting the Raspberry Pi using the USB drive is quite easy so just follow the steps below and you are good to go:
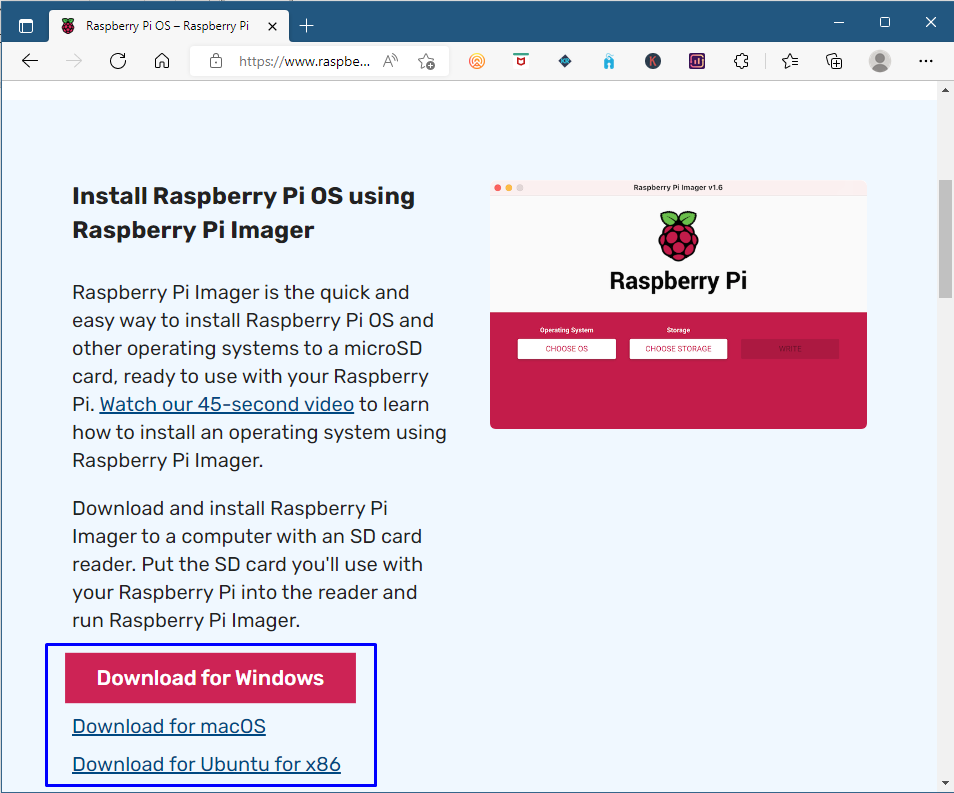
Step 1: For booting the Raspberry pi there are several software that one can use as an imager like Etcher, but it is recommended to use the Raspberry Pi iImager. So, first download the Raspberry Pi Imager for your computer by clicking on this link:
Step 2: Once you have installed the Raspberry Pi Imager, open it up and plug in the USB into your computer:
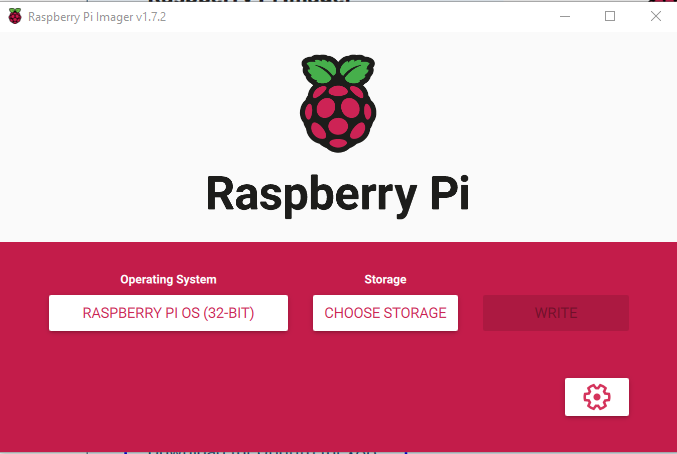
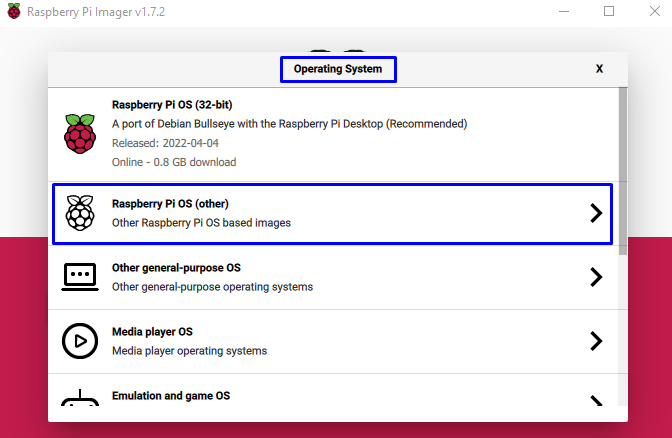
Step 3: Next choose the OS you want to install on your Raspberry Pi by clicking on the “Operating System”:
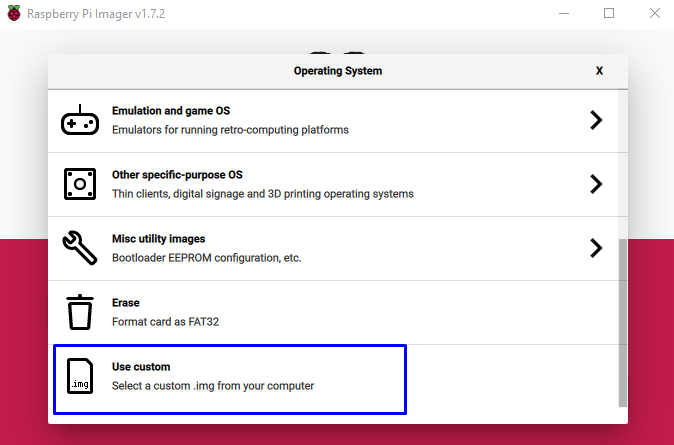
If you already have the image file of the operating system downloaded into your computer, then you can also load it into the Imager by clicking on the “Use Custom”:
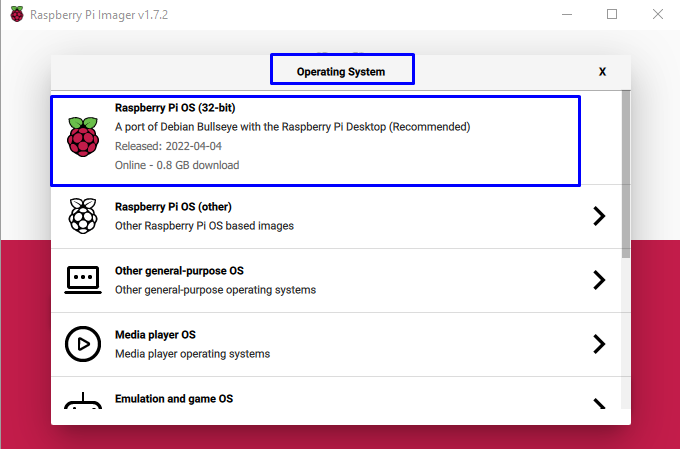
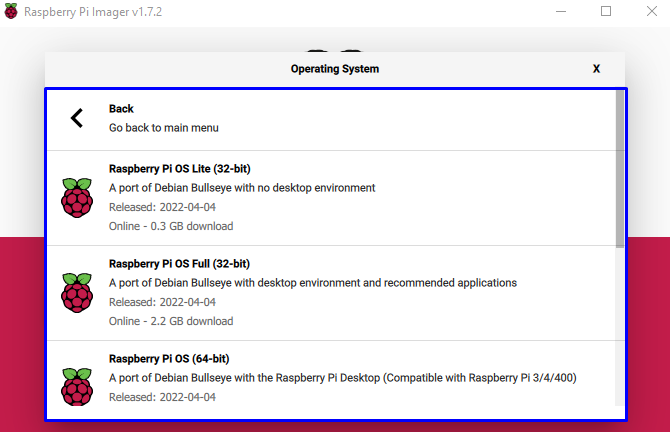
Moreover, if you do not want to install the recommended one and want to go for a previous version then you can click on the “Raspberry Pi (other)” option:
And a list of operating system will tend to appear, you can choose which you want to install on Raspberry Pi:
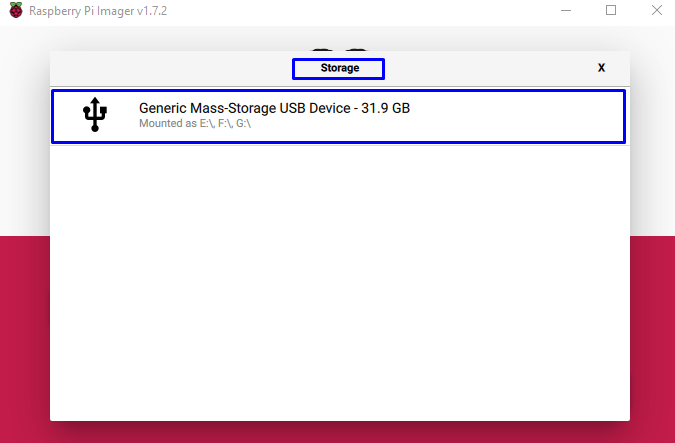
Step 4: Next, select your USB that you have connected to your computer by clicking on the Storage tab and select your USB drive as the storage for Raspberry Pi:
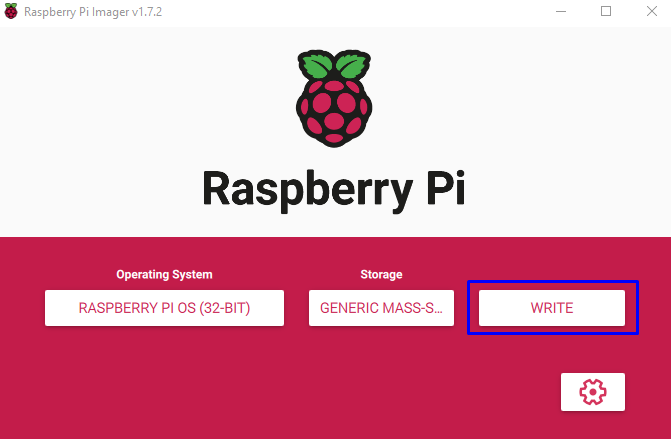
Step 5: The next step is to write the selected operating system of Raspberry Pi to the USB drive and for that click on the Write button:
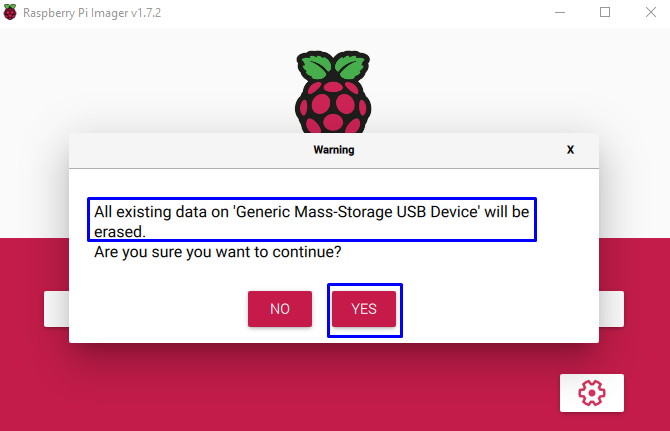
Next, click “YES” to continue:
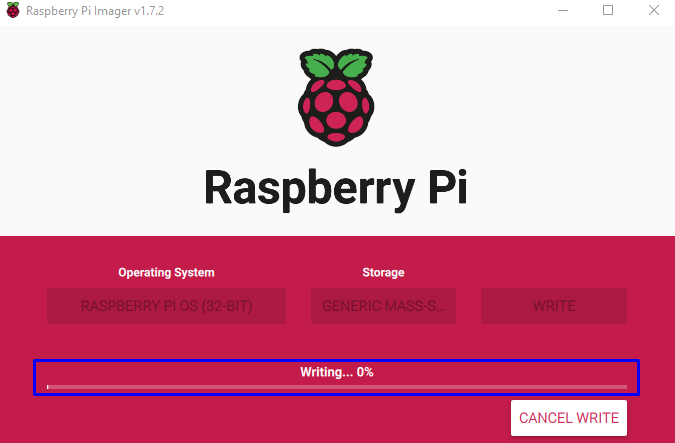
Now, the Imager will start writing the USB drive, wait for it as it can take some time:
Once the Imager has written the USB it will start to verify the USB which might also take some time:

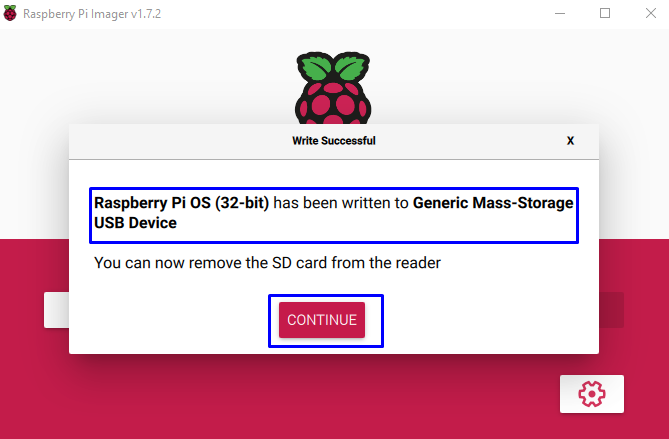
Once the process is completed, click on “Continue” and remove the USB from your computer:
Step 6: Once the USB is booted with the Raspberry Pi operating system plug it into the USB 2.0 port of Raspberry Pi because not all the SATA to 3.0 of Raspberry Pi 4 is compatible.
Note: Connect bootable USB with 3.0 ports of Raspberry Pi.

Conclusion
Raspberry Pi OS can also be booted from USB if you don’t have an SD card. To boot Raspberry Pi using USB, one needs to have a Raspberry Pi Imager app on PC, from there select the OS you want, select the USB as storage device and write OS on it. Once the USB is ready, plug it into your Raspberry Pi and turn it on, you will see Raspberry Pi OS on your display.