Using Raspberry Pi OS on an SSD is an ideal way compared to using it from a USB device or SD card. The reason is SSD option provides a fast data transfer and helps to speed up the Raspberry Pi performance.
If you are searching for a way to quickly boot a Raspberry Pi from SSD and use it for permanent storage, go and follow this article’s guidelines.
How to Boot a Raspberry Pi from SSD
Step 1: First, insert an SSD into the system, which could be your laptop or PC.
Note: You must use the adapter to connect the SSD to your laptop from the USB port. Buy a Recommended SSD here if you haven’t purchased it yet.
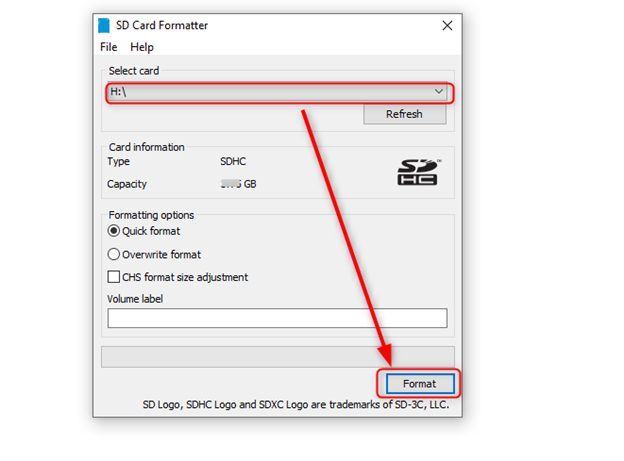
Step 2: Format the SSD using an SD Card Formatter, a recommended software. It formats the drive even if there are multiple partitions, making it easier for the user to format it quickly.
Note: Here, I am using a 32GB SSD. You can choose a larger SSD for greater storage.
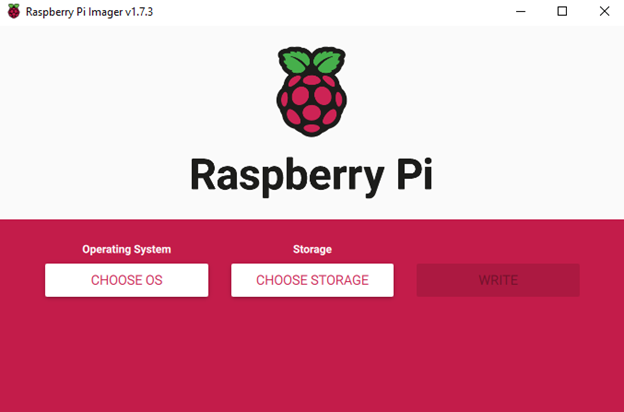
Step 3: Download Raspberry Pi Imager from the official website and run it on your laptop or PC. It’s the recommended flashing image utility for installing Raspberry Pi-compatible operating systems. You don’t require to download the image separately since it includes Raspberry Pi OS installation.
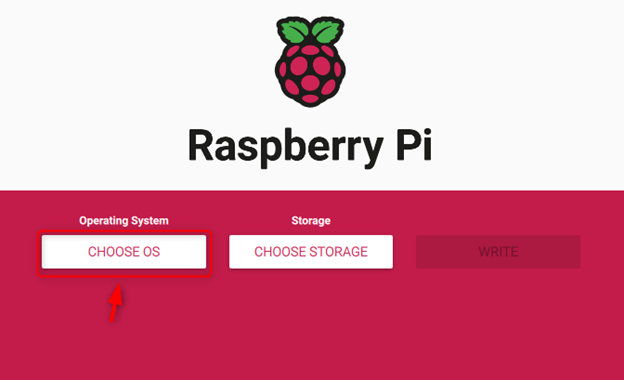
Step 4: To install Raspberry Pi OS on the SSD, select the “CHOOSE OS” option.
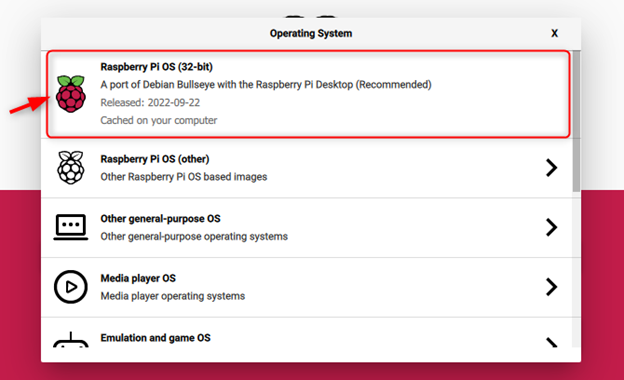
Step 5: If you want to install the 32-Bit Raspberry Pi OS Bullseye version onto the SSD, you can choose the top option.
Note: To install another Raspberry Pi OS, go to the “Raspberry Pi OS (other)” option.
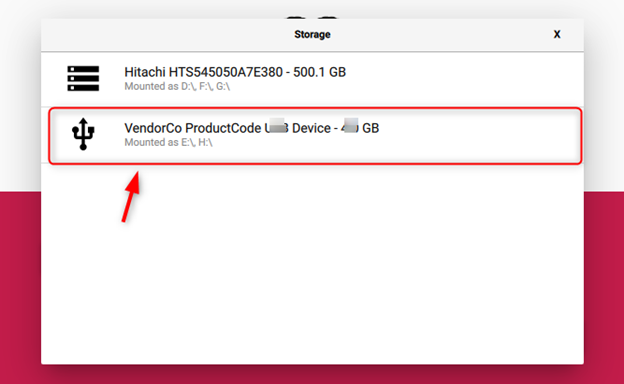
Step 6: After selecting the Raspberry Pi OS, it’s time to select the “CHOOSE STORAGE” option.
Step 7: Your SSD will appear here in the Storage option and you must select the desired storage.
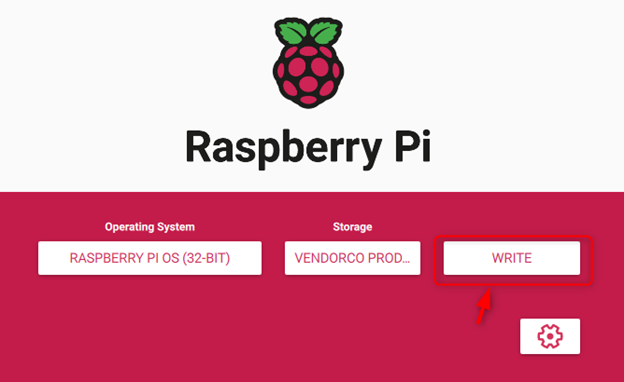
Step 8: Then select the “WRITE” button to begin loading the Raspberry Pi image onto the SSD.
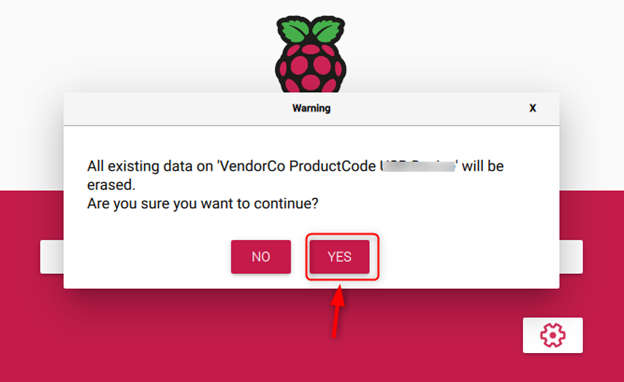
Step 9: Ignore the warning since Raspberry Pi Imager will format the SSD after this operation. So, allow it by choosing the “YES” button.
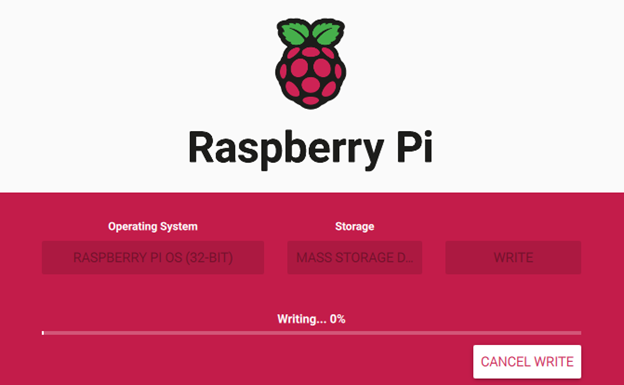
The Raspberry Pi Imager will start loading the Raspberry Pi OS image onto the SSD after performing the above operation.
Wait until the process completes the Raspberry Pi image loading on the SSD.
Step 10: Remove the SSD from the laptop or PC and insert it into the Raspberry Pi USB port.
Note: Don’t forget to attach the keyboard, mouse, and monitor to the Raspberry Pi.
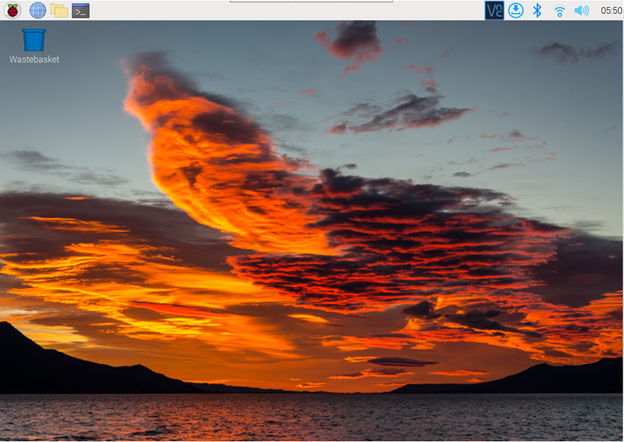
Step 11: Power on Raspberry Pi and wait until the blue screen appears. Perform the remaining steps, like adding username, password, and WiFi connection. After that, the device will restart again, and then you will see the Raspberry Pi desktop on your monitor screen.
Step 12: To confirm that SSD is a permanent storage for Raspberry Pi, open the terminal and run the following command:
The above output ensures that the SSD is used as a permanent storage for the Raspberry Pi system.
Conclusion
Booting a Raspberry Pi OS onto the SSD is simple. For that, you only need an SSD and the Raspberry Pi Imager tool that will load the image of the OS onto it. After that, you have to insert the SSD into the Raspberry Pi device and perform the required steps to use the Raspberry Pi OS on the device successfully. To ensure the SSD is used as permanent storage for Raspberry Pi, you can run the “df” command in the terminal.

