Blender is easy to learn, and it has the support of a huge community. Blender is a very robust application, and its modeling, sculpting, and viewport navigation functions are smooth. However, for scenes with many 3D assets, glossy shaders, high-definition textures, particles, and volumetric lights, a significant amount of time is required for rendering. However, the time required for rendering can be reduced by employing the proper renderer settings. In this article, we will discuss methods for reducing the rendering time in Blender, and the effects of these methods on the final result.
Rendering a scene in Blender is different than rendering an image in a photo editor or a video from a video editor. There are many factors to consider before rendering in Blender to avoid wasting time. For example, Blender (version 2.8) comes with two rendering engines: Eevee and Cycles. Eevee is much faster than Cycles, and it has lower time and resource requirements; however, while Eevee is a real-time viewport port renderer, Cycles is a ray-tracing rendering engine that achieves better results. A rendering engine can be selected based on personal preference, but professional designers tend to prefer Cycles due to its accuracy and realism, despite its higher time requirements.
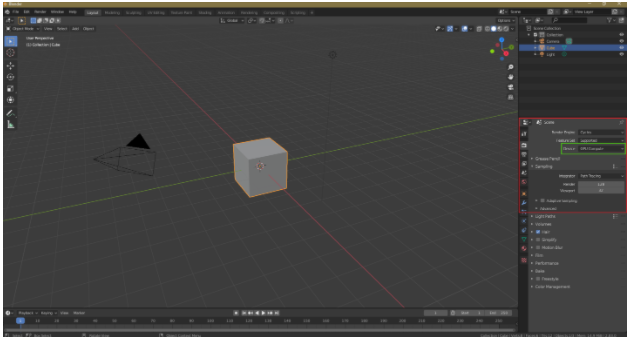
Rendering with Cycles can be frustrating, but we can reduce rendering time by adjusting the renderer settings. Now, we will have a look at some of the settings that can be adjusted to reduce rendering time with the Cycles rendering engine.
Number of Samples
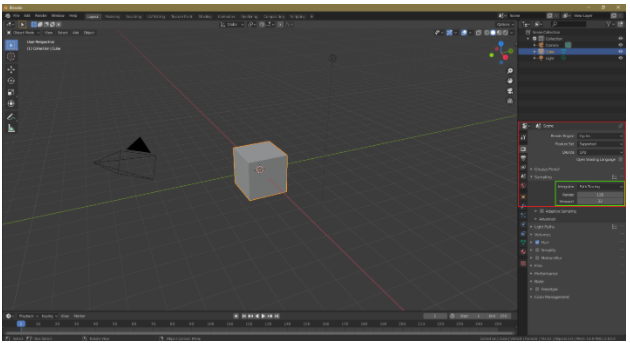
The number of samples required for a decent render cannot be known a priori; however, the general rule of thumb as few samples as possible while ensuring an acceptable amount of noise. Therefore, the following tradeoff must be considered: fewer samples will result in more noise but a lower rendering time, while more samples result in less noise but a higher rendering time.
Denoising
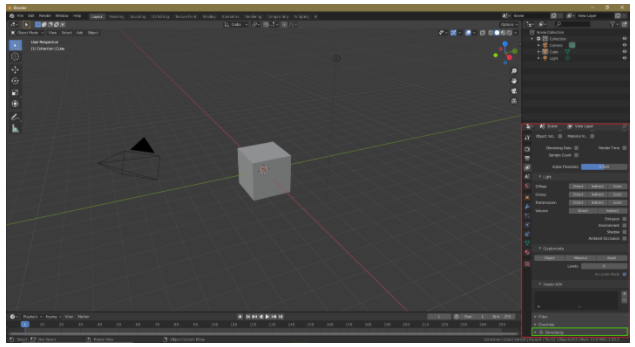
Your scene or object will be noisy if you reduce the number of samples. To reduce noise, the Denoising option can be selected in the view layer tab. Denoising is a post-processing step that the renderer will perform after rendering the scene or object.
Number of Bounces
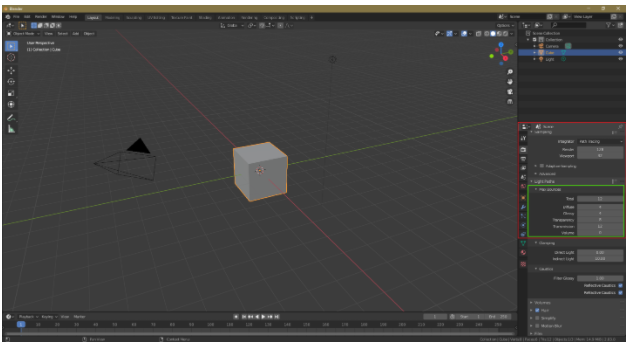
We can also modify the number of bounces to shorten the rendering time. A light bounce, which produces indirect light, is the change in the direction of a ray after hitting a 3D surface. With fewer bounces, the scene or object will be less detailed, but the rendering time will also decrease. The maximum number of bounces is 12, but for most scenes, 4 to 6 bounces are enough. However, it is important to ensure that the number of bounces is not too low.
To change the number of bounces, go to Render Settings > Light Paths > Max Bounces
Tile optimization
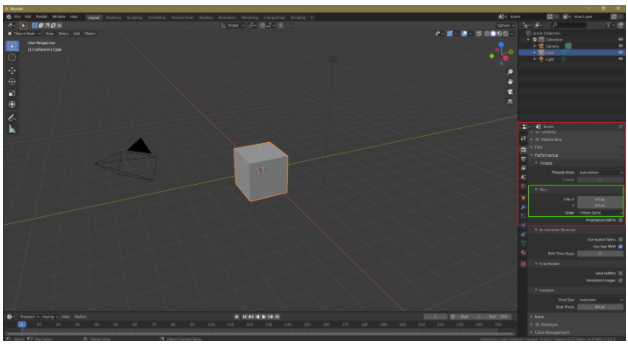
Adjusting the tile size can also help to reduce the rendering time. For CPU rendering, minimize the tile size; however, if you have a GPU, then feel free to use bigger tiles. With CPU rendering, a smaller tile size will reduce the rendering time; however, for GPU rendering, the opposite occurs.
To change the tile size, go to Render Settings > Performance > Tile Size.
GPU rendering
CPU rendering can be used to render files in Blender, but GPU rendering is a good option when rendering with Cycles. To enable GPU rendering go to File > Preferences > System > Cycle Rendering Devices > CUDA/OptiX/OpenCL. Blender will automatically recognize your graphics card. GPU rendering can make use of multiple GPUs, but with CPU rendering, you can use only one CPU.
Instancing objects
This technique many not be known to many Blender users, but it can be a very useful way to decrease the rendering time. For example, suppose you have many trees in your scene; in this case, you can instance the trees instead of duplicating them by using Alt+D to make an instance. Instancing is useful because object duplication burdens the CPU or GPU, which increases the rendering time.
Portal lamps
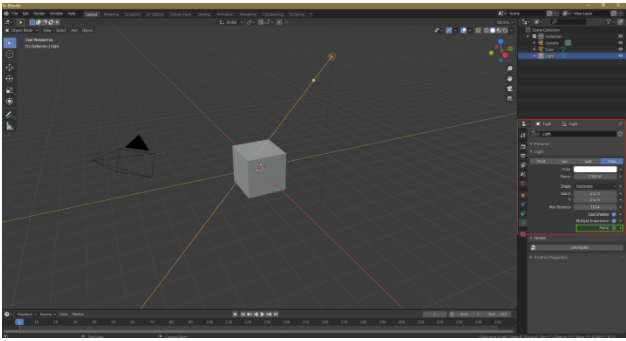
Cycles renderer takes a significant amount of time to render interior scenes. However, by using portal lamps, we can reduce the rendering time. Portal lamps help Blender to understand the type of scene. To enable portal lighting, check the Portal option in the area light settings.
It is important to note that portal lamps do not always work. Portal lamps work best for indirect lighting and interior scenes to show light from windows, but if too many portal lamps are used, the rendering time might increase, and the resulting scene could be noisy.
Volumetric effects
Volumetric effects like volumetric lights and volumetric fog are processor-intensive tasks. If you have volumetric fog or light in your scene, then Cycles will have high time requirements. As an alternative, a volumetric effect can be added during post-processing.
Adaptive Sampling
Adaptive sampling, which is an important technique for reducing rendering time, is available on all recent versions of Blender. With this option, Blender will focus less on parts that are less important or off camera, which will reduce rendering time.
To enable this option, go to Render Settings > Sampling and check Adaptive Sampling.
Caustics
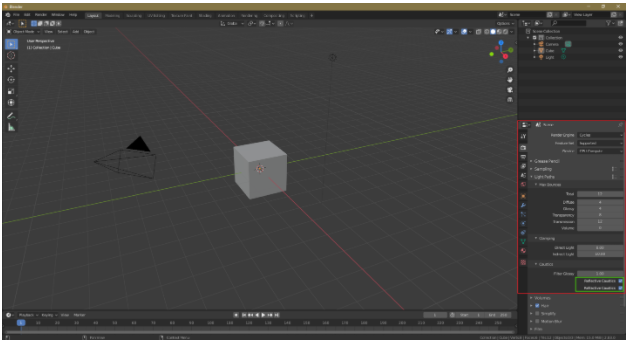
If possible, turn off caustics effects, which are processor-intensive effects. Turning such effects off in the rendering settings will reduce the rendering time. Go to Render Settings and uncheck Reflective Caustics and Refractive Caustics.
Cycles renderer is a processor-intensive ray-tracing renderer that usually has high time requirements. However, there are a few techniques that can reduce the rendering time. First, the number of samples can be reduced, as reducing the number of samples will reduce the rendering time. However, this technical can cause the object or scene to become noisy. Therefore, Denoising can be used as a post-processing option. Furthermore, avoid volumetric effects if possible, and adds such effects during post-processing. Finally, object duplication can be replaced by object instancing. With these tricks, you will significantly improve your rendering time.

