To save your data from losing, it’s always recommended to create a backup of your Raspberry Pi system so that you can get it back whenever you want.
In this article, we will present you with a simple method to back up Raspberry Pi as a Disk Image.
How to Backup Raspberry Pi as Disk Image
To create a backup of Raspberry as a Disk Image, follow the below-mentioned steps carefully.
Requirements
Before starting, there are a few requirements that need to be fulfilled to complete your backup process, those requirements are:
- An SD cards
- Card Reader
- PC
- Win32DiskImager
Before moving to the process, make sure you have fulfilled all the above requirements.
Let’s start the process!
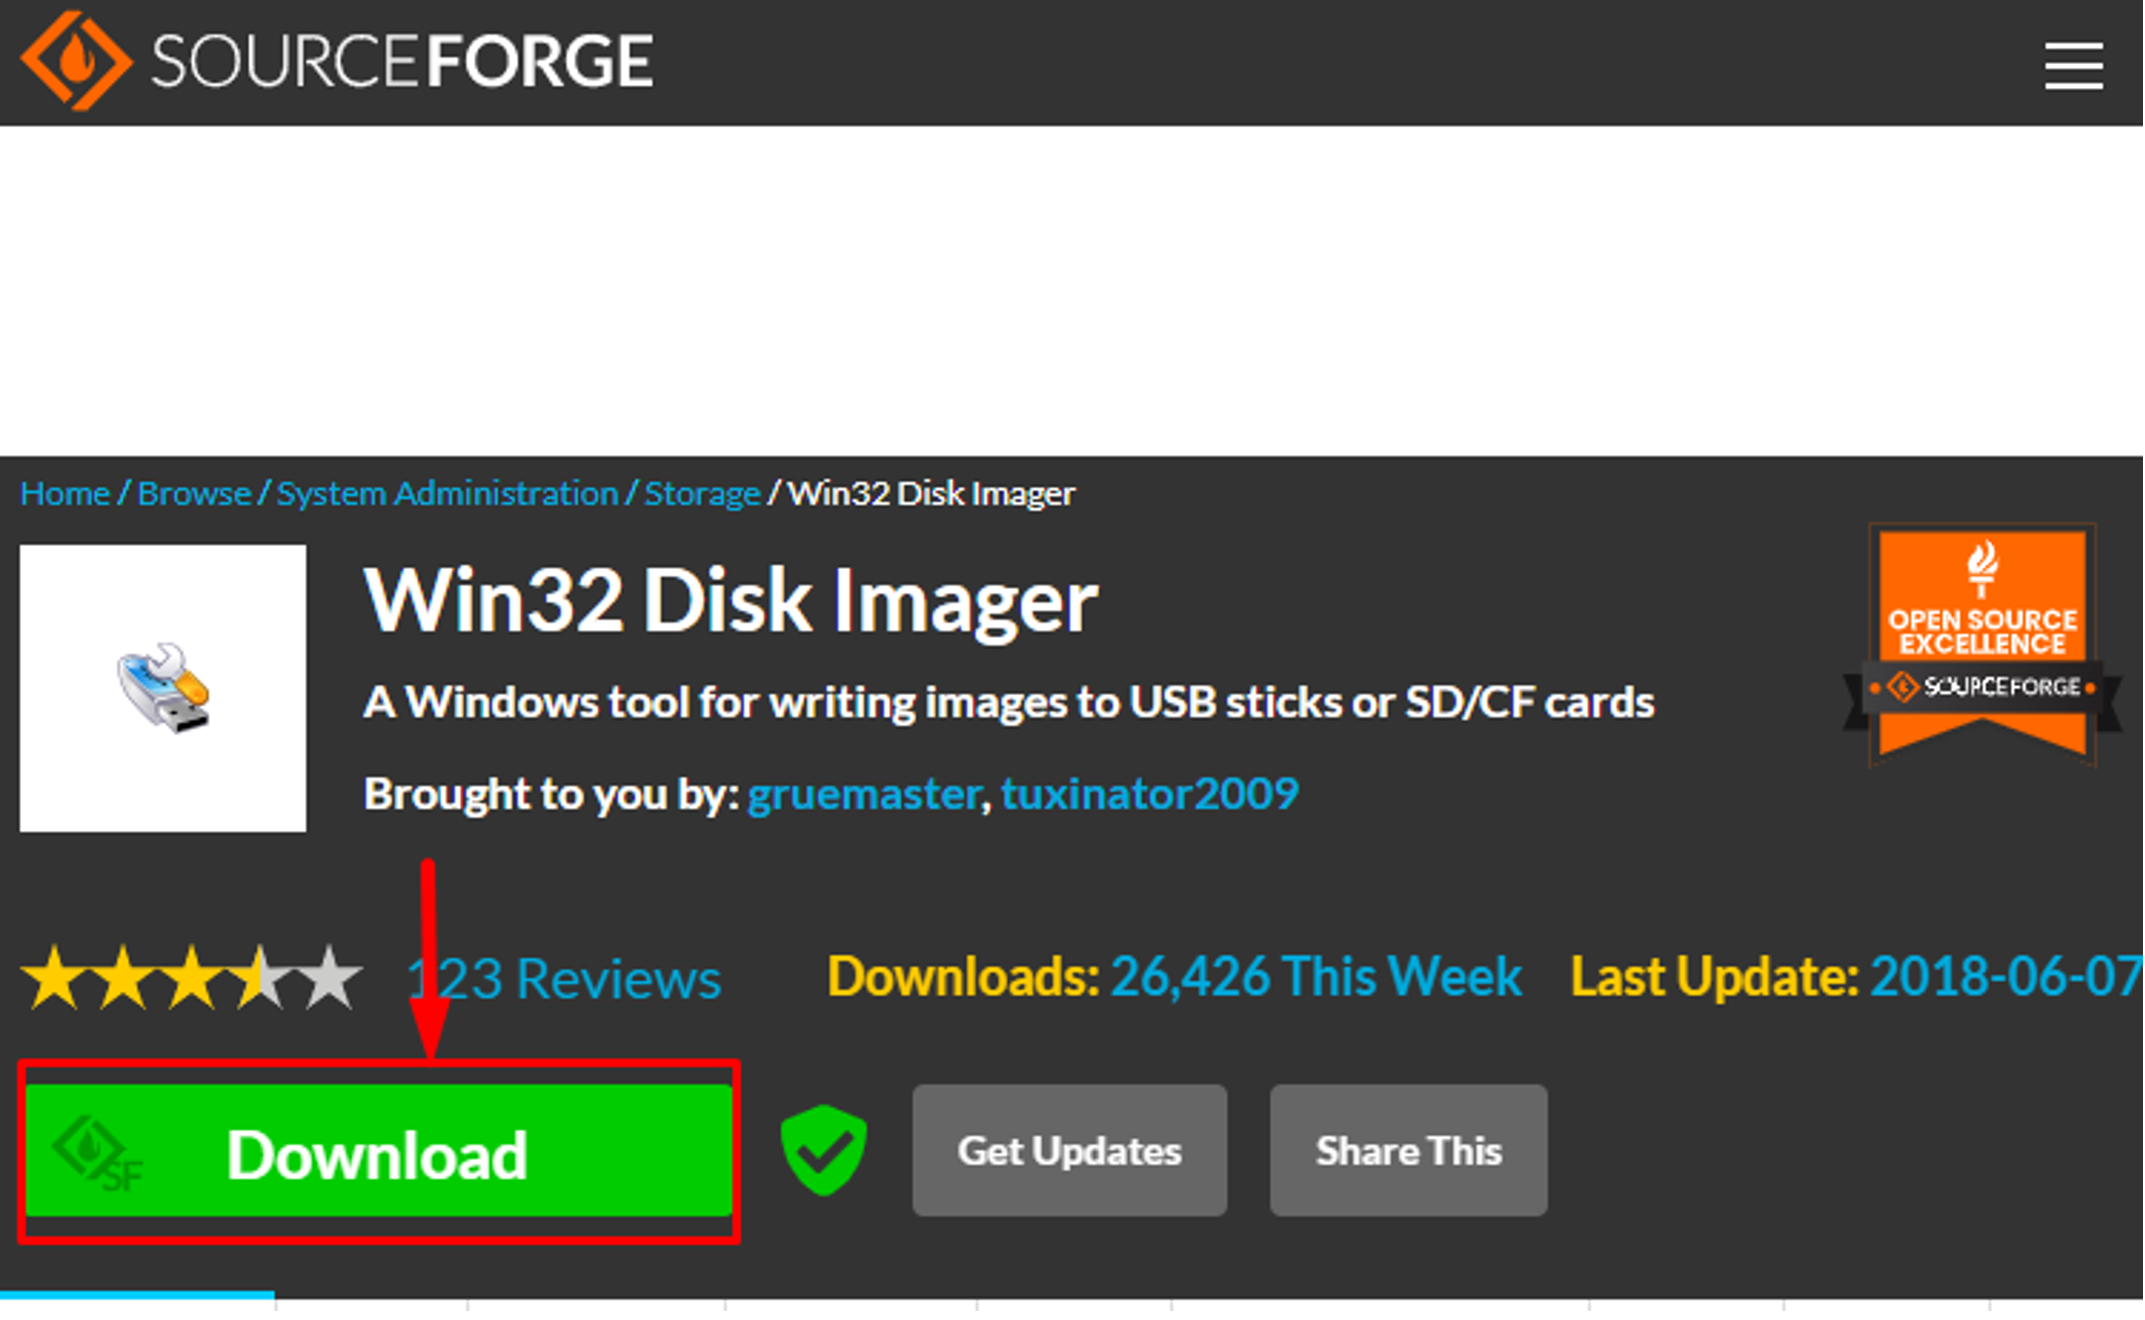
Step 1: Download and Install Win32 Disk Imager
The first requirement to create Disk Image is downloading a Win32 Disk Imager tool from the website and then install it on your Windows system.
Step 2: Remove SD Card From Raspberry Pi
Now shut down your Raspberry Pi system and removes the SD card from it. Then finally put the card inside a card reader and plug it into your PC where you want to create a backup.
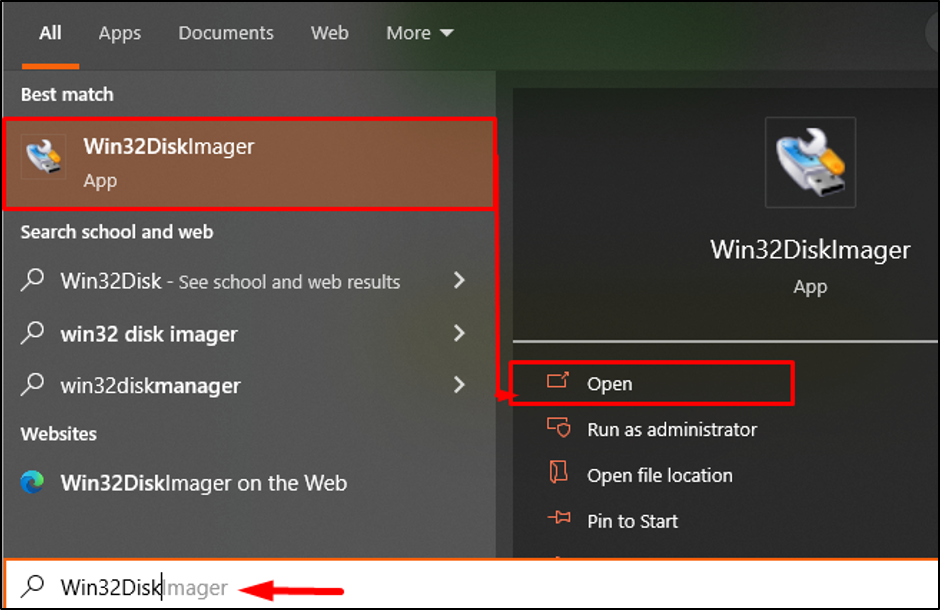
Step 3: Create Image Using Win32 Disk Imager
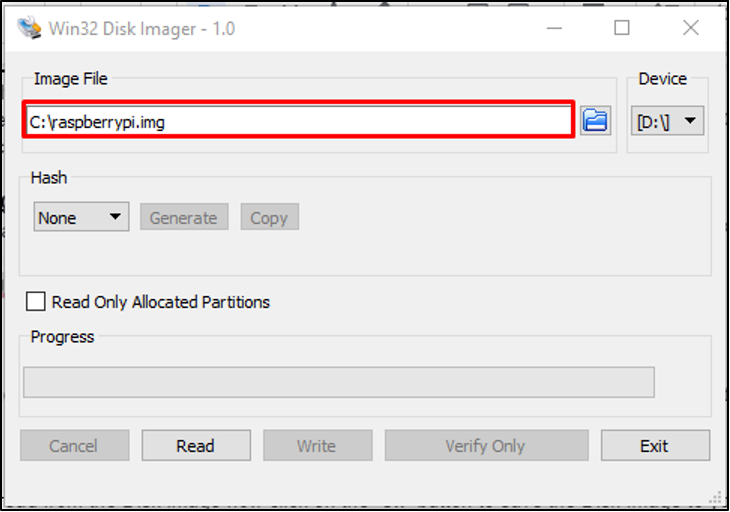
Now it is time to create an image using Win32 Disk Imager and for that open the Win32 App on your PC and browse through the folder where you want to save your image file.
In my case, I am picking the default location and directory name. You should also ensure that the selected Device is your Raspberry Pi’s SD card.
Step 4: Reading and Writing the Data
Now to start building the Raspberry Pi disk image, you must select the “Read” button.
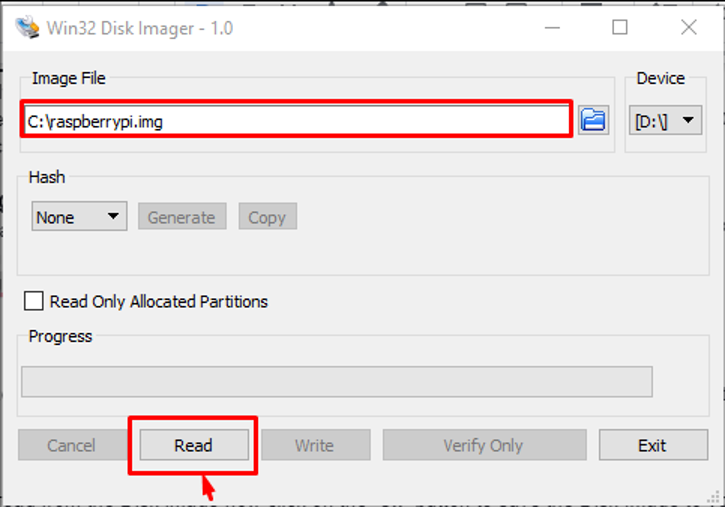
Wait for the process until you get the confirmation on the screen about the Read Successful message, which ensures that your Raspberry Pi data is successfully backed up.

Now, in case your Raspberry Pi data is corrupted, you can recover it again by opening the Win32 Disk Imager again and putting all the data into the Raspberry Pi SD card using the “Write” option.
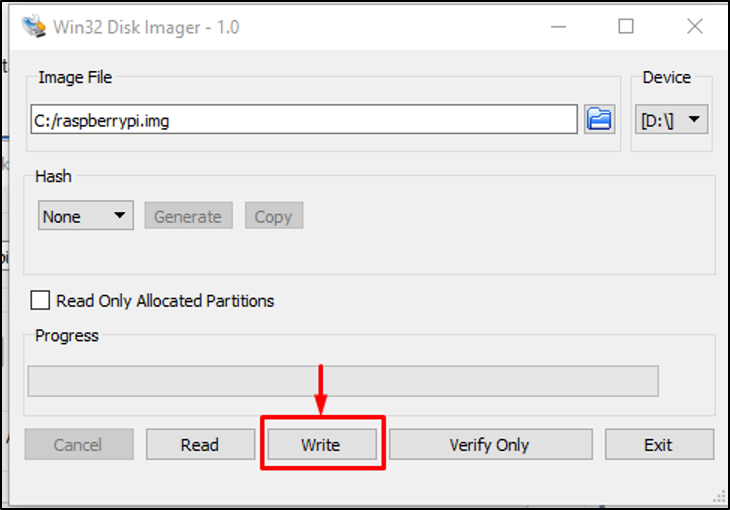
Make sure that your PC or laptop does include the image file you created from the above steps and you have inserted the Raspberry Pi SD card into your system.
Conclusion
To secure your important data, it is always important to have a backup for it because there exists a case when suddenly you lost your Raspberry Pi SD card. Creating a Backup for Raspberry Pi as Disk Image is a very simple process and can be completed within a few steps as mentioned above. All you need is a Win32 Disk Imager application on your PC to create an image of your Raspberry Pi SD card and then Read all the data and store the copy in your PC or laptop folder. You can then easily Write the same data to an SD card in case if your previous data is damaged.