However, while deploying the applications in the container, users are required to access the container’s process shell or attach some standard input, output, and error stream. In such situations, Docker supports the “docker attach” command.
In this blog, we will illustrate how to connect “docker attach” to a running Docker container.
What is Docker Attach?
The “docker attach” is a Docker command line utility that is being utilized to attach the user’s terminal std input, std output, and error stream to the currently executing container. This “docker attach” command enables the users to view and manage the container output, and input streams interactively.
Syntax
In order to use the “docker attach” to attach the docker container to the terminal’s input/output stream and to handle the container interactively, utilize the below syntax:
Alternatively, the user can also use the below syntax to attach the running container through “docker attach”:
Options
The options supported by the “docker attach” command are listed below in tabular form:
| Option | Description |
| –detach-keys | It is utilized for overriding the container’s key sequence to detach it. |
| –no-stdin | Do not attach the standard input stream (STDIN) to the running container. |
| –sig-proxy | It is used to proxy all the accessed signals to the process. |
How to Connect “docker attach” to a Running Docker Container?
To connect the Docker executing container to the processing terminal and to attach the Docker standard I/O and error stream, utilize the “docker attach” command. For this purpose, first, install and set up the Docker development environment on your system through our linked articles “Install Docker on Windows” and “Install Docker on Ubuntu”.
After that, follow the below-provided demonstration to attach the running container to Docker standard I/O and error stream by utilizing the “docker attach” command.
Step 1: Make Dockerfile
First, make a “Dockerfile” and add the following commands into the file to generate a basic image for demonstration:
COPY index.html /usr/share/nginx/html/index.html
ENTRYPOINT ["nginx", "-g", "daemon off;"]
The description of the above commands is as follows:
- “FROM” statement is utilized to define the container’s base image.
- “COPY” copies the program file to the specified path of the container.
- “ENTRYPOINT” defines the container’s executable points.
Step 2: Make Program File
In the next step, make a simple “index.html” file and add the below snippet:
<head>
<style>
body{
background-color:rgb(9, 4, 4);
}
h1{
color:rgb(221, 219, 226);
font-style: italic;
}
</style>
</head>
<body>
<h1> This is First HTML page </h1>
</body>
</html>
Step 3: Generate New Docker Image
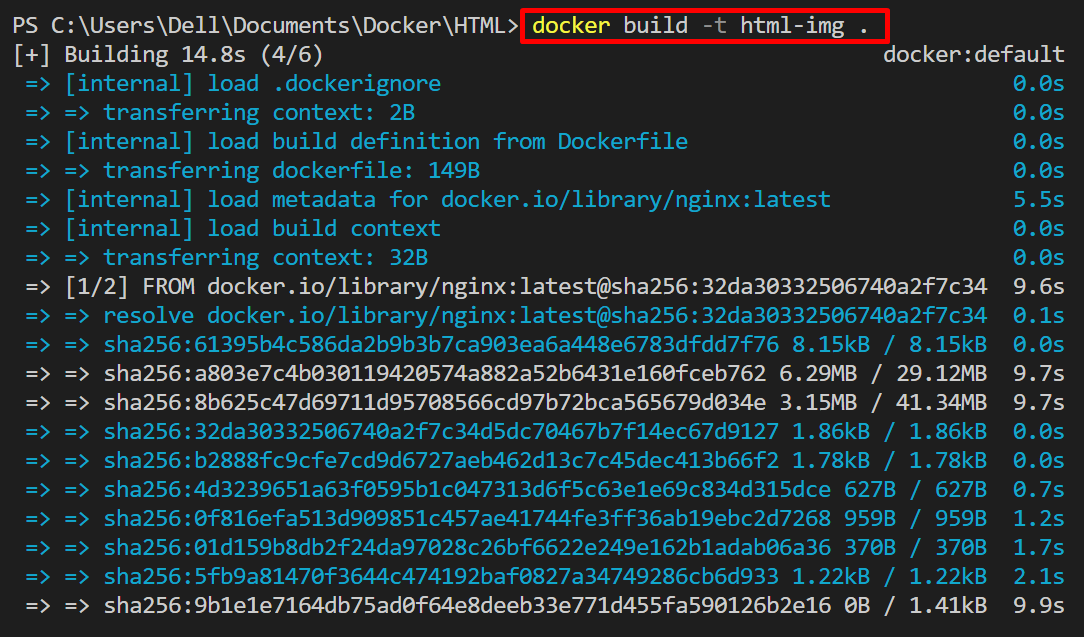
Open the terminal and navigate to the directory where the Dockerfile is placed using the “cd” command. After that, generate the container’s snapshot or image using the below-given command:
In the above command, the “-t” option is utilized to set the image name or tag:
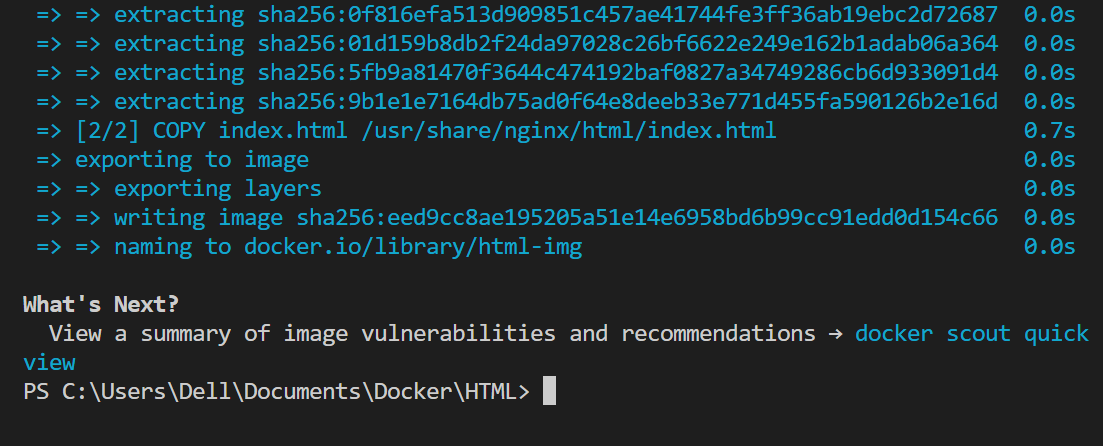
The below output shows that we have successfully created the new Docker image named “html-img”:
Step 4: Fire up the Container
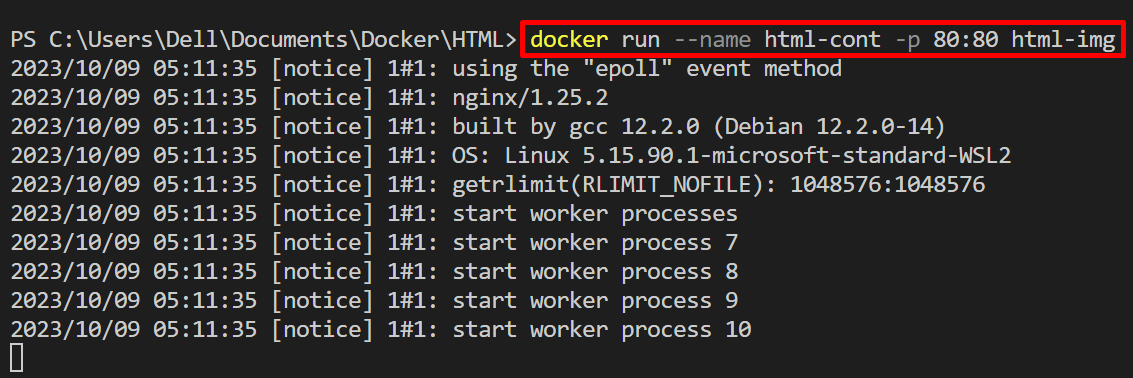
Now, run the above-created image and fire up the container through the given command:
In the above command, the “–name” option sets the name of the container and the “-p” option specifies the container’s exposed port:
Step 5: Attach Running Container to “docker attach”
After executing the container, attach it to Docker standard I/O and error stream through the “docker attach” command:
Now, whenever the user navigates to the exposing port of the container, it will stream the input, output, or error on the process terminal:
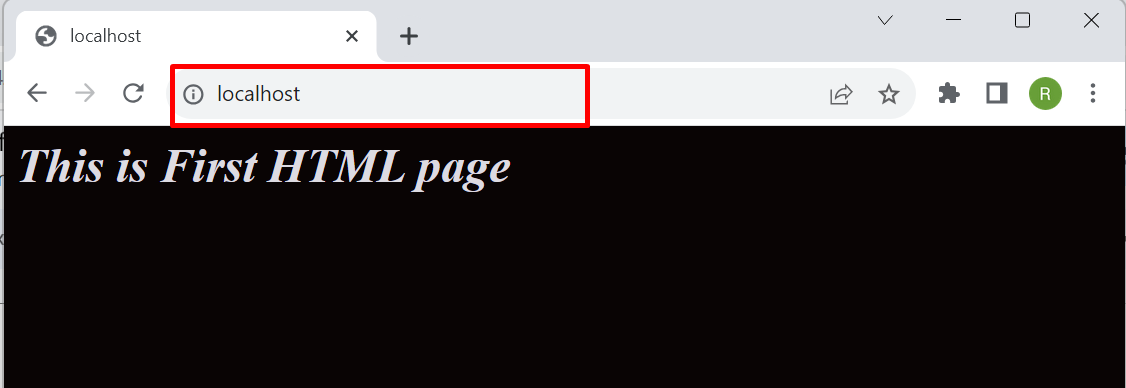
Let’s navigate to “http://localhost:80” and check whether the application is executing on the exposed port of the container or not. The output shows that we have launched the HTML web page on localhost:
Now, again check the terminal where the “docker attach” command is executed. Here, you can see we have successfully connected the running container to the local std I/O and error stream:
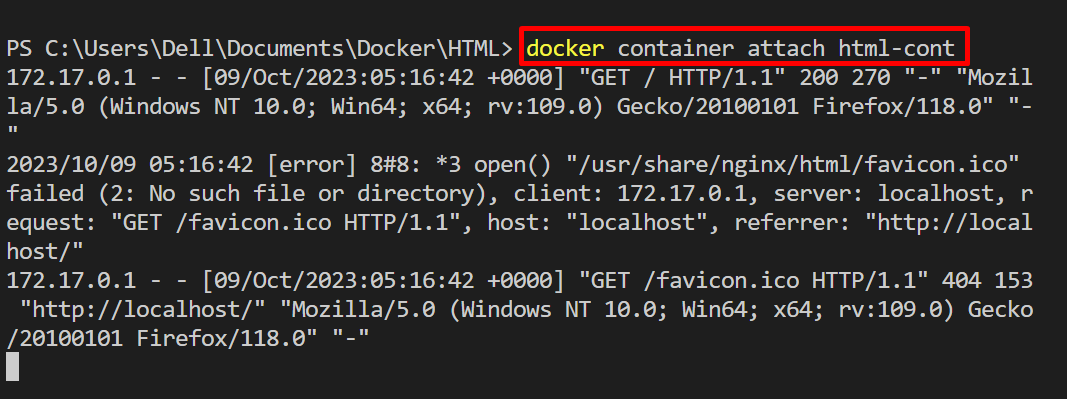
However, the user can alternatively use the “docker container attach” command to attach the container to the std input, output, and error stream:
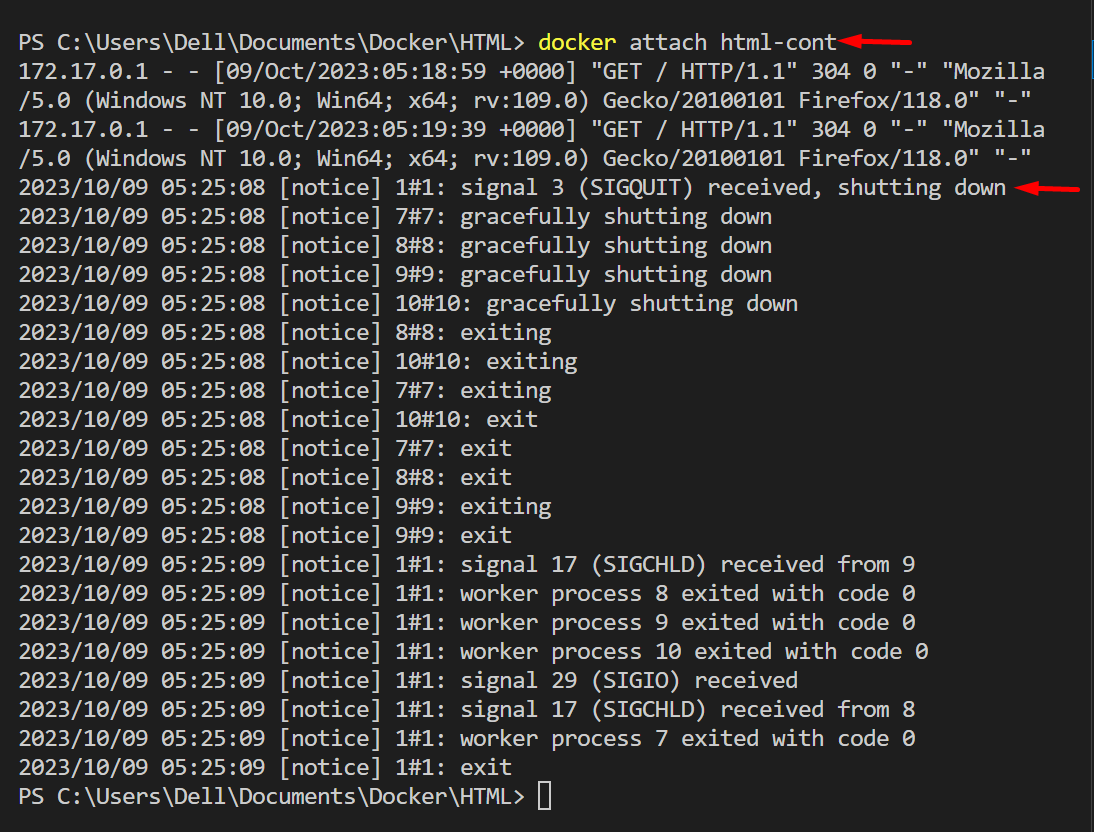
While stopping the container, the process shell will also be shut down as shown below:
That is all about attaching the container to the std input, output, and error stream.
Conclusion
To attach the running container to standard I/O and error stream, first, create and execute the container through the docker image. After that, attach the running container to the process terminal using the “docker attach <container-name/id>” command. This blog has illustrated how to attach Docker std I/O and error stream to executing docker containers.

