This blog will elaborate on:
How to Create Docker Image?
To create a Docker image to encapsulate the application inside the container, first, make the Dockerfile, add instructions to containerize the application in the file, and then make the new image from the Dockerfile. For illustration, go through the following steps.
Step 1: Create Dockerfile
Create a new text file, set its name as “Dockerfile” and also remove the “.txt” extension. Then, copy the below commands into the file:
COPY index.html /usr/share/nginx/html/index.html
ENTRYPOINT ["nginx", "-g", "daemon off;"]
The explanation of the above code is as follows:
- “FROM” command is utilized to set the container base image. This image will be pulled from the official registry to create the base of the container.
- “COPY” command is utilized to copy the source code and application configuration files in the container-specified path.
- “ENTRYPOINT” command is utilized to set the container’s default executable points.
Step 2: Create a Program File
For demonstration, we will containerize the simple HTML program. To create a program file, create a file named “index.html” and add the below given HTML tags to the file:
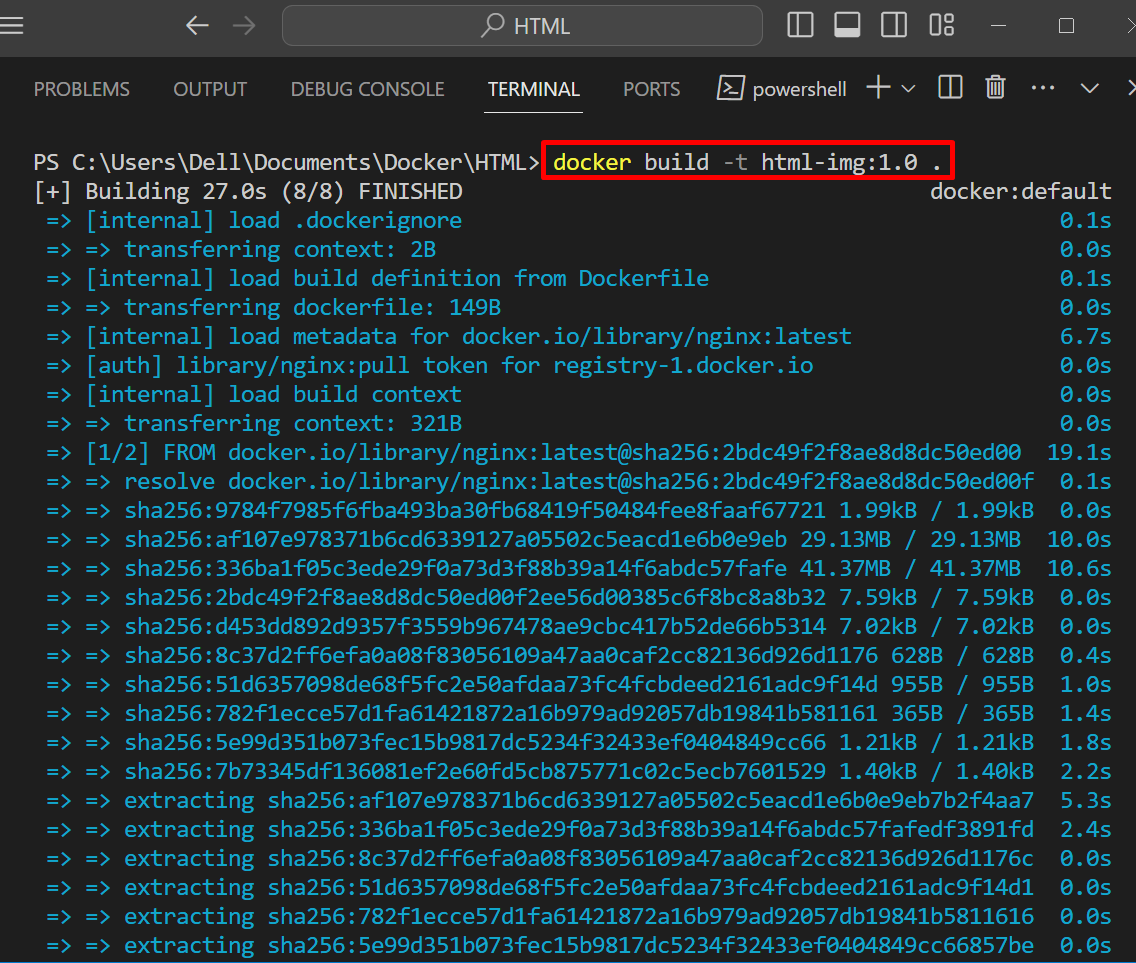
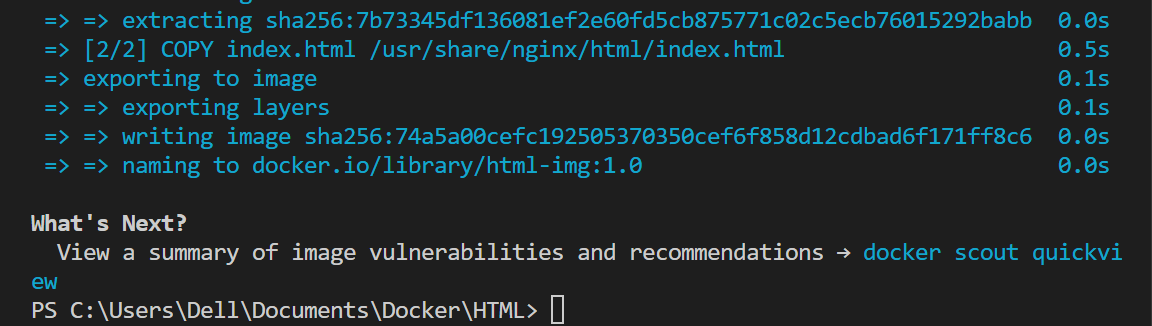
Step 3: Build Docker Image
Now, make the new image in Docker through the given command. Here, “html-img:1.0” is the name of the image that has set its version as “1.0”:
Step 4: List Images
Next, list down the images in Docker for confirmation:
Here, the image is created successfully:

Step 5: Execute the Image
To execute the above-created image to containerize the HTML program, utilize the “docker run -p <port-no> –name <container-name> <image-name>” command:
In the above command, the “-p” option will expose the HTML application on the “80” port, and “–name” will set the container name:

For verification, visit the “localhost:80” on the browser and check if the application is executing or not:

The above output shows that we have executed and exposed the containerized application using a Docker image. To publish this image to the Docker registry to save the image or to make it accessible to other users, follow the below section. Otherwise, you can skip the next section and directly move toward the “How to update Docker image” section.
How to Publish Docker Image?
To upload the Docker image to the official Docker registry, first, sign in to the Docker Hub registry. After that, publish the Docker image on the Docker registry. To learn more about Docker Hub, follow our linked “Docker Hub and Docker Registries” article.
To publish the Docker image, follow the below-given instructions.
Step 1: Tag the Image
To push the Docker image to the registry, users are required to tag the image with the registry name. For this purpose, tag the image in Docker through the “docker tag <image-name> <registry-name>/<image-name>:<tag/version>” command:

For confirmation, list down the images:
Here, the output shows that we have successfully tagged the HTML docker image:

Step 2: Log in to Docker Registry
First, log in to the Docker official registry through the below command:
It will ask you to enter a username and Docker registry password. Provide the required credential information and hit the “Enter” key:
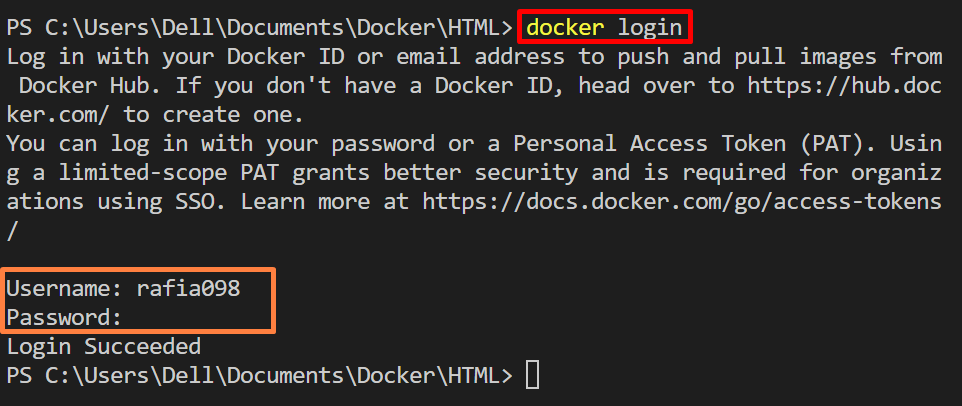
Here, we have successfully logged in to the Docker registry. To log in to a private registry or to get more insight on “Docker login”, follow the attached article.
Step 3: Publish the Image
To publish the image, utilize the “docker push <tagged-image-name>” command. This command will upload the image on the Docker registry:

To make changes to the Docker image, update the image, or publish the new updates of an image on the Docker registry, move ahead to the next section.
How to Update Docker Image?
Sometimes, users want to make changes in the application or fix some bugs and crashes. After that, they want to update the Docker image or publish the new updates. For this purpose, they may be required to update the application source code, and Docker file, rebuild the application, and release the new version of the image. For illustration, go through the below instructions.
Step 1: Update Program File
Make changes in the “index.html” file or create a new file and paste the given code into the file. For illustration, we have created a new file named “index1.html”:
Step 2: Update Docker File
Next, open the Dockerfile, and make the required modifications. In our case, we need to change the source file name from the “COPY” command:

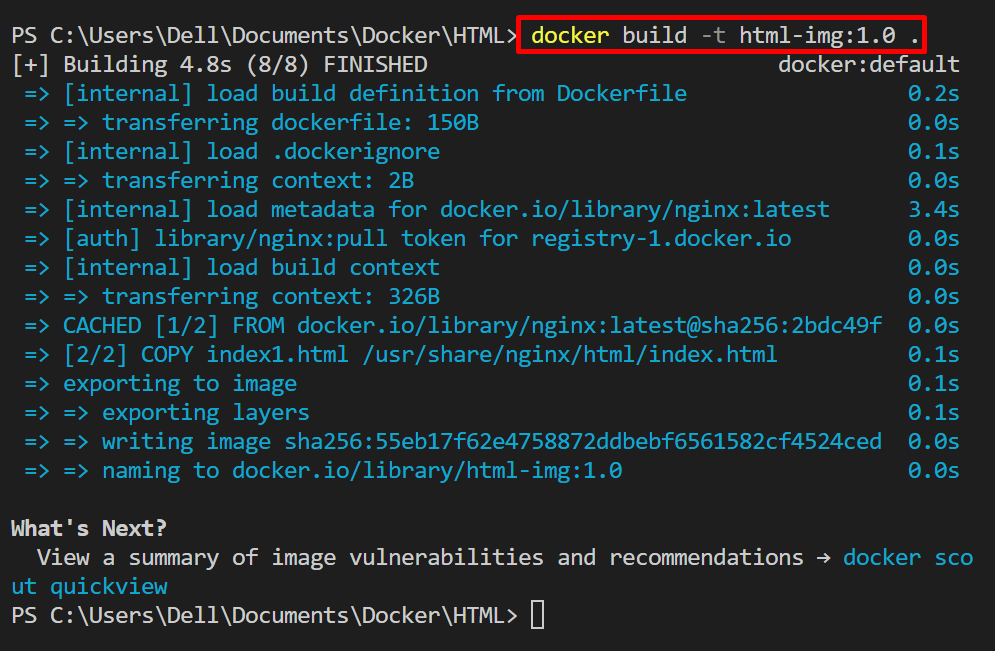
Step 3: Update Docker Image
Next, recreate the image using the below command. Here, we have updated the same <html-img:1.0> docker image that is created in the first section:
Step 4: Execute the Updated Image
For confirmation, again run the image inside the Docker container using the below command:
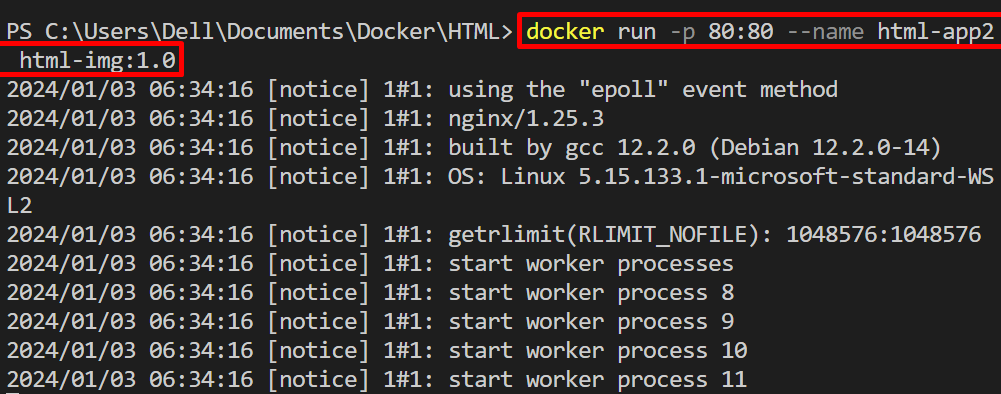
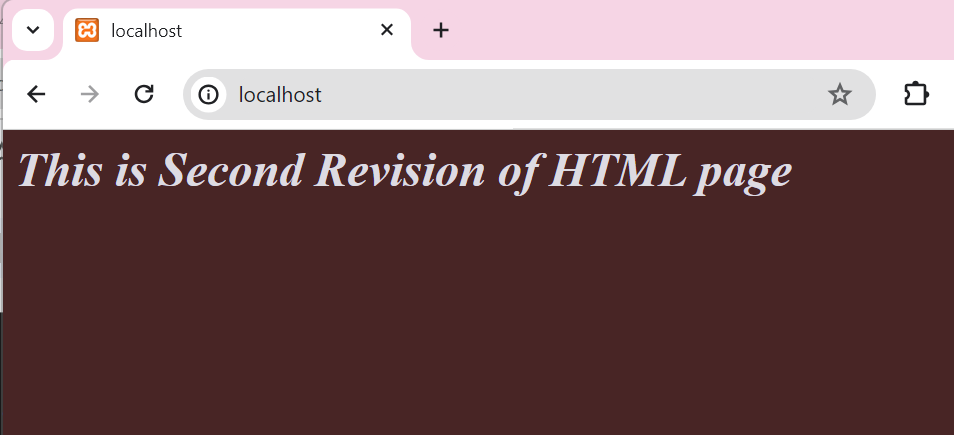
Open the “localhost:80” port and check if the image is updated or not. Here, the output shows that we have successfully updated the Docker image:
Step 5: Tag Image With New Version
Again tag the image, and assign it the new version “2.0”. For this purpose, use the “docker tag <image-name> <registry-name>/<image-name>:<tag/version>” command:

Next, list the Docker images for confirmation:

Step 6: Publish Updated Image
Now, publish the updated image on the Docker hub registry. To do so, execute the “docker push <updated-docker-image>” command:

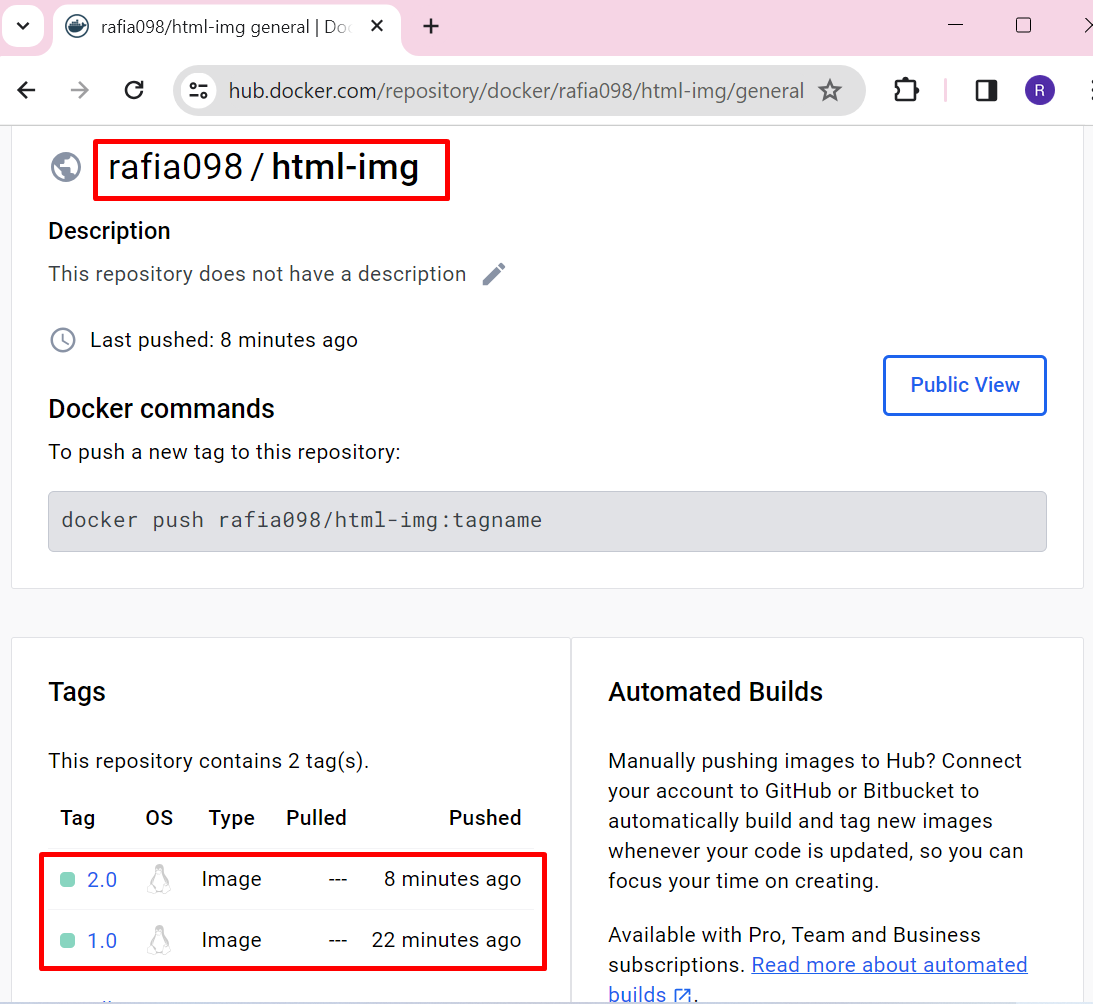
To check if the updated image is uploaded on the Docker registry, navigate to the Docker Hub official site, sign in to the account, and check the registry. The given output shows that we have effectively uploaded the “html-img” version “1.0” and updated “2.0” on the Docker Hub registry:
Note: To download the updated version of any image from the Docker Hub registry or to update the image to the latest version, follow our “Update Docker Image to Latest Version” article. We have covered how to update images in Docker.
Conclusion
To update the image in Docker, first, make essential modifications in the application. After that, change the Dockerfile according to your requirements and save the file. Next, to update the Docker image, recreate the image with the help of “docker build”. To publish the updated image on the Docker Hub registry, first, tag the image and set its new version. After that, use the “docker push <updated-image-name>” command. This post has illustrated how to update the Docker image.