do-while loop in Arduino
The do while loop consists of two blocks that are do block and while block. The first block of the do-while loop includes the instruction that is needed to be executed and in the second block there is the condition on which the given instruction is to be tested. This gives the do-while loop a distinctive feature as compared to the other loops used in Arduino programming that it will give the output once even in the case when the given condition gets false.
The flow chart of the do-while loop is given for better understanding of working of the do-while loop:
The do-while works in such a way that first the instruction or the statement given is executed. It can be either mathematical operation or logical operation. Then the output of the statement is given to the condition for testing and if the output satisfies the given condition the loop starts again and runs until the condition is being satisfied. However, if the condition is false or not satisfied by the output of the executed instruction the loop will be terminated.
The do-while loop can be used for creating a list of numbers in increasing and decreasing order. It can also be used for limiting the iteration of the loop till the desired output is achieved.
This is done by using the condition that accommodates the values that are not greater than or less than or equal to the user desired value. Arduino example codes are given in the context to give the reader a clear concept of the working of do-while loop. To use the do-while loop in Arduino programming the following syntax should be followed.
instruction1;
instruction2;
…
}
while(test-condition); {
}
Example code
The two different examples of do-while loop for Arduino are given:
Example 1 of do-while loop in Arduino
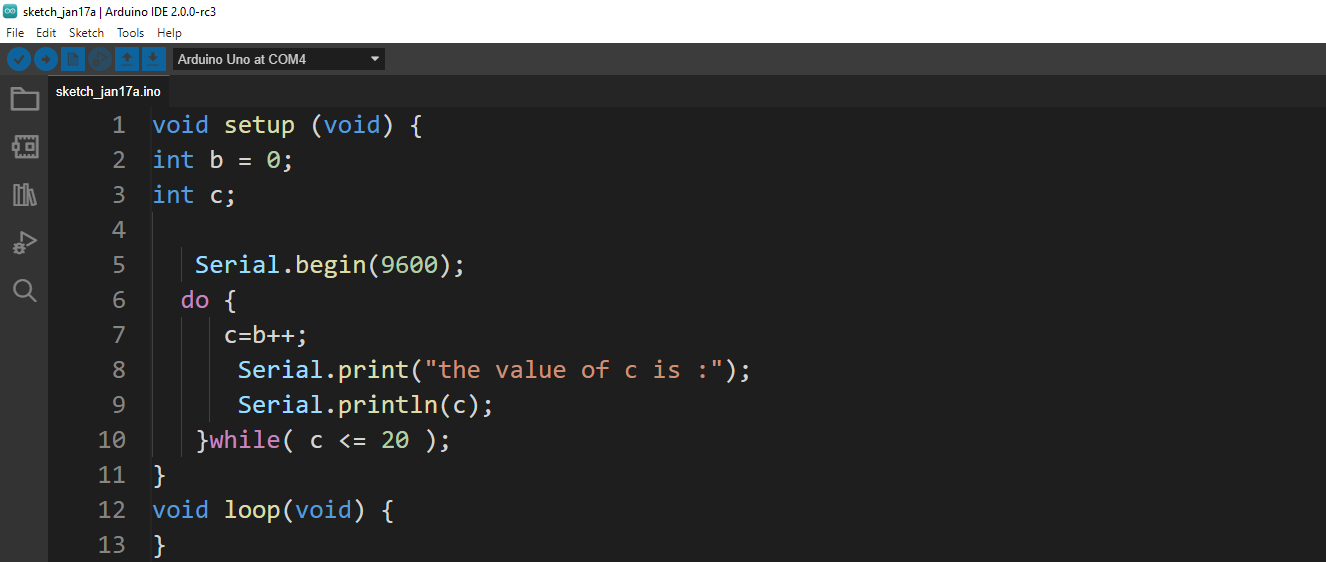
In this example only a list of numbers is generated using the increment operator up to 20 numbers.
int b = 0;
int c;
Serial.begin(9600);
do {
c=b++;
Serial.print("the value of c is :");
Serial.println(c);
}while( c <= 20 );
}
void loop(void) {
}
Output
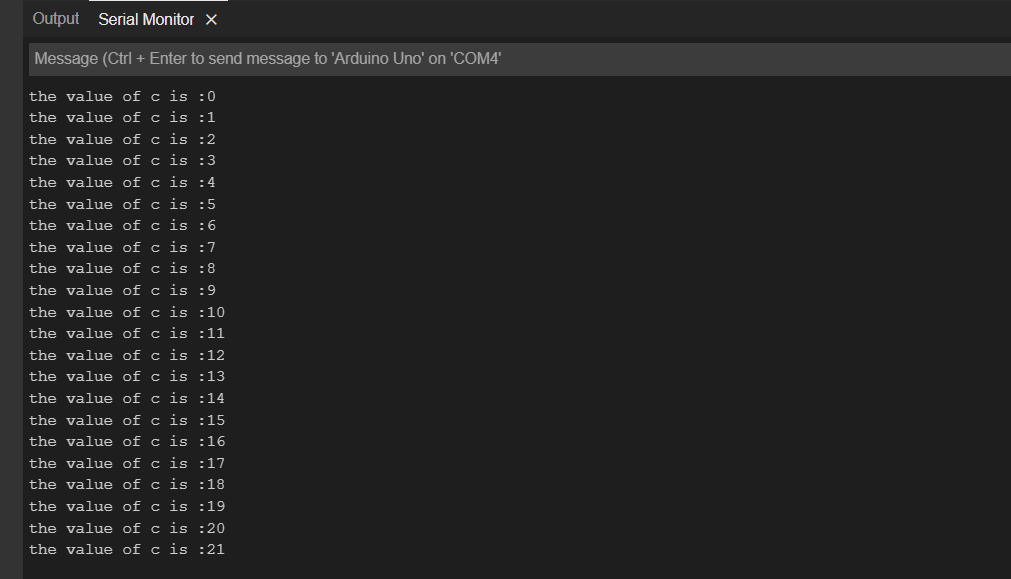
Here in the output, it can be seen that the do-while loop runs one more extra iteration even the condition is not true this is because the statement is at the start of the loop:
Example 2 of the do-while loop in Arduino
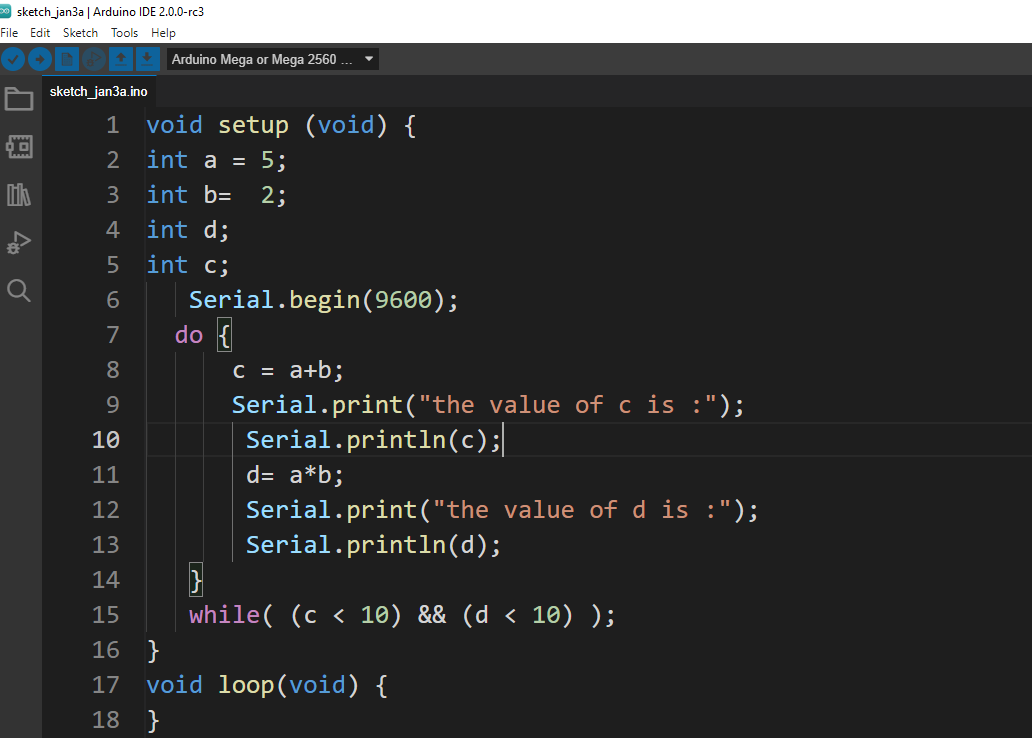
In the second example a multiplication and addition operator is used on the variables a and b. The value for variable a is 5 and the value for b is 2 and the logical operator AND is used for the outputs of the mathematical operations. The loop will terminate only when any of the conditions mentioned in the while loop becomes true. So here the do-while runs only one iteration as the condition gets false on the first iteration.
int a = 5;
int b= 2;
int d;
int c;
Serial.begin(9600);
do {
c = a+b;
Serial.print("the value of c is :");
Serial.println(c);
d= a*b;
Serial.print("the value of d is :");
Serial.println(d);
}
while( (c < 10) && (d < 10) );
}
void loop(void) {
}
Output
Conclusion
This write-up gives a detailed explanation of the working of do-while loop for Arduino programming. To support the explanation two different code examples are given. The do-while loop can be used for multiple purposes like generation of lists of limited numbers or assessing any desired output of any mathematical operator using logical operators.


