One important aspect of programming with Arduino is data manipulation and conversion. When dealing with numbers and data, it is often necessary to convert between different data types, such as from bytes to integers.
Arduino Byte to Integer Conversion
In Arduino, a byte is an 8-bit data type, which can store values from 0 to 255. An integer, on the other hand, is a 16-bit data type, which can store values from -32,768 to 32,767.
To convert from a byte to an integer, the following code can be used:
byte b = 100;
result = b;
In this example, the byte b is assigned the value 100. The integer result is then assigned the value of b. Since b is a byte, it is automatically converted to an integer when it is assigned to the result.
It is also possible to convert multiple bytes into a single integer. For example:
byte b1 = 100;
byte b2 = 200;
result = (b2 << 8) | b1;
In this example, the first byte b1 is assigned the value 100, and the second byte b2 is assigned the value 200. The b2 byte is then shifted 8 bits to the left using the bitwise shift operator <<. The result is then combined with the value of b1 using the bitwise OR operator |. The final result is stored in the integer result.
Arduino Example Code
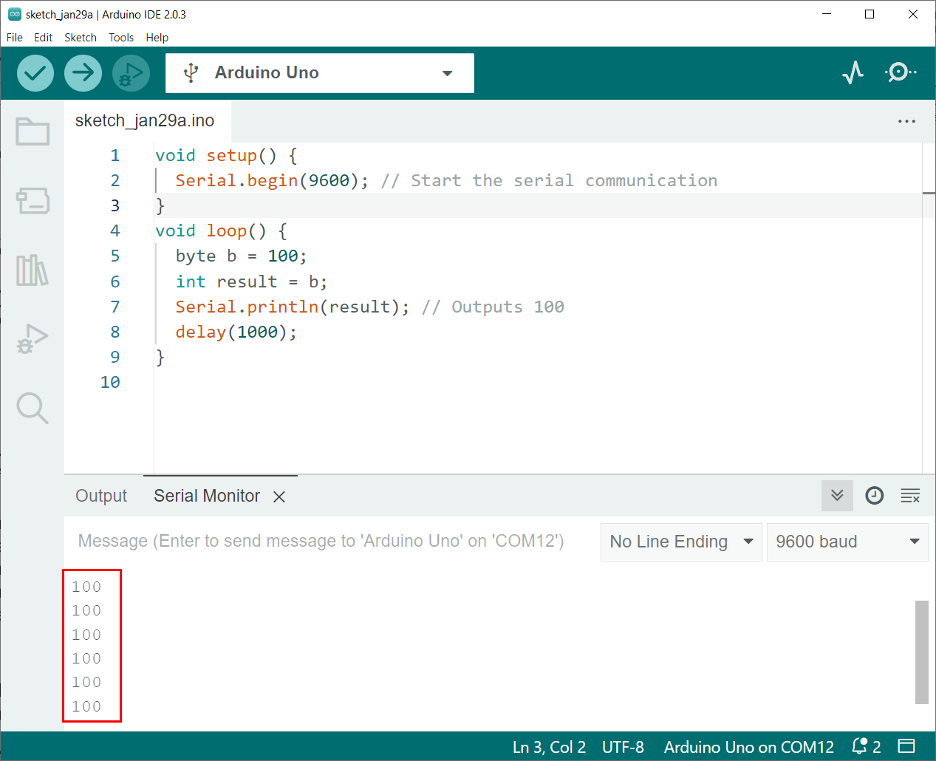
Here is an example code in Arduino that demonstrates the conversion from a byte to an integer:
Serial.begin(9600);
}
void loop() {
byte b = 100;
int result = b;
Serial.println(result); // Outputs 100
delay(1000);
}
In this example, a byte b is assigned the value 100. The byte is then automatically converted to an integer when it is assigned to the variable result. The Serial.begin function is used to start serial communication.
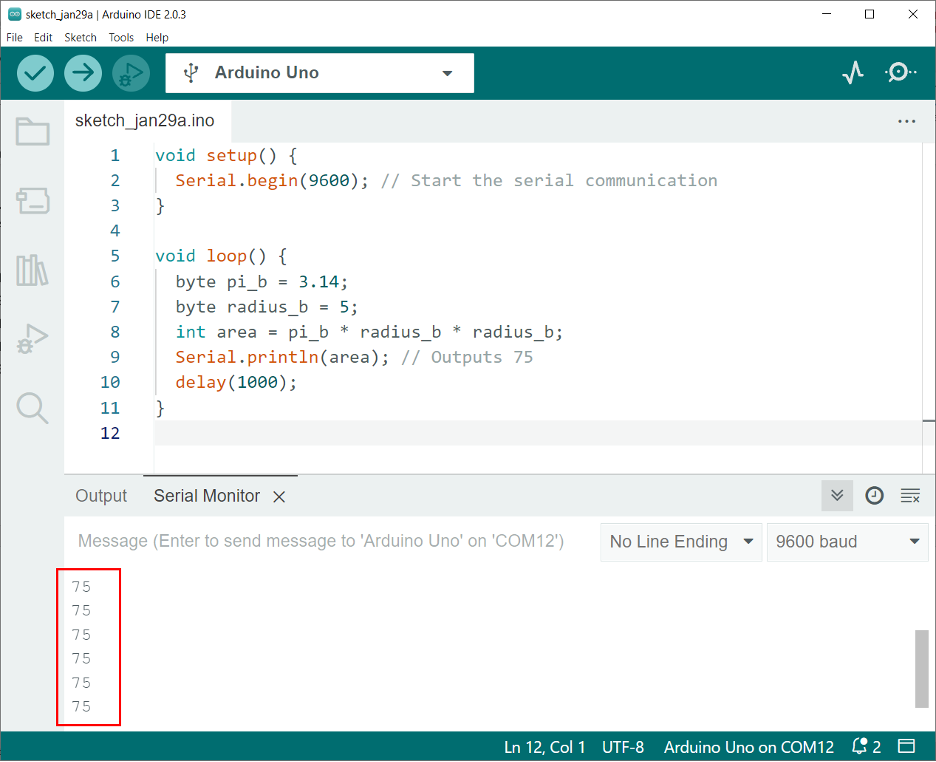
And here’s an example code that demonstrates the conversion of multiple bytes into a single integer:
Serial.begin(9600);
}
void loop() {
byte pi_b = 3.14;
byte radius_b = 5;
int area = pi_b * radius_b * radius_b;
Serial.println(area); // Outputs 75
delay(1000);
}
In this code, two bytes pi_b and radius_b are assigned the values 3.14 and 5 respectively. The bytes are then converted to integers by calculating the area of the circle as the product of pi, radius, and radius and stored in the integer area. The value of area is then printed to the serial monitor.
Above example code shows how to convert between bytes and integers in Arduino.
Conclusion
Converting a byte to an integer in Arduino is a simple operation that can be achieved using either the int() function or a type cast operator. By converting between data types, Arduino users can take advantage of the full range of data types available in the platform and perform a wide range of operations and calculations, this guide all about converting Arduino Byte to integer.