Interested in testing out a new distro? Instead of installing it over the current system, try the system out first using VirtualBox. Need to have multiple operating systems running at the same time? VirtualBox has got you covered. Almost all aspects of a virtual machine are customizable.
This guide shows you how to install and use VirtualBox in Ubuntu 20.04.
VirtualBox in Ubuntu
There are a few ways to install VirtualBox in Ubuntu 20.04. The simplest way to install VirtualBox is to get it directly from the Ubuntu software repos. The only problem with this method is that you may not get the latest version of VirtualBox.
It is also possible to perform a manual installation of VirtualBox. You can grab the official VirtualBox DEB package for Debian/Ubuntu and install it using APT. The downside with this approach is that you must manually update VirtualBox once a new version is released. This can be circumvented by adding the Oracle repo.
Finally, you can install VirtualBox directly from the source code. This method allows you to build VirtualBox from the source but can be a lengthier and more complex process. Installing VirtualBox using this method is not recommended, as you will have to follow it again to update VirtualBox, but this method can be used by advanced users who like to build programs from the source code.
Let us begin!
Install VirtualBox from the Ubuntu Repository
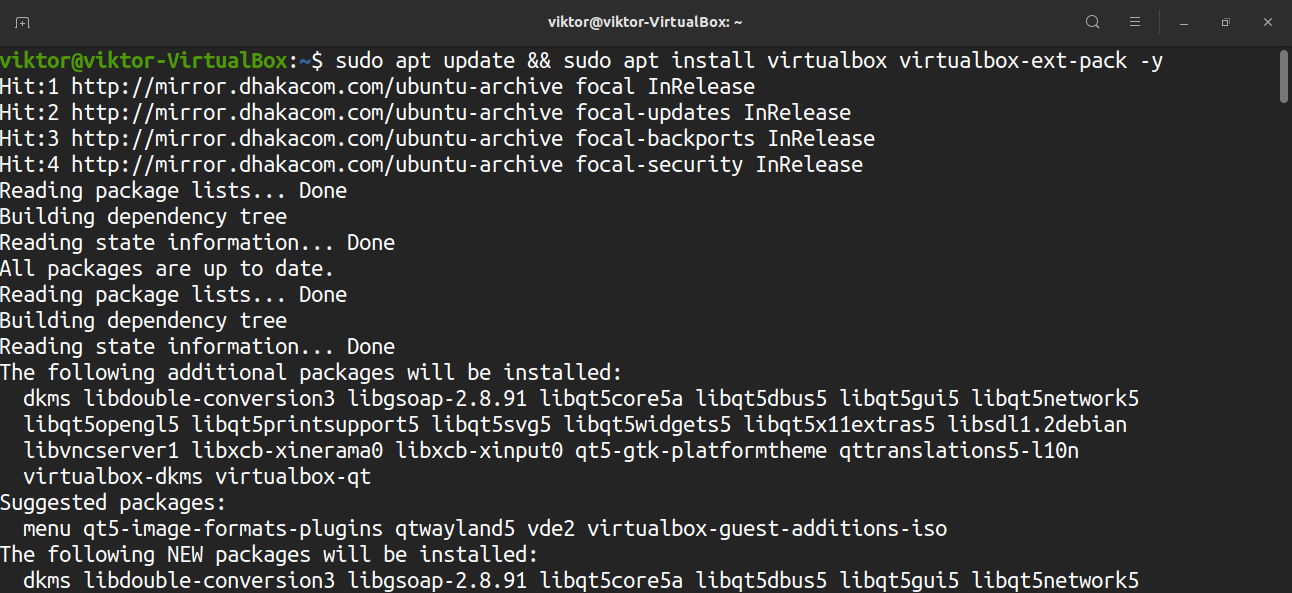
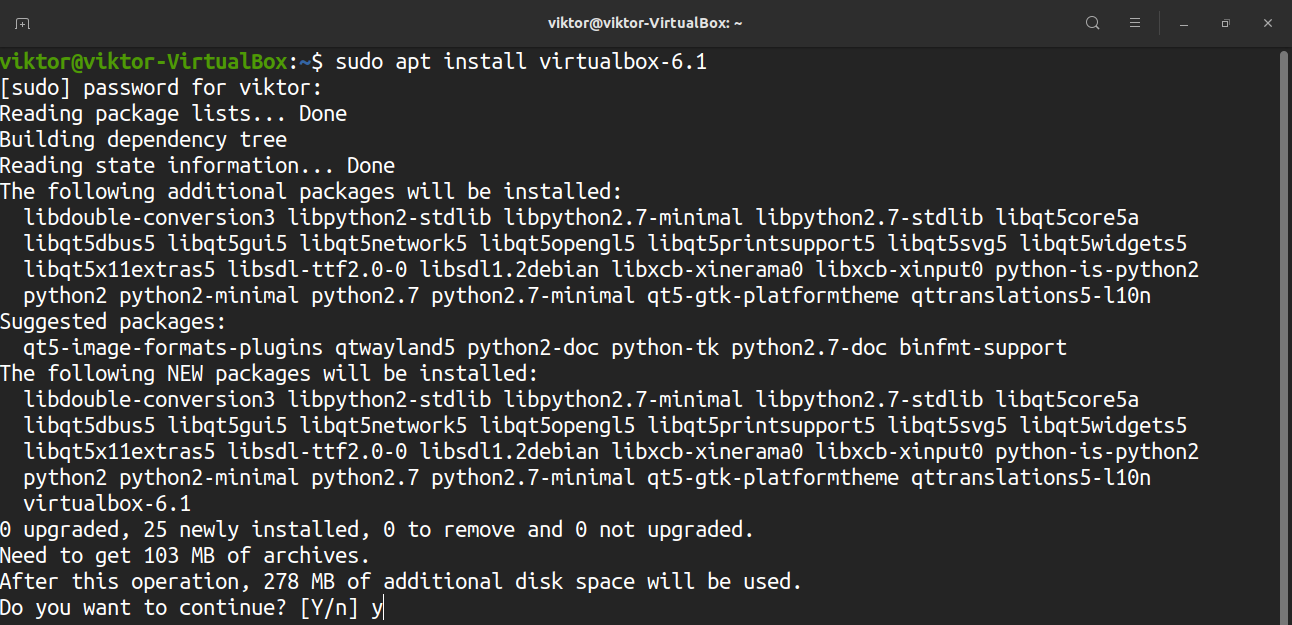
This is the default method for installing VirtualBox. All you have to do is tell APT to get the VirtualBox package from the default Ubuntu repos.
Fire up the terminal and run the following command:
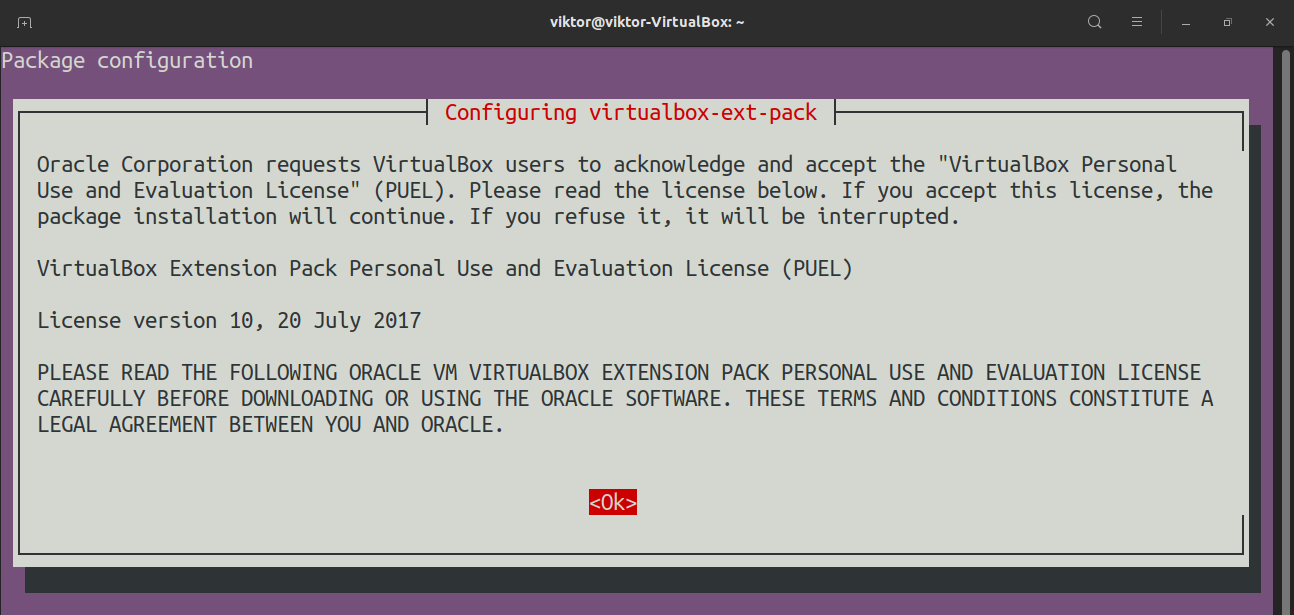
When prompted for virtualbox-ext-pack configuration, select “Ok.”
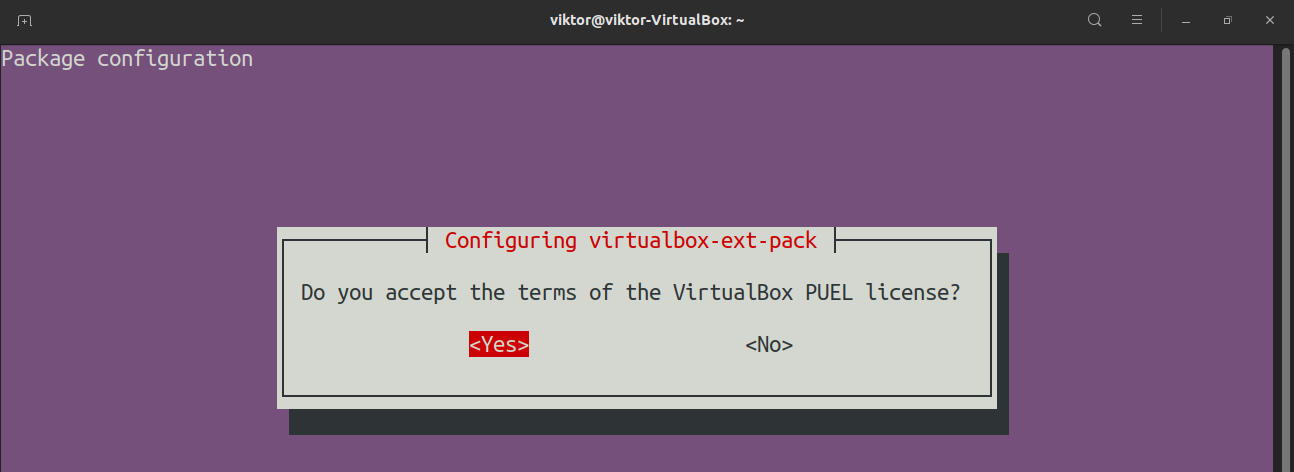
Accept the VirtualBox PUEL license.
The virtualbox-ext-pack will automatically download and install the VirtualBox extension pack.
Install VirtualBox from the Oracle Repository
This method is useful if you need the latest version of VirtualBox. To make this work, you must perform a one-time configuration of the Oracle repo. After that, APT can handle the rest.
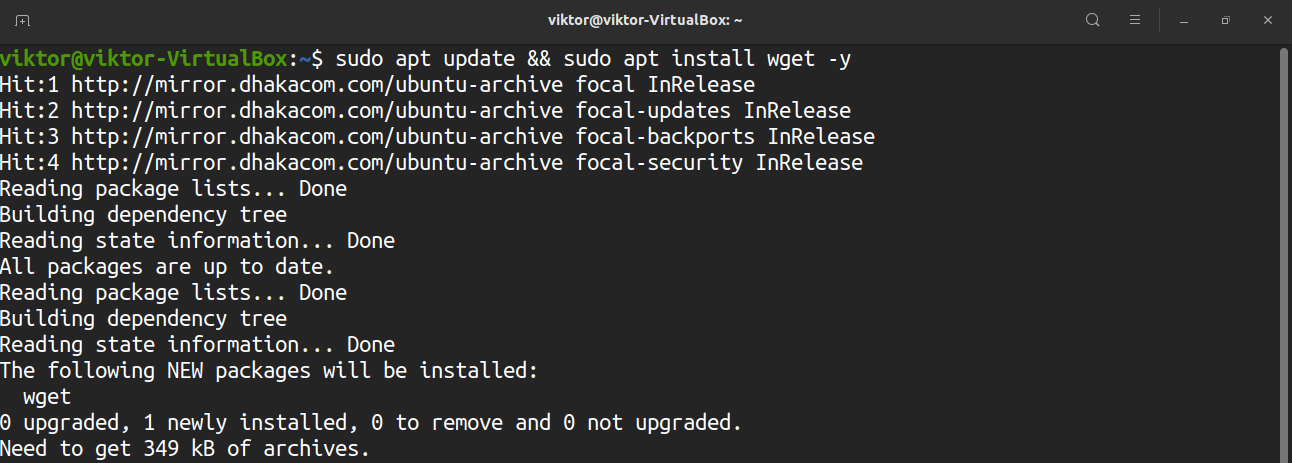
Fire up a terminal. Make sure that you have wget installed.
Grab and add the Oracle VirtualBox repo GPG keys.
sudo apt-key add -
| sudo apt-key add -
Now, add the repo.
virtualbox/debian $(lsb_release -cs) contrib"
Update the APT cache.
Finally, install VirtualBox. At the time of writing this article, the latest version of VirtualBox is v6.1.12.
Install VirtualBox from the Source Code
The source code of VirtualBox is available for free. This allows the ability to build VirtualBox manually from the source. This is a relatively lengthy and complex process that requires more hardware resources and effort. Installing VirtualBox using this method is not recommended, as you will have to follow it again to update VirtualBox. Full information on building VirtualBox on Linux can be found at the VirtualBox wiki page.
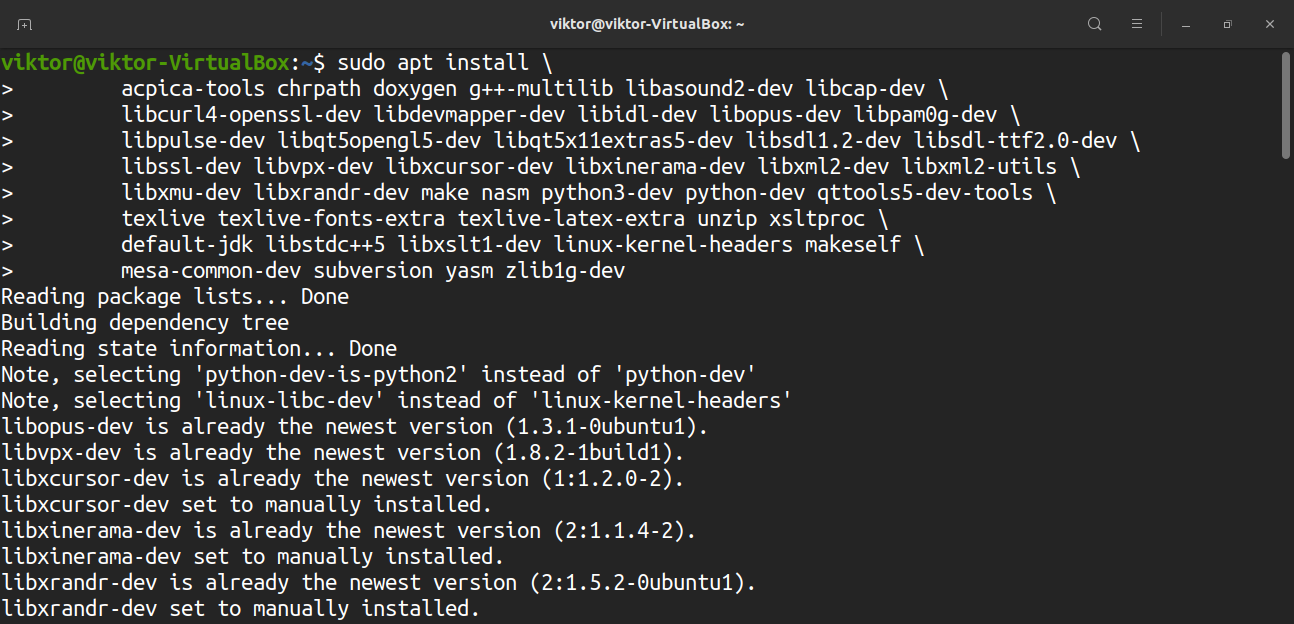
First, install the build dependencies.
$ acpica-tools chrpath doxygen g++-multilib libasound2-dev libcap-dev \
$ libcurl4-openssl-dev libdevmapper-dev libidl-dev libopus-dev libpam0g-dev \
$ libpulse-dev libqt5opengl5-dev libqt5x11extras5-dev libsdl1.2-dev libsdl-ttf2.0-dev \
$ libssl-dev libvpx-dev libxcursor-dev libxinerama-dev libxml2-dev libxml2-utils \
$ libxmu-dev libxrandr-dev make nasm python3-dev python-dev qttools5-dev-tools \
$ texlive texlive-fonts-extra texlive-latex-extra unzip xsltproc \
$ default-jdk libstdc++5 libxslt1-dev linux-kernel-headers makeself \
$ mesa-common-dev subversion yasm zlib1g-dev
The following build dependencies should also be installed if you are running the 64-bit version of Ubuntu.
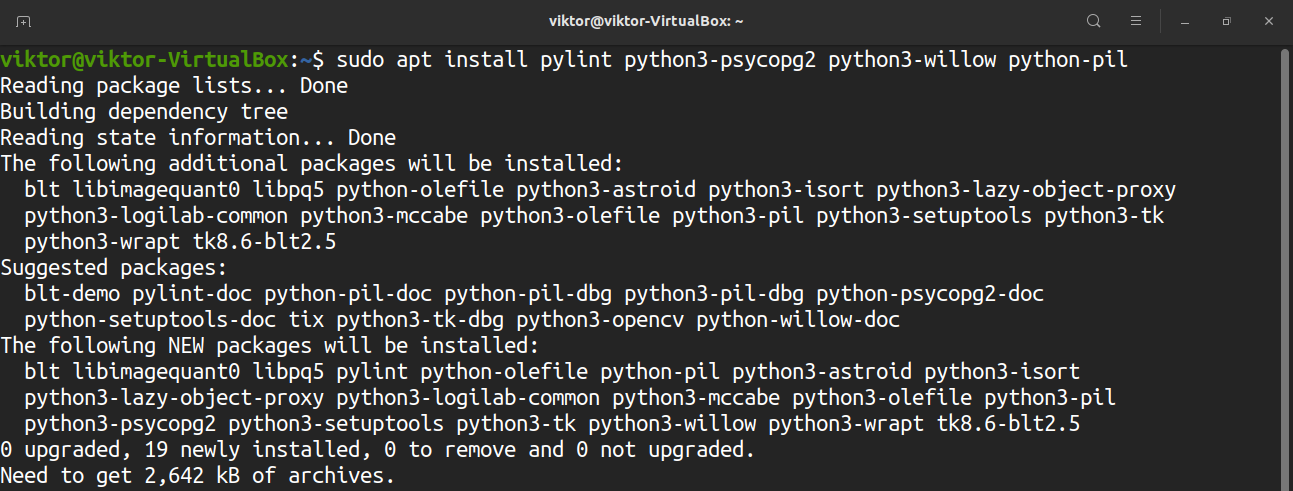
For Python hacking, consider installing the following packages, as well.
Building VirtualBox on a 64-bit host system still requires all the 32-bit libraries and build tools. In the case of the 64-bit Ubuntu version, it has some missing shared libraries. Run the following command to fix it.
Download the latest source code of VirtualBox here.
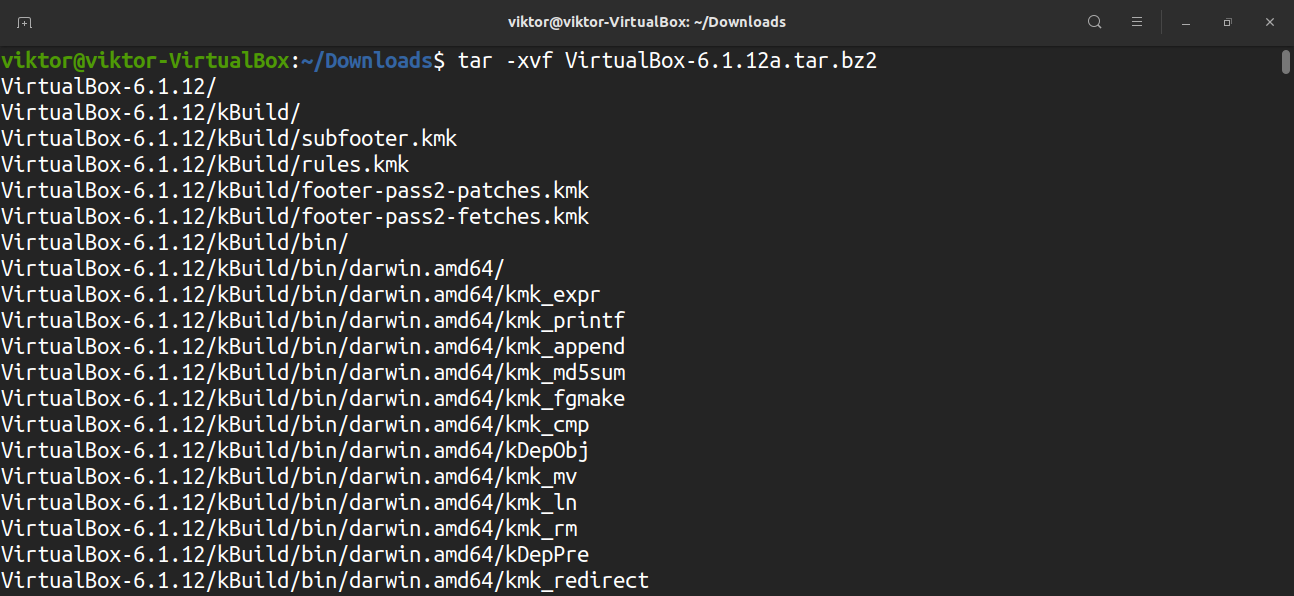
Extract the compressed archive.
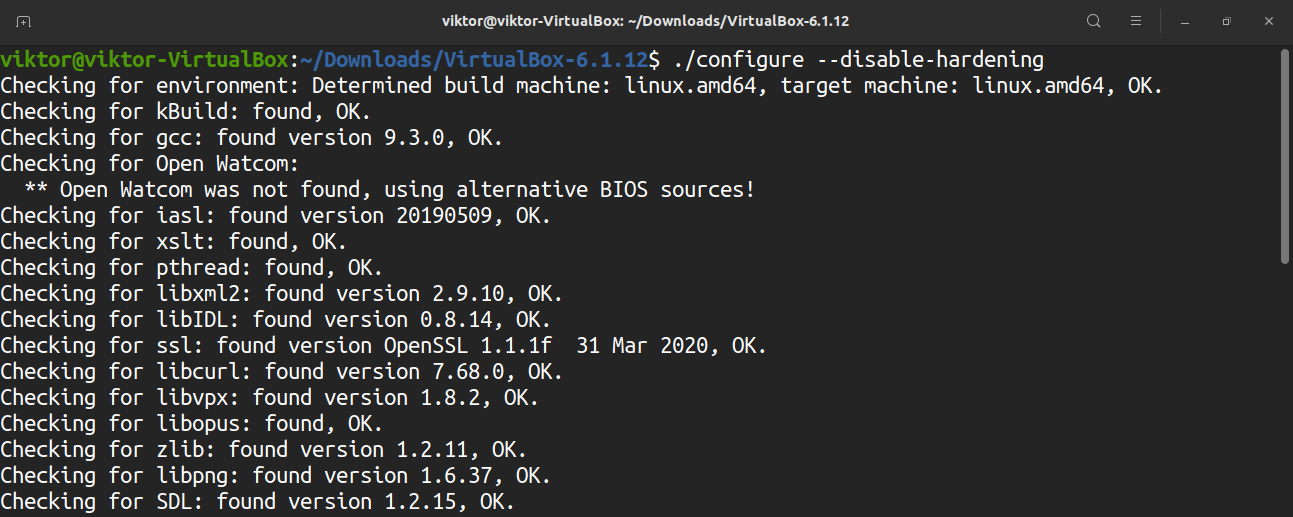
Change the current directory to the extracted source and run the configuration script. Note that the “–disable-hardening” flag should not be used if you intend to redistribute or use the build for production.
Load the environment setup script.
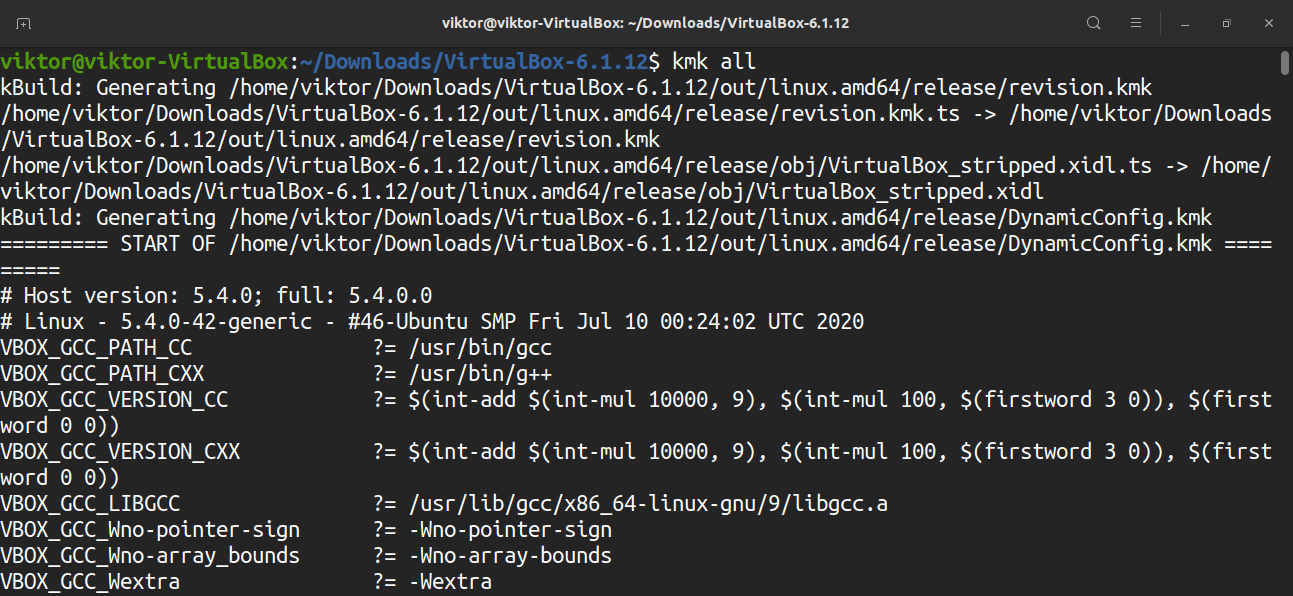
It is now finally time to build VirtualBox. Run the following command to build a release package of VirtualBox.
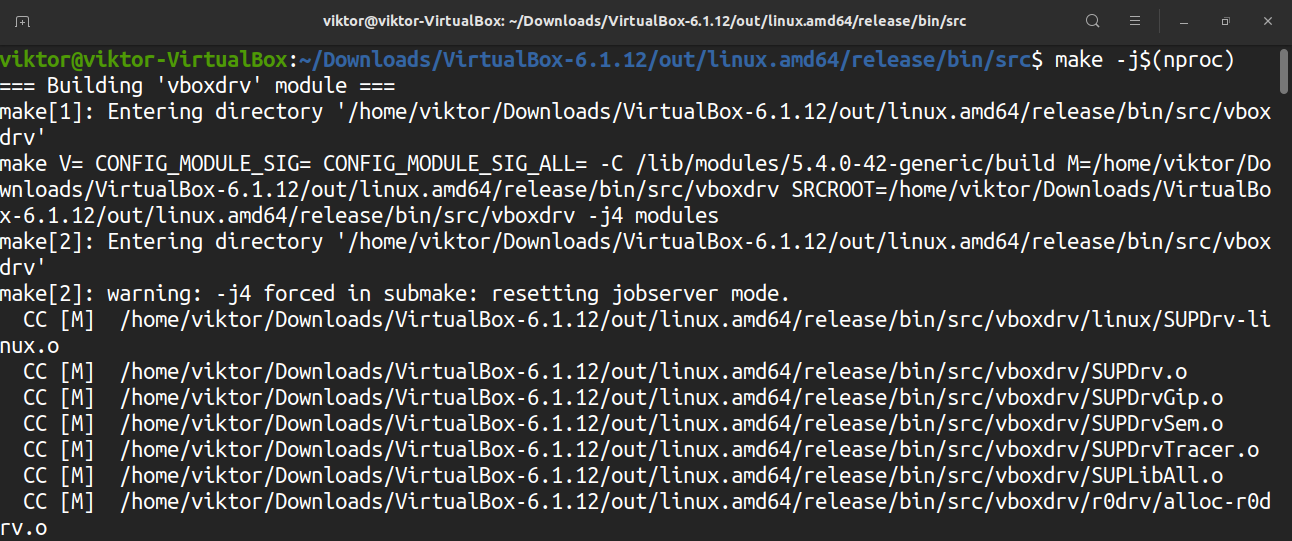
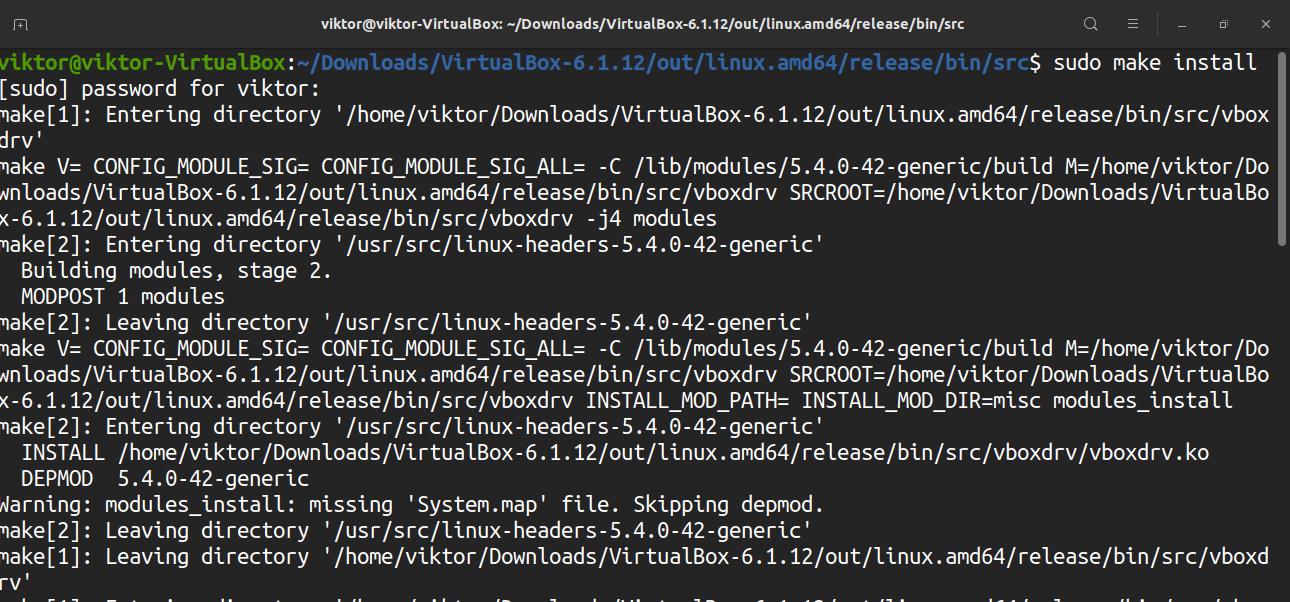
If the build was not hardened, VirtualBox can be run from the “out/linux.amd64/release/bin” directory under the source code directory. However, the VirtualBox kernel modules must be built and installed first. To do so, enter the following code.
Load the modules.
Finally, launch VirtualBox.
Using VirtualBox
VirtualBox is very user-friendly. All of its functions are simple, yet VirtualBox offers full control over almost every aspect of a virtual machine. Here, we will check out how to create and launch a VirtualBox virtual machine.
Before creating a virtual machine, install the VirtualBox extension pack. Download it from the VirtualBox download page here.
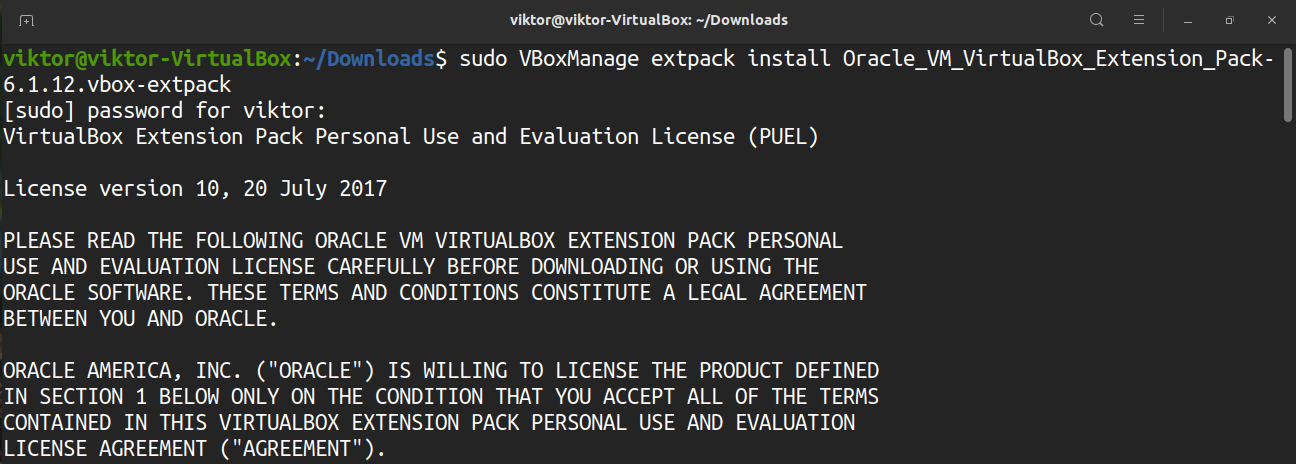
Once the package is downloaded, install the package using the following command.
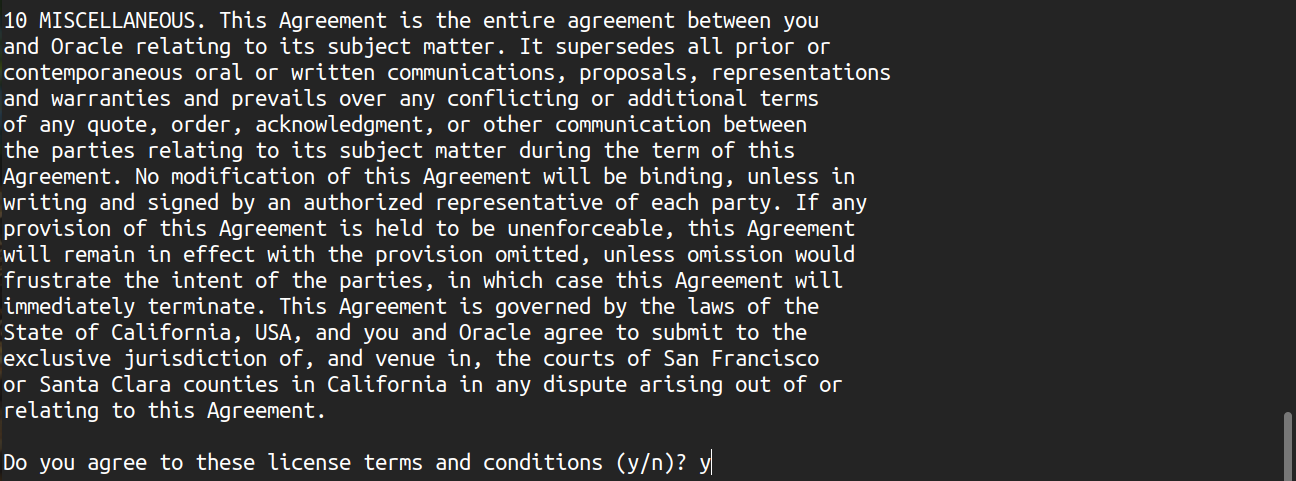
The installation will ask for the PUEL license agreement. Enter “y” to continue.
The installation should complete without any issue.
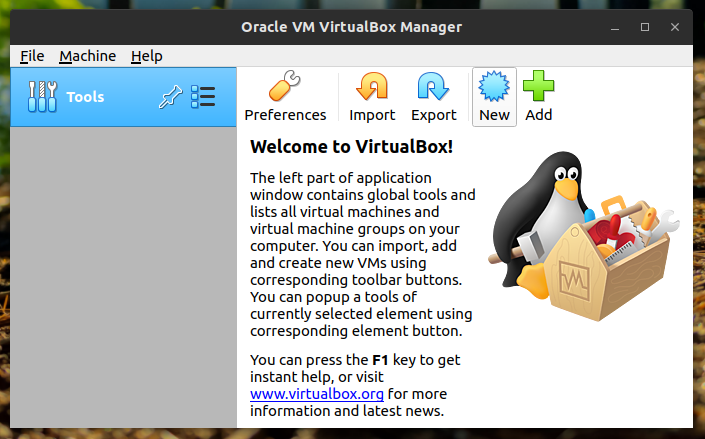
It is now time to create a virtual machine. Launch VirtualBox.
Click “New” to create a new virtual machine.
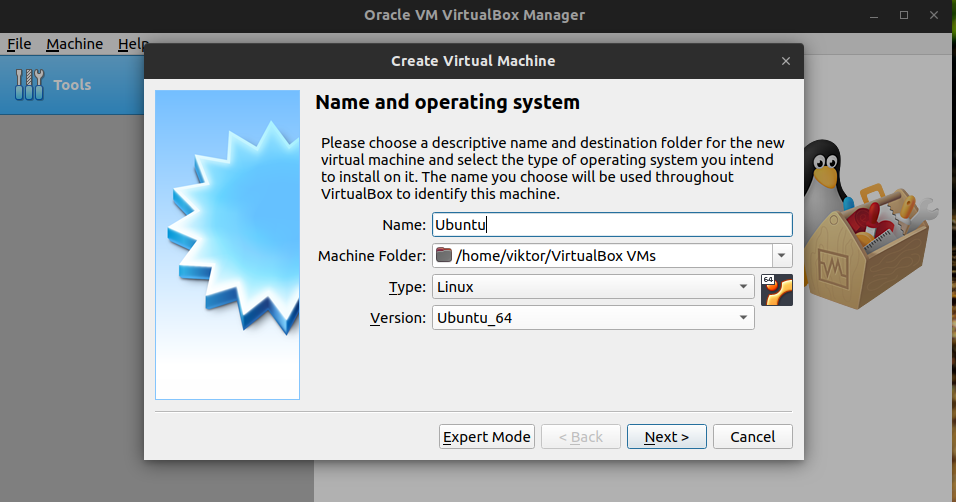
Give the new virtual machine a suitable name. In this example, I will create an Ubuntu virtual machine, so I will select the “Type” as “Linux” and the “Version” as “Ubuntu_64.”
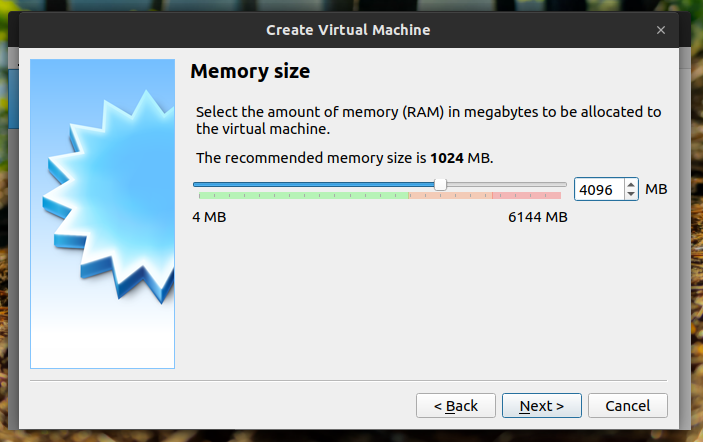
Next, assign the amount of RAM space you want the virtual machine to take. It is recommended to assign 4GB of RAM.
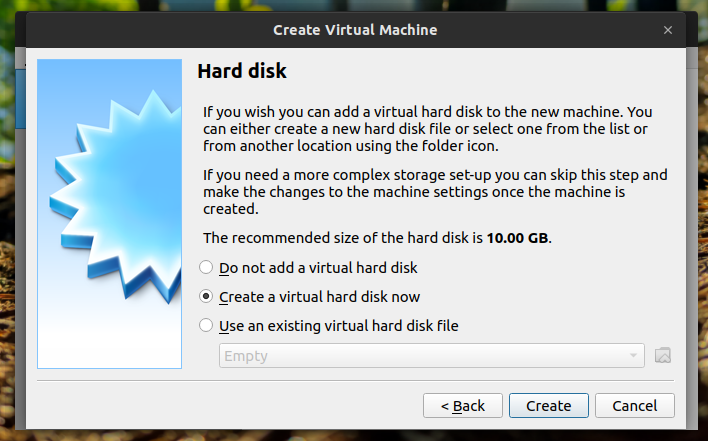
VirtualBox will ask for a hard disk file creation for the virtual machine. The file will act as physical storage. Select “Create a virtual hard disk now.”
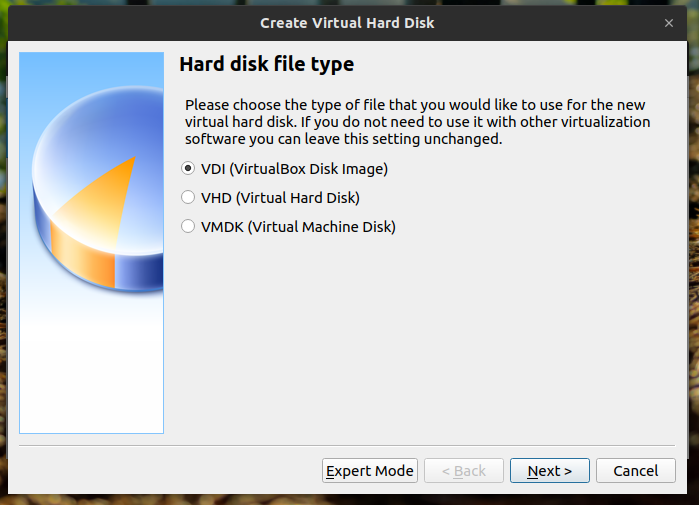
You will be asked for the file type of the virtual hard disk. For most, the VDI format will be more than enough.
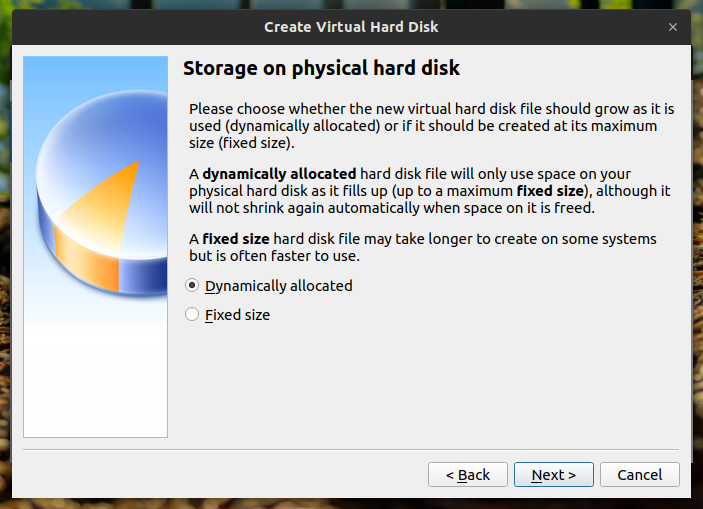
VirtualBox will ask how the virtual storage file will be created. If “Dynamically allocated” is selected, then the storage file will grow as it is used more. If “Fixed size” is selected, the file will use the maximum storage on the physical drive. The benefit of the second option is that it offers more performance for the virtual machine.
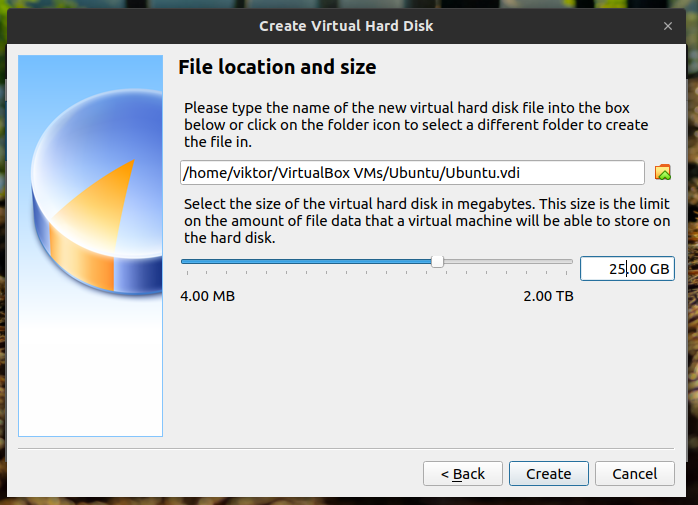
Select the size and location of the virtual hard disk file.
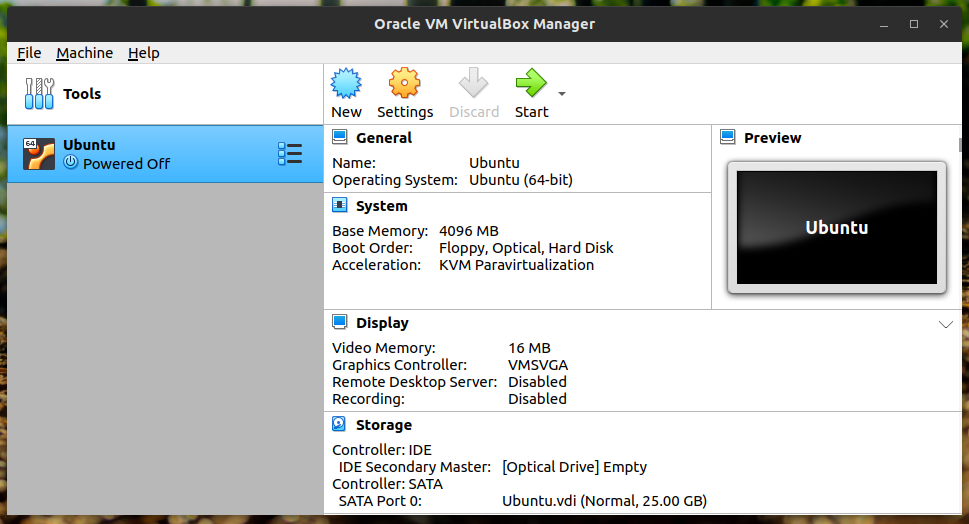
The virtual machine is now ready to boot! You will need to have the Ubuntu image file at hand, as the machine will ask for a boot device/image. For the remainder of the installation, check out this awesome guide on how to install Ubuntu 20.04 on VirtualBox here.
Final Thoughts
There are plenty of options available to tweak the behavior of VirtualBox and virtual machines. Feel free to explore these. There are plenty of online materials available on how to use VirtualBox to its fullest capacity.
Enjoy!

