
Downloading Ubuntu 20.04 ISO Image:
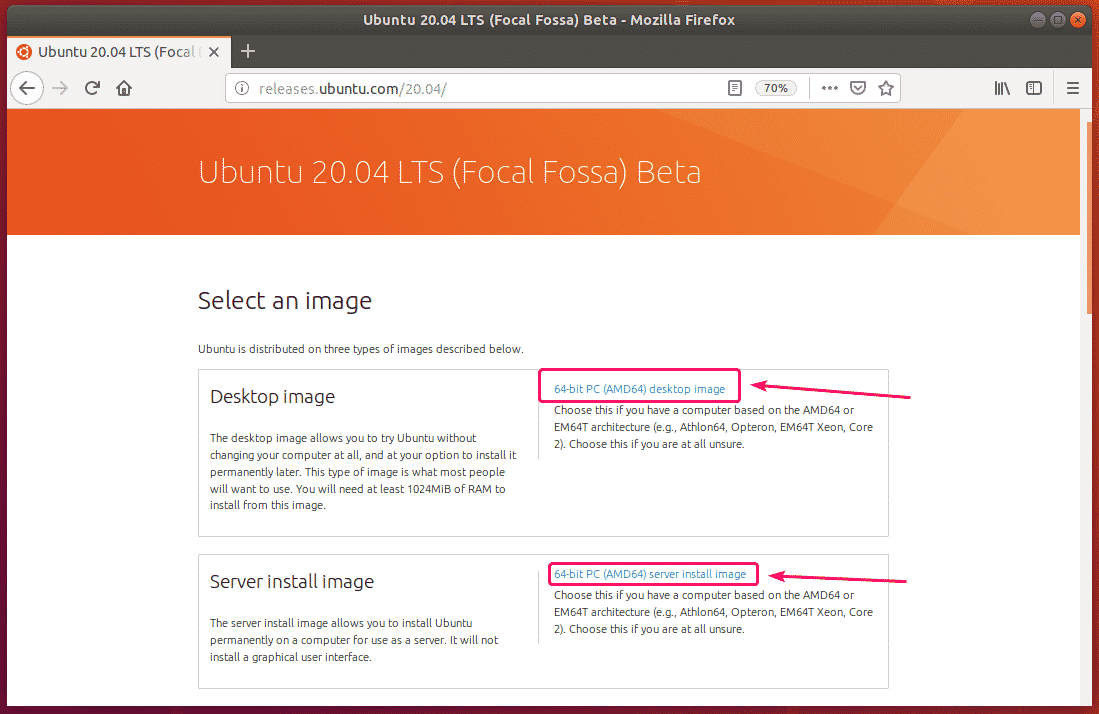
To download Ubuntu 20.04 LTS ISO image, visit the official release page of Ubuntu 20.04 LTS.
Once the page loads, click on the 64-bit PC (AMD64) desktop image link if you want to download Ubuntu Desktop 20.04 LTS ISO image.
Click on the 64-bit PC (AMD64) server install image link if you want to download Ubuntu Server 20.04 LTS ISO image.

Your browser should prompt you to save the file. Select Save File and click on OK.
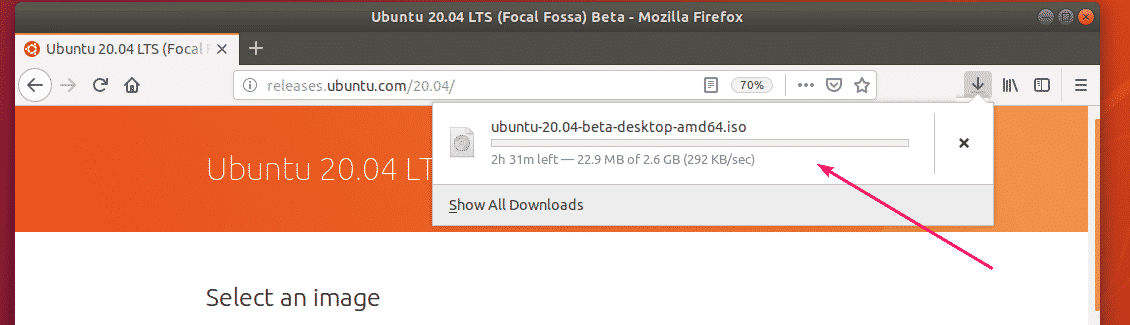
The download should start. It may take a while to complete.

Creating a VirtualBox VM:
In this section, I am going to show you how to create a VirtualBox VM for installing Ubuntu 20.04 LTS.
First, open VirtualBox.
Then, click on Machine > New…

Now, type in a name for the VM, select Linux from the Type dropdown menu, and Ubuntu (64-bit) from the Version dropdown menu. Then, click on Next >.

Now, you have to set the memory size for the VM.
For Ubuntu Desktop 20.04 LTS, it should be at least 2048 MB (2 GB).
For Ubuntu Server 20.04 LTS, it should be at least 512 MB.
Once you’re done, click on Next >.
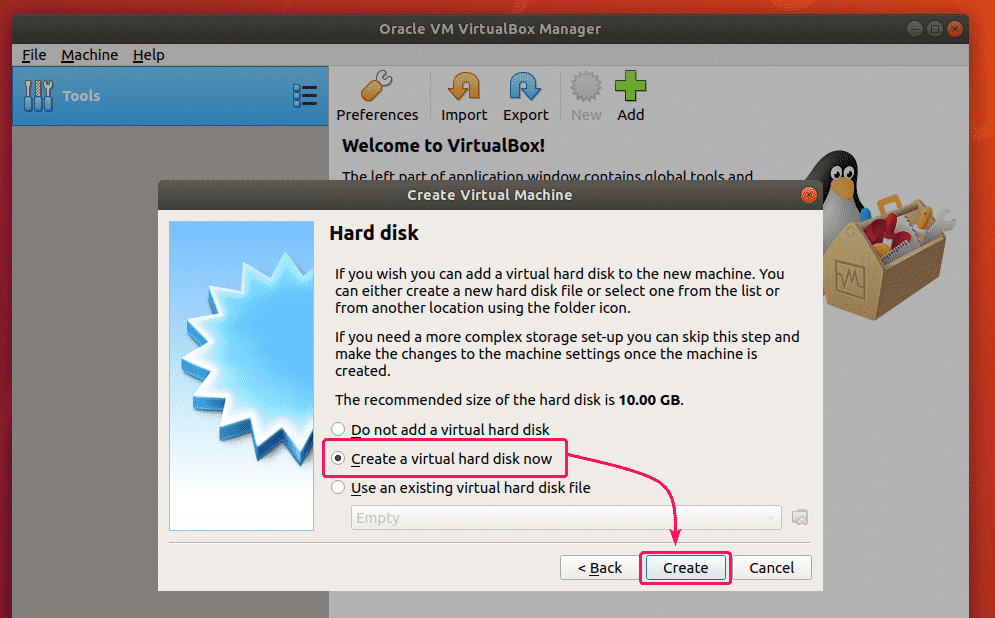
Now, select Create a virtual hard disk now and click on Create.

Now, select VDI (VirtualBox Disk Image) and click on Next >.

Now, select Dynamically allocated and click on Next >.

Now, set the virtual hard disk size for the VM. It should be at least 20.0 GB.
Once you’re done, click on Create.
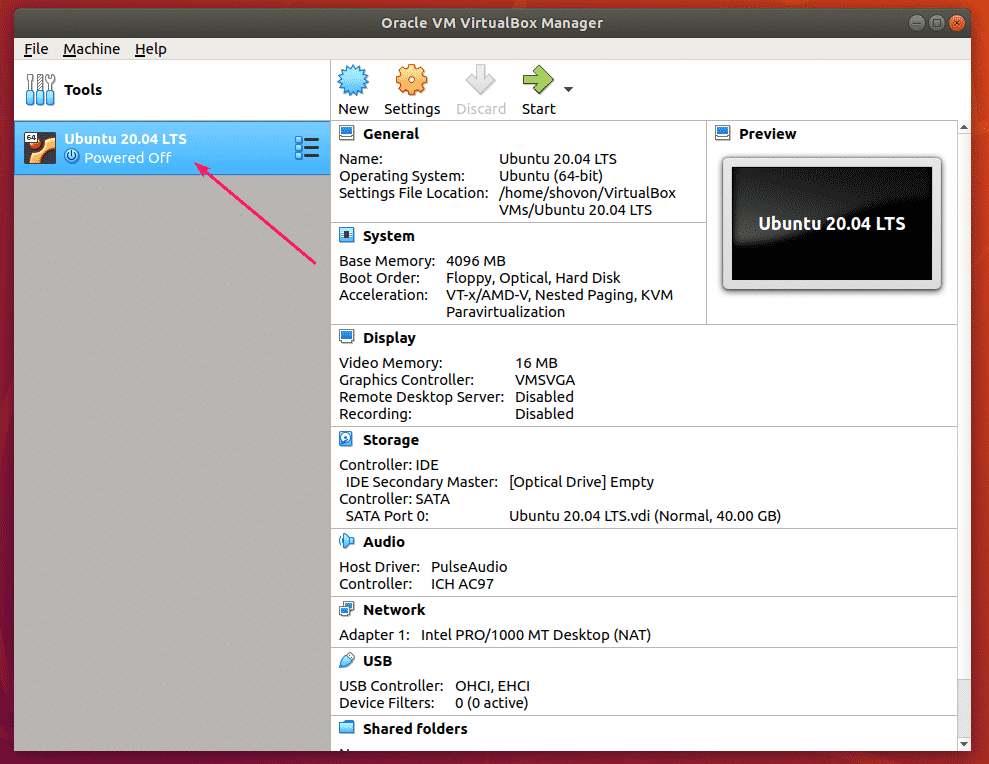
A new VM should be created.

Attaching Ubuntu 20.04 LTS ISO Image to the VM:
Now, select the newly created VM and click on Settings.
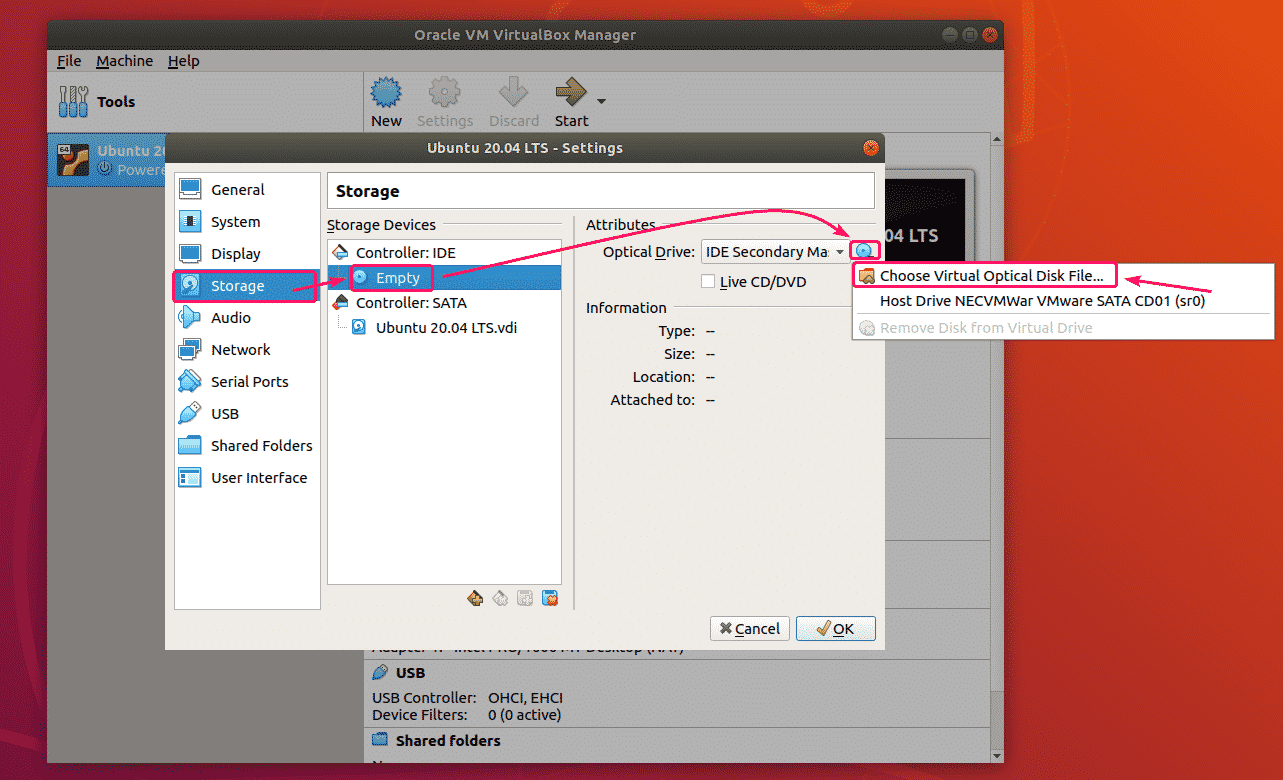
Now, go to the Storage tab, select the Empty IDE device, click on the CD icon, and click on Choose Virtual Optical Disk File…

Now, select the Ubuntu Desktop 20.04 LTS or Ubuntu Server 20.04 LTS ISO file depending on which version of Ubuntu you want to install on the VM and click on Open.

Now, click on OK.

Starting the VM:
Now, select the VM and click on Start.

The VM should start and boot from the Ubuntu 20.04 LTS ISO image.

After a while, the Ubuntu 20.04 LTS installer should start.

Installing Ubuntu 20.04 LTS in the VM:
In this section, I am going to show you how to install Ubuntu Desktop 20.04 LTS on a VirtualBox VM.
If you want to install Ubuntu Server 20.04 LTS, the installation process will be a little bit different as Ubuntu Server 20.04 LTS uses a terminal based installer. If you need any assistance on that, check my article Installing Ubuntu Server 20.04 LTS at LinuxHint.com.
Now, click on Install Ubuntu.

Now, select your Keyboard Layout and click on Continue.

From here, you can do a Normal installation or Minimal installation.
Normal installation comes with all the apps as usual.
Minimal installation comes with a limited number of apps. It saves a lot of disk spaces.
If you have internet connection on your computer, you can check Download updates while installing Ubuntu to download all the necessary updates while installing Ubuntu on your computer.
Once you’re done, click on Continue.

As this is a VM, I won’t go through the trouble of manually partitioning the hard drive. Just select Erase disk and install Ubuntu and click on Install Now. The Ubuntu installer will automatically create all the necessary partitions in your virtual hard drive.
If you need to do manual partitioning, check my article Installing Ubuntu Desktop 20.04 LTS at LinuxHint.com.
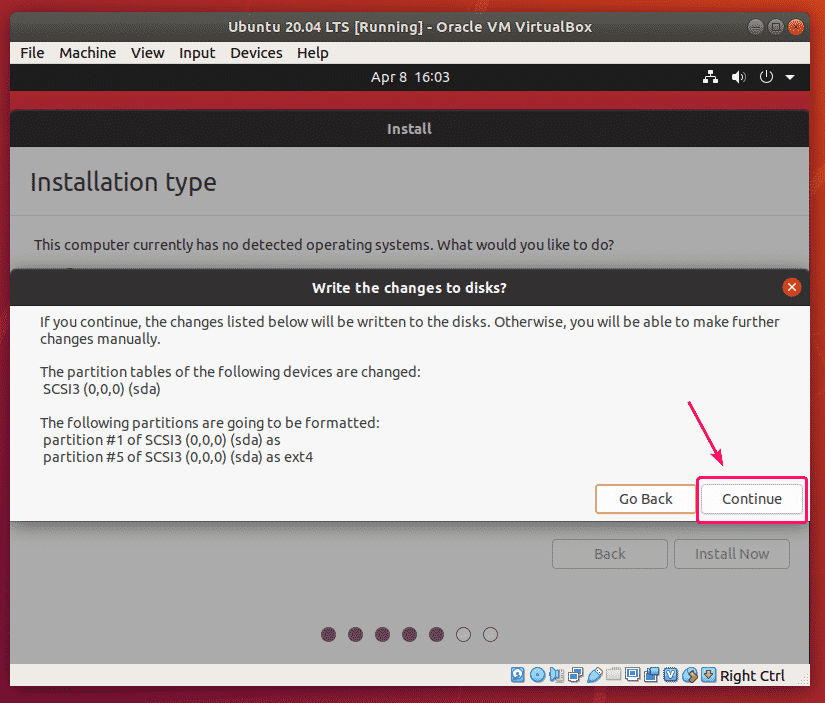
Now, click on Continue to write the partition changes to the disk.

Now, select your time zone and click on Continue.

Now, type in your personal information and click on Continue.
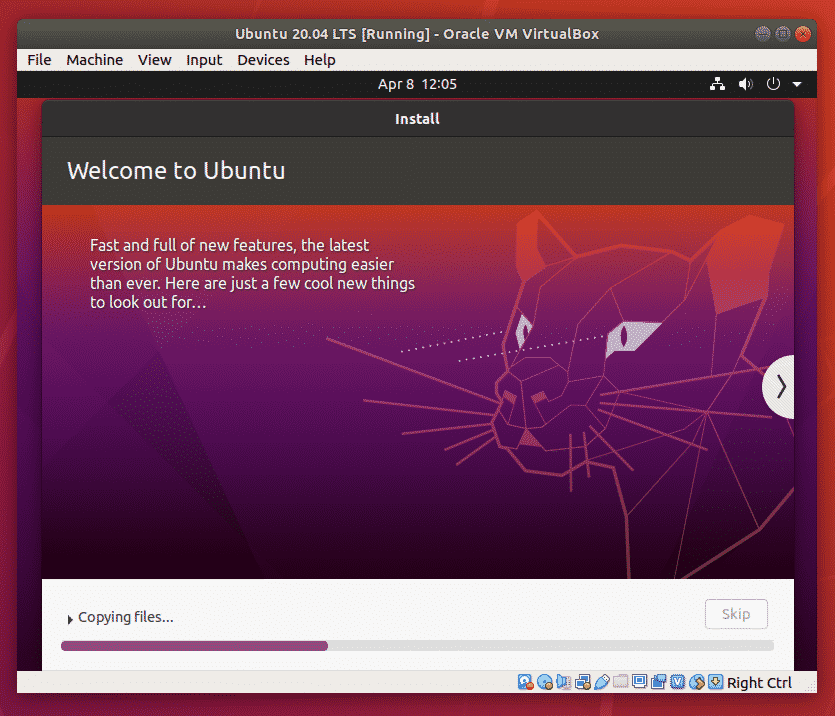
Ubuntu installer should start copying all the necessary files to your virtual hard drive. It may take a while to complete.
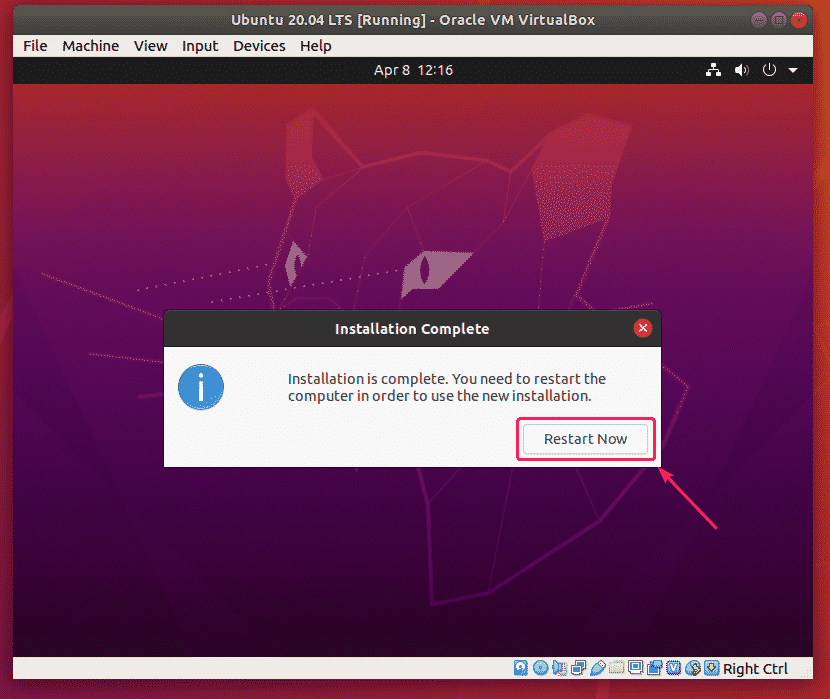
Once the installation is complete, click on Restart Now.

Once you see this window, press <Enter>. The VM should reboot.

Once the VM boots, you should see the following GRUB menu. Select Ubuntu and press <Enter>.
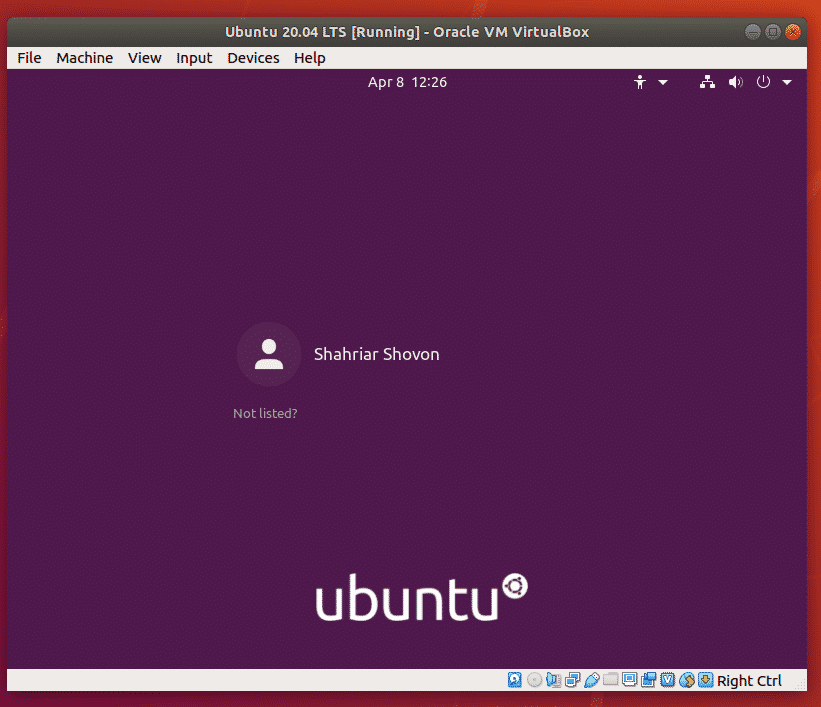
You should see the Ubuntu Desktop 20.04 LTS login window. Now, you can log in using the password you’ve set during the installation.

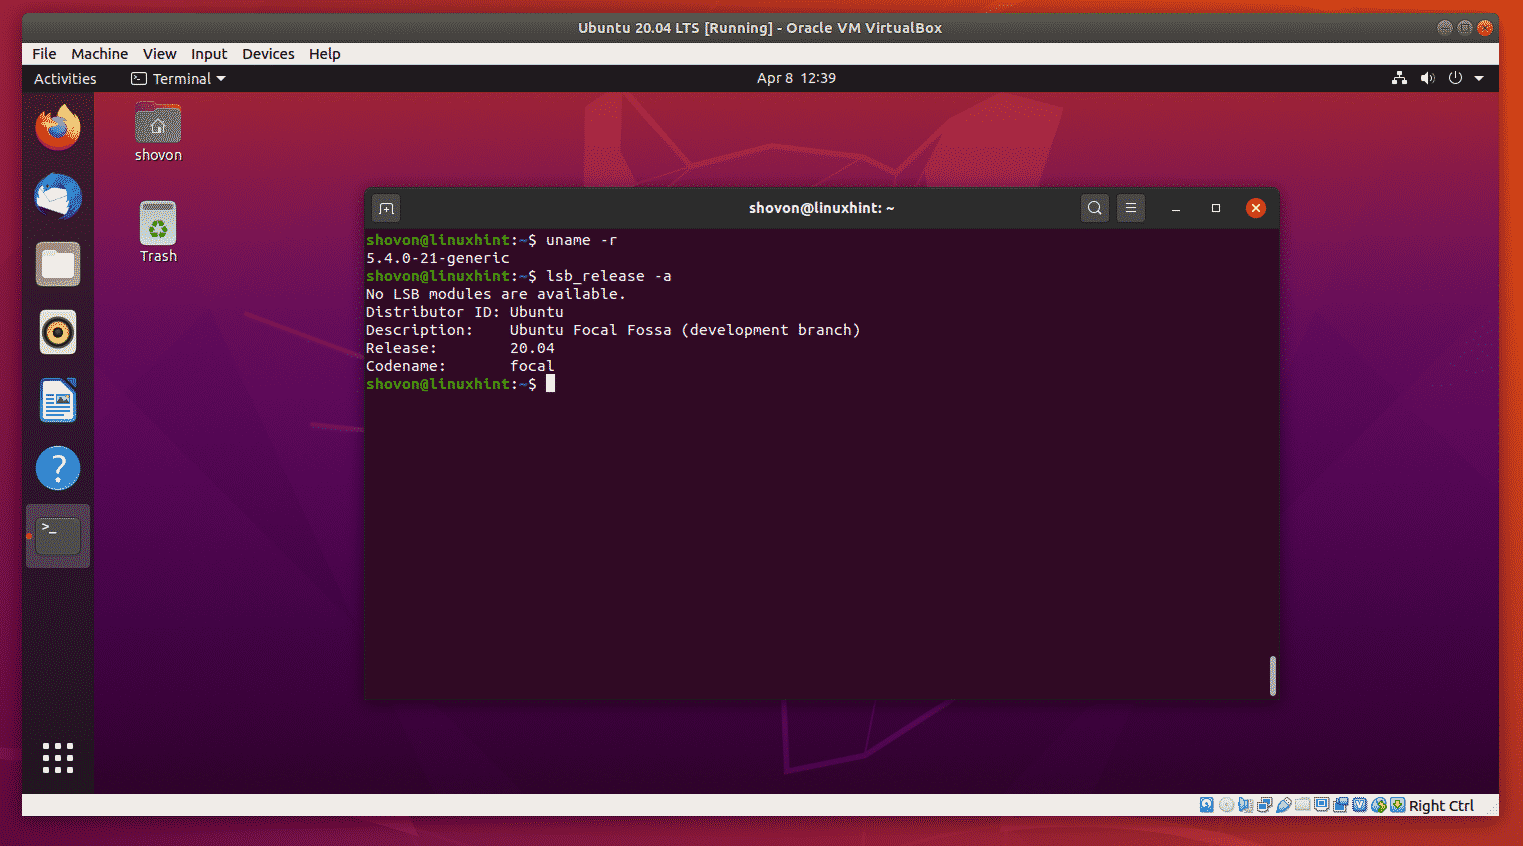
Once you log in, you should be able to use Ubuntu Desktop 20.04 LTS as usual.
Installing VirtualBox Guest Additions on Ubuntu 20.04 LTS:
VirtualBox Guest Additions allows you to use a lot of useful features of VirtualBox, i.e. automatic VM window resizing, shared clipboard, shared folders etc. To learn more about VirtualBox Guest Additions, check my article Install VirtualBox Guest Additions on Ubuntu VirtualBox VM.
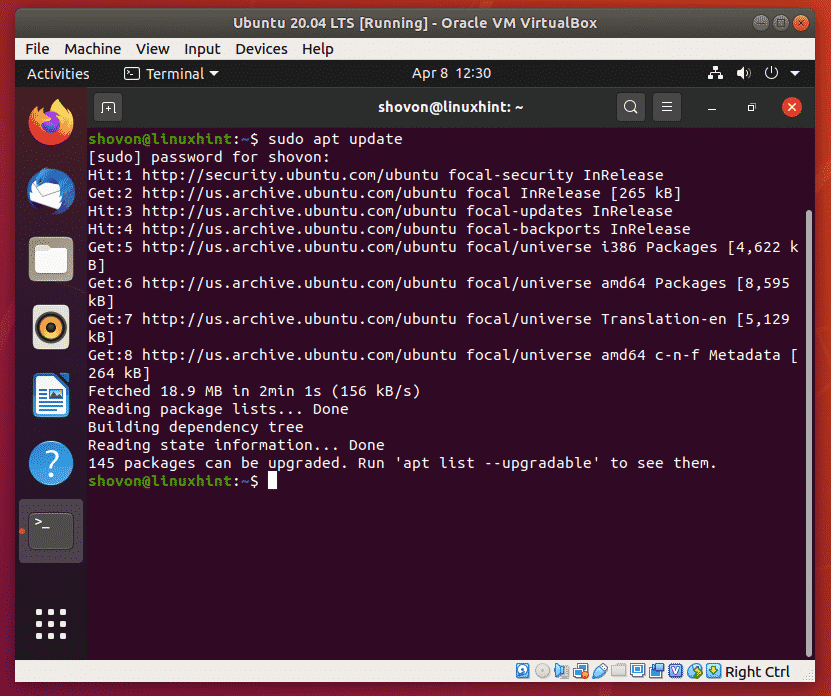
You can easily install VirtualBox Guest Additions from the official package repository of Ubuntu 20.04 LTS.
First, update the APT package repository cache as follows:
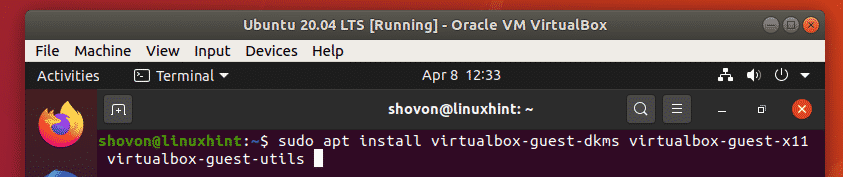
Now, you can install VirtualBox Guest Additions with one of the following commands:
For Ubuntu Desktop 20.04 LTS:
For Ubuntu Server 20.04 LTS:
I’ve run the command for Ubuntu Desktop 20.04 LTS in this article.
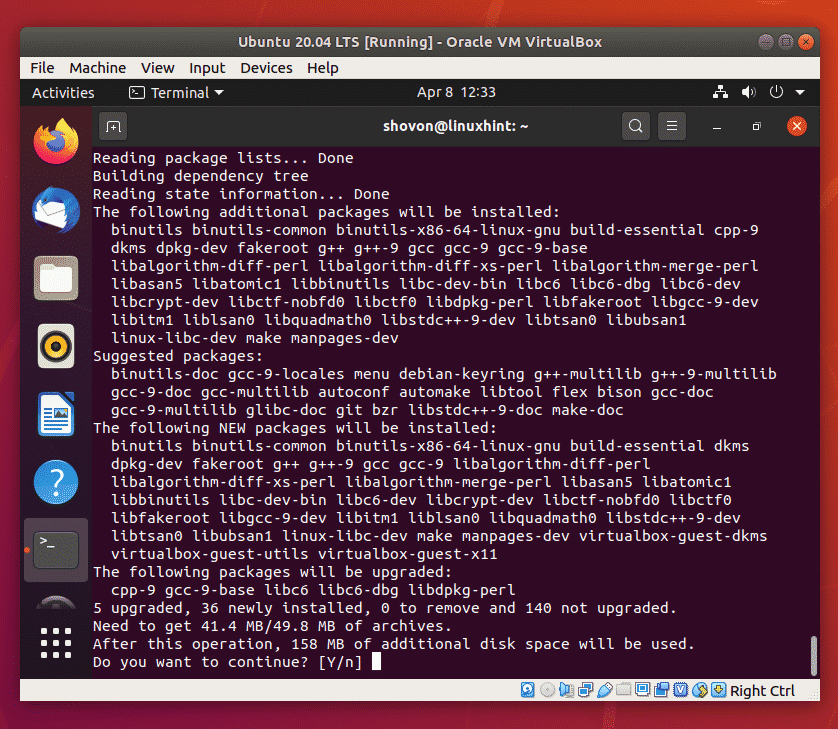
Now, to confirm the installation, press Y and then press <Enter>.

APT package manager will download and install all the required packages. It may take a while to complete.
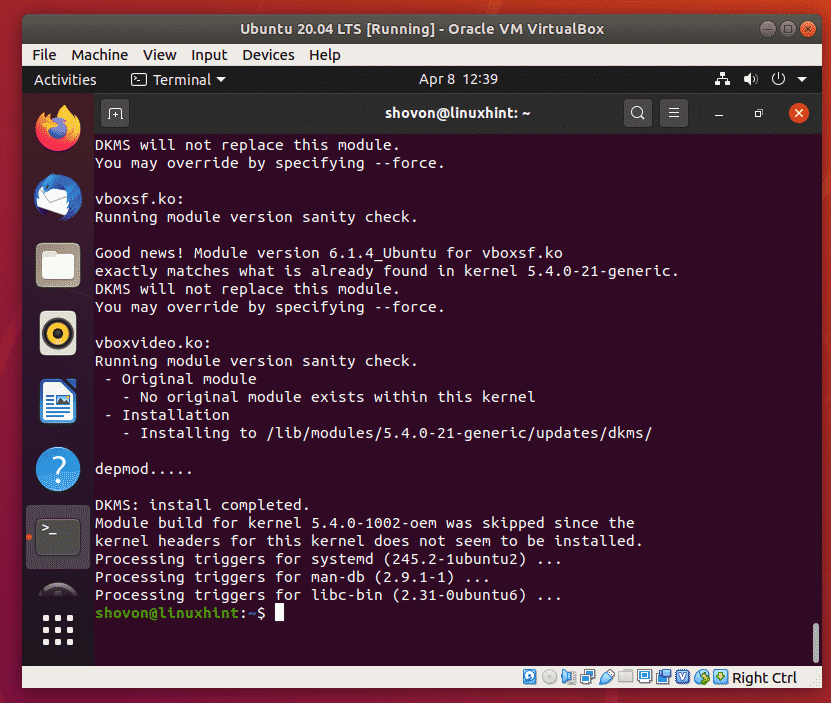
At this point, VirtualBox Guest Additions should be installed.
Now, you should be able to resize the VM window freely and the Ubuntu display size would automatically adjust itself. This confirms that VirtualBox Guest Additions is working correctly. Enjoy Ubuntu Desktop 20.04 LTS on VirtualBox.
So, that’s how you install Ubuntu 20.04 LTS on VirtualBox. Thanks for reading this article.