In this article, we will guide you on how to run the image in the terminal using Docker CLI.
How to Run Docker Image in Terminal?
To run the Docker image in the terminal, it is required to install Docker Desktop first on your system. It includes both the GUI and CLI versions of Docker.
To install Docker on Windows, check out our associated article. After that, start the Docker and wait until the Docker engine starts. Then, execute the Docker image in the terminal by utilizing the listed instructions.
Step 1: Make a Dockerfile
First, make a simple Dockerfile that has the following instructions:
- “FROM” defines the container’s base image.
- “WORKDIR” defines the container working path or directory.
- “COPY” copies the source or code file to the container’s path. For instance, we have specified the “main.go” file that contains a simple golang program.
- “RUN” executes the mentioned command at the top of the container.
- “EXPOSE” allocates the exposing port of the container.
- “ENTRYPOINT” add executables for the container:
WORKDIR /go/src/app
COPY main.go .
RUN go build -o webserver .
EXPOSE 8080:8080
ENTRYPOINT ["./webserver"]
Step 2: Create Image in Docker
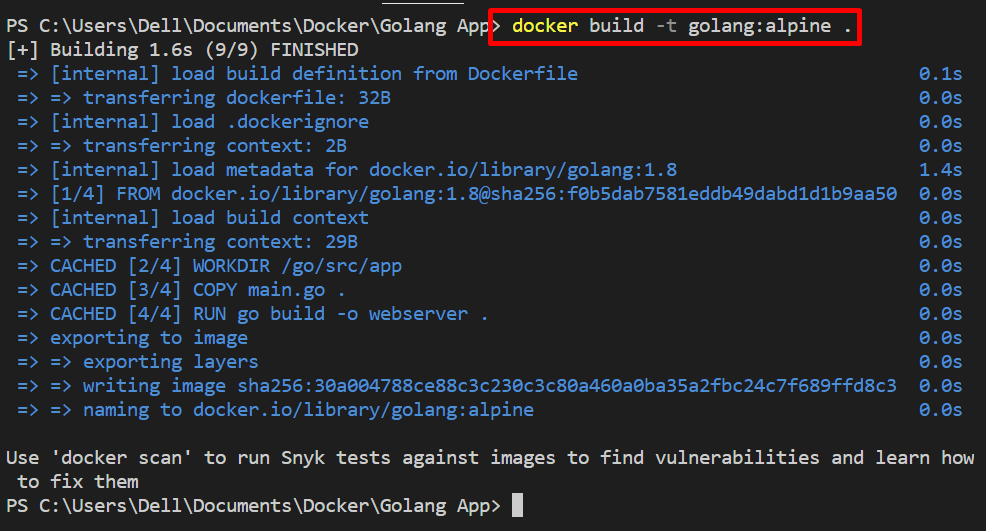
Next, create a new Docker image by utilizing the mentioned command. Here, the “-t” flag defines the image name or tag:
Step 3: Run Docker Image in Terminal
Next, run the image on the Windows terminal. For instance, we are using the PowerShell terminal in VS code editor. Execute the Docker image by utilizing the “docker run” command:
In the above command:
- “-d” option create and runs the container in detached mode.
- “-p” specify the exposing port for the container.
- “-it” is a combination of two different options. The “-i” run the image interactively and “-t” allocates the TTY-pseudo terminal:

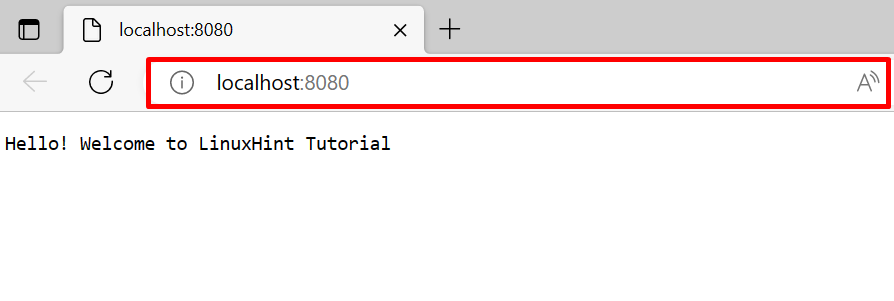
For the verification of whether the image is executed or not, navigate the exposed port of the container on the local host:
Different Options for “docker run” Command
As we have explained, the Docker CLI has more control over Docker components. There are different options to run the Docker image in different manners. For this purpose, we have provided some examples to run the image in the terminal with different options.
Example 1: Run Image in Privileged Mode
Execute the image in Privileged mode with the help of the “–privileged” option. This will actually create and execute the container with root privileges:

Example 2: Mount External Volume with Container While Executing Docker Image
To run the image that creates the new docker container by name and also mount the external volume or file system with the container, utilize the provided command:
Here:
- “–name” is specifying the container’s name.
- “–mount” option mounts the Docker volume.
- “source” and “target” are variables supported by the “–mount” option. These are used to specify the source and destination path of volume:

That’s how you can run Docker images in the terminal.
Conclusion
To run the Docker image on the terminal, first, create a simple Dockerfile and execute it through the “docker build” command. This command will generate the new Docker image. After that, run the image by utilizing the “docker run <option> <image>” command. This write-up has demonstrated how to run images in the terminal.