The processing capability of Raspberry Pi devices is divided into two parts; CPU (Central Processing Unit) and GPU (Graphic Processing Unit). For calculations, the device utilizes CPU and for performing graphics-related tasks, it uses GPU. For the Raspberry Pi users, the default GPU memory is already set to 64MB. However, in case if someone wants to perform highly intensive tasks, he/she should consider splitting the memory by adjusting the default GPU memory on the Raspberry Pi system.
In this article, the methods to split Raspberry Pi memory are discussed.
Split Memory on Raspberry Pi
There are two methods to easily split memory on Raspberry Pi system, which are as follow:
-
- Through GUI
- Through Terminal
Method 1: Split Memory Through GUI
To split memory through the GUI, follow the instructions below:
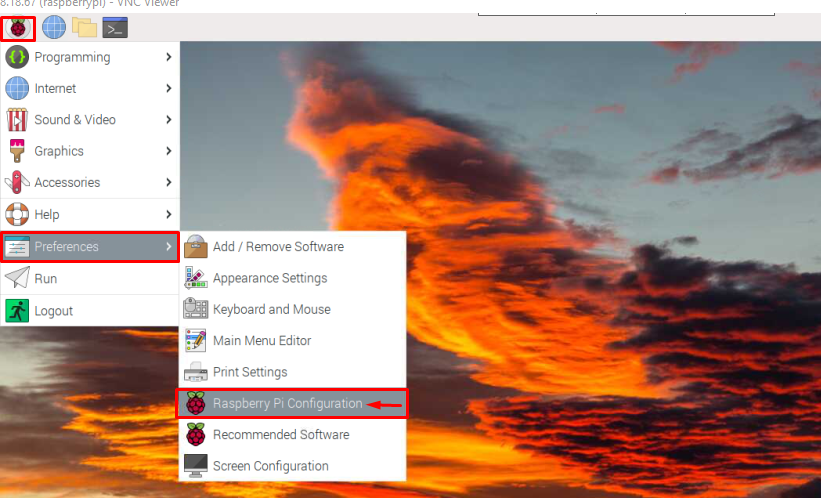
Step 1: Go to Preferences from the drop-down list of Application Menu. Then select the Raspberry Pi Configuration.
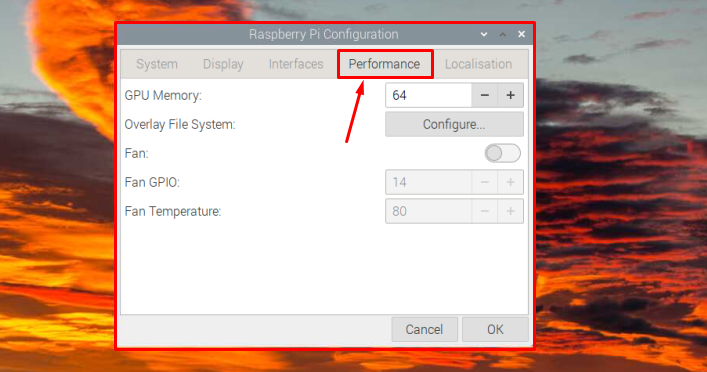
Step 2: From the Raspberry Pi Configuration window, go to the Performance tab:
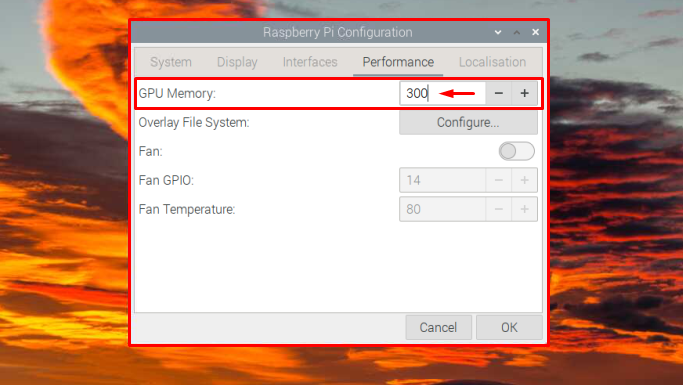
Step 3: By default, the GPU memory is 64MBs and you can increase it to any desired number depending upon the requirement of the applications you want to run on your system. Here, I have set the GPU value equal to 300MBs.
Note: Only increase the GPU memory if you require high graphic processing for applications like gaming, media player, video streaming, and other such applications.
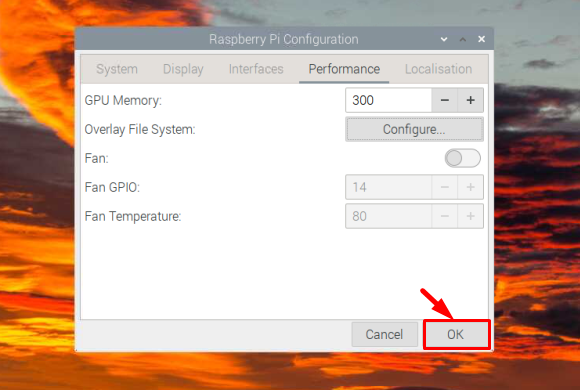
Step 4: Then click OK so that the new modifications will be saved:
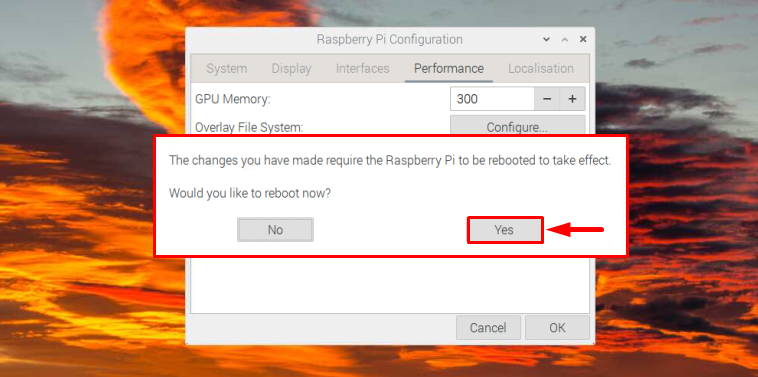
Step 5: A prompt will appear on the screen asking for permission to reboot so that new changes can be applied after a reboot. Click Yes here to restart the system with an increased GPU memory:
Method 2: Split Memory Through Terminal
The other method to split the Raspberry Pi memory is the terminal method, which you can perform using the following steps:
Step 1: First, open the Raspberry Pi Configuration tool on the terminal using the below-mentioned command:

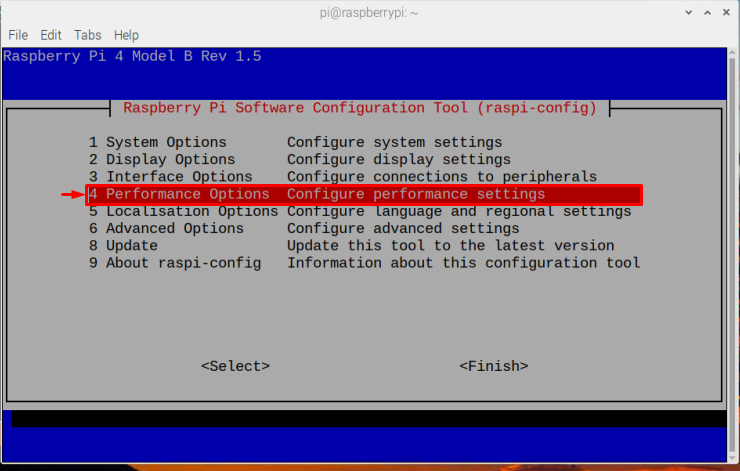
Step 2: Select the Performance Options and press Enter.
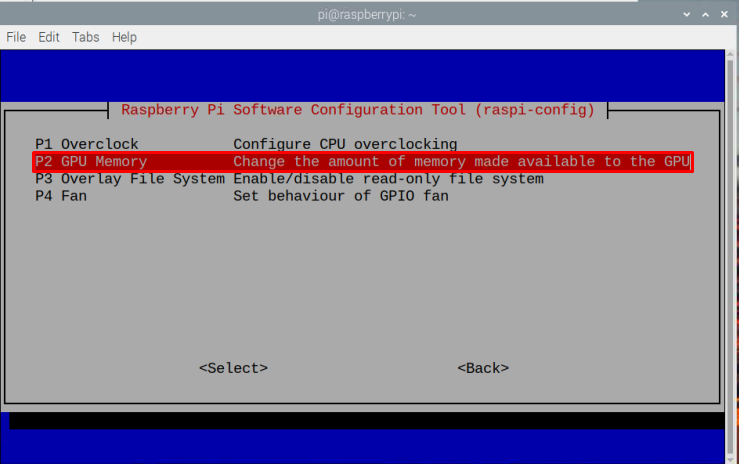
Step 3: Then select the GPU Memory and press Enter:
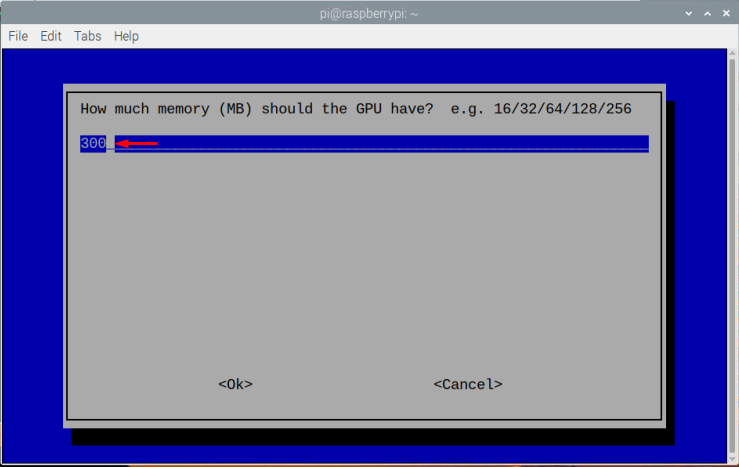
Step 4: Select the amount of GPU memory you want to allocate to your device. For my case, I am setting the GPU Memory to 300MBs. Once done, press the Enter button.
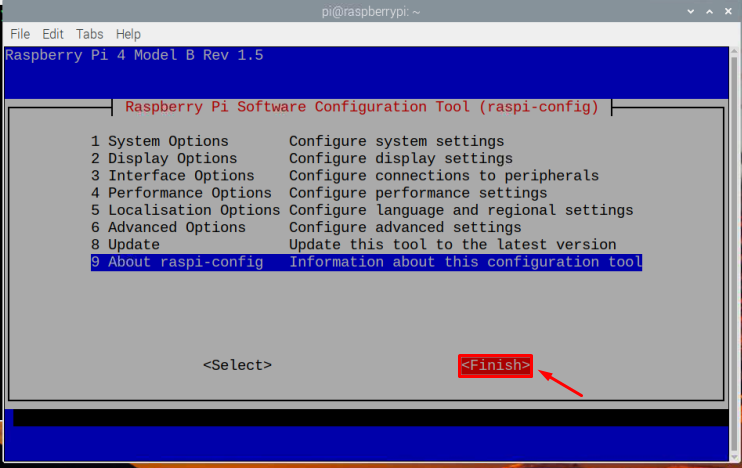
Step 5: Then select Finish and press Enter:
Step 6: Now reboot the system by selecting Yes on the prompt:
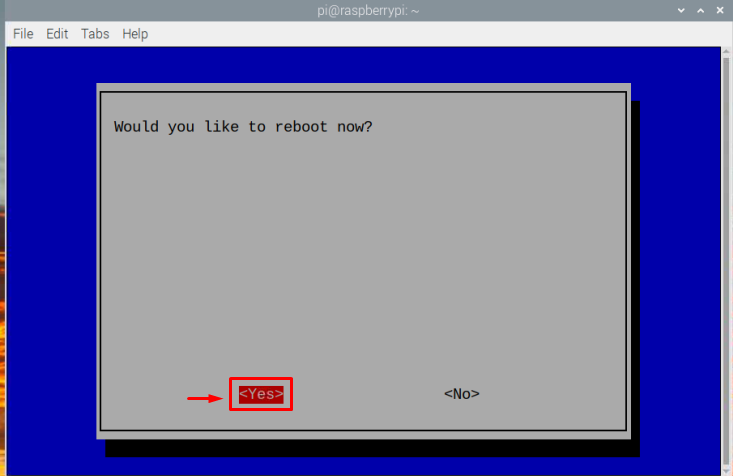
Once your device reboots, the GPU memory will successfully split.
Conclusion
The Raspberry Pi device comprises GPU and CPU. Splitting the memory on the Raspberry Pi device will help users perform intensive tasks on the system. The users can increase the GPU memory from the Raspberry Pi Configuration using the GUI or terminal methods. Both methods are already discussed in the above-given guidelines. The users can choose any method depending on the feasibility.