Introduction to ESP32 WiFi Modes
The ESP32 is a popular microcontroller with built-in Wi-Fi capabilities. It offers several Wi-Fi modes that allow users to select the WiFi mode according to application. These modes include:
- Station (STA) mode: In this mode, the ESP32 connects to a Wi-Fi network as a client. It can connect to both infrastructure (e.g. home router) and ad-hoc (peer-to-peer) networks.
- Access Point (AP) mode: ESP32 in AP mode acts as a Wi-Fi access point, allowing other devices to connect to it and access the internet.
- Station + Access Point (STA+AP) mode: In this mode, the ESP32 operates as both a client and an access point simultaneously. This allows it to connect to a Wi-Fi network while also allowing other devices to connect to it.
By offering these different Wi-Fi modes, the ESP32 allows users to choose the best option for their specific application and network environment. For more detailed information on ESP32 WiFi read following articles:
- How to Connect ESP32 with WiFi Using Arduino IDE
- ESP32 Wireless Communication Protocols
- How to Set an ESP32 Access Point (AP) Using Arduino IDE
- How to Use the ESP32 Station and Access Point Mode at the Same Time
Getting ESP32 WiFi Signal Strength Using Arduino IDE
The Wi-Fi signal strength of the ESP32 can be measured using the Received Signal Strength Indicator (RSSI) value. The RSSI is the WiFi signal strength value measured in decibels (dB) related to the reference RSSI value.
Greater RSSI value means stronger is the WiFi network, while a lower RSSI value indicates a weaker signal. RSSI value is measured in decibels (dB) from 0 to -120. When RSSI value is closer to 0 it means the wireless network is stronger.
The ESP32 can use the RSSI value to determine the quality of the Wi-Fi connection and take appropriate actions, such as switching to a different Wi-Fi network or boosting the signal strength. The ESP32 can also use the RSSI value to calculate the distance between itself and the Wi-Fi access point, although this calculation can be affected by factors such as the presence of obstacles and the specific frequency band used. Overall, the RSSI value is a useful tool for managing and optimizing the Wi-Fi connection on the ESP32.
Now we will use Arduino code to connect to a wireless network and obtain the RSSI value of the network in the Arduino serial monitor.
Code
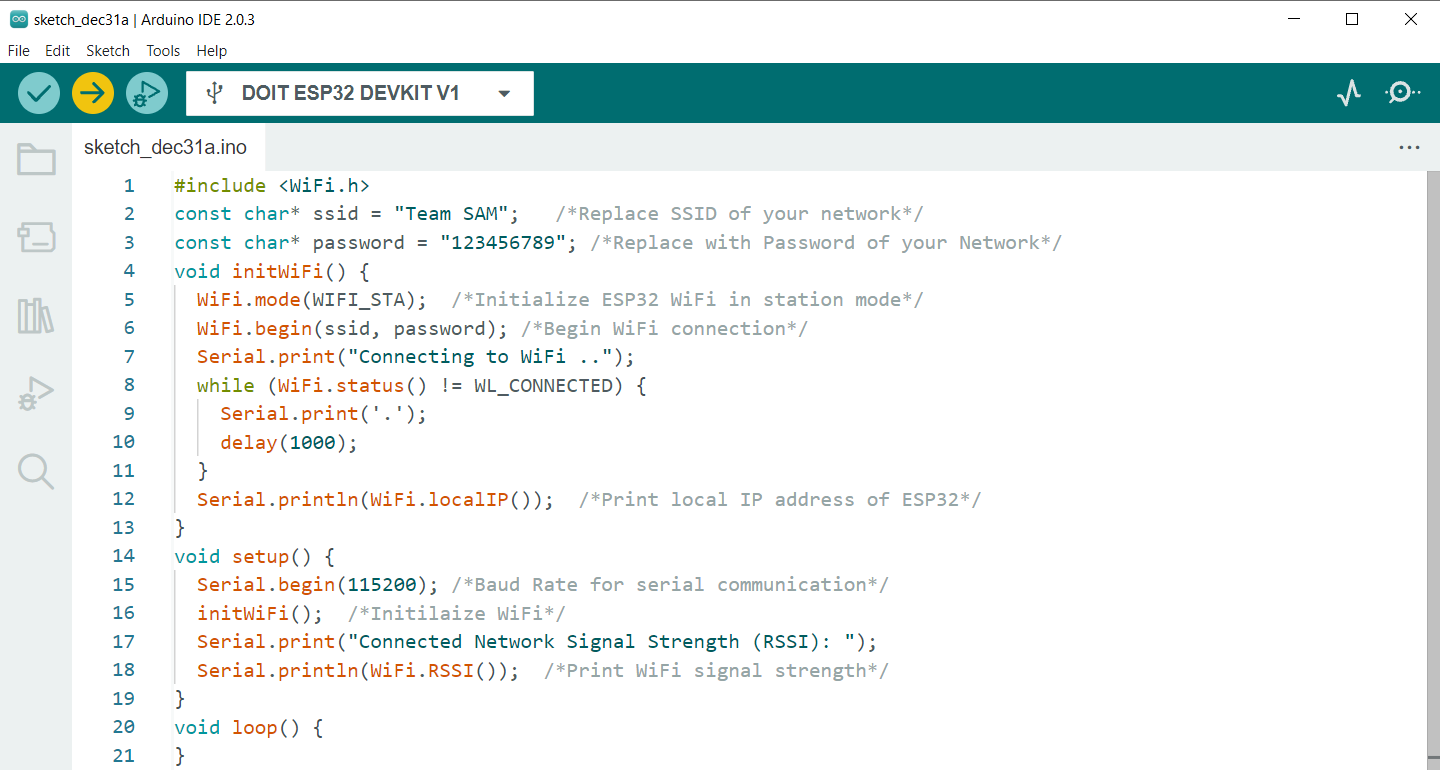
Open IDE select the ESP32 DEVKIT DOIT board and upload below given code.
const char* ssid = "Team SAM"; /*Replace SSID of your network*/
const char* password = "123456789"; /*Replace with Password of your Network*/
void initWiFi() {
WiFi.mode(WIFI_STA); /*Initialize ESP32 WiFi in station mode*/
WiFi.begin(ssid, password); /*Begin WiFi connection*/
Serial.print("Connecting to WiFi ..");
while (WiFi.status() != WL_CONNECTED) {
Serial.print('.');
delay(1000);
}
Serial.println(WiFi.localIP()); /*Print local IP address of ESP32*/
}
void setup() {
Serial.begin(115200); /*Baud Rate for serial communication*/
initWiFi(); /*Initialize WiFi*/
Serial.print("Connected Network Signal Strength (RSSI): ");
Serial.println(WiFi.RSSI()); /*Print WiFi signal strength*/
}
void loop() {
}
Code started by initializing the WiFi library. Next network SSID and password is defined. In initWiFi function ESP32 WiFi is enabled in station mode. Next local IP is printed on the Arduino serial terminal.
In setup part baud rate is defined for serial communication with ESP32 and network RSSI is printed on serial monitor.
Output
Following is the output in the serial monitor. IP address and RSSI value is displayed. RSSI for our network is -27 which means it is a good network.
Conclusion
ESP32 comes with a dual Bluetooth and WiFi driver module. Using ESP32 we can connect with any wireless network. This article describes how to check the strength of a connected network. Using the Arduino code given in the article any network strength can be obtained.


