If you want to start using your Raspberry Pi device for software-building purposes, you can install Gradle on Raspberry Pi through this article’s guidelines.
How to Install Gradle on Raspberry Pi
To install Gradle on Raspberry Pi, follow the below-given steps:
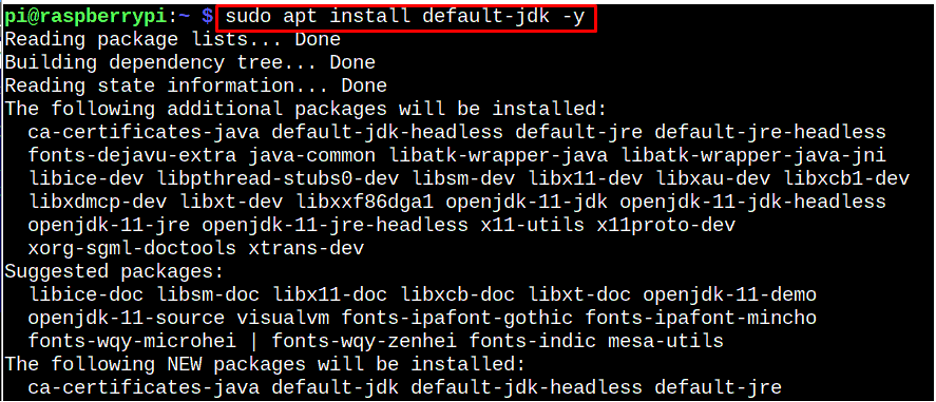
Step 1: Install Java on Raspberry Pi
Gradle needs Java to perform operations on the Raspberry Pi system. Therefore, you must install it using the following command:
To confirm Java installation, follow the below-given command:

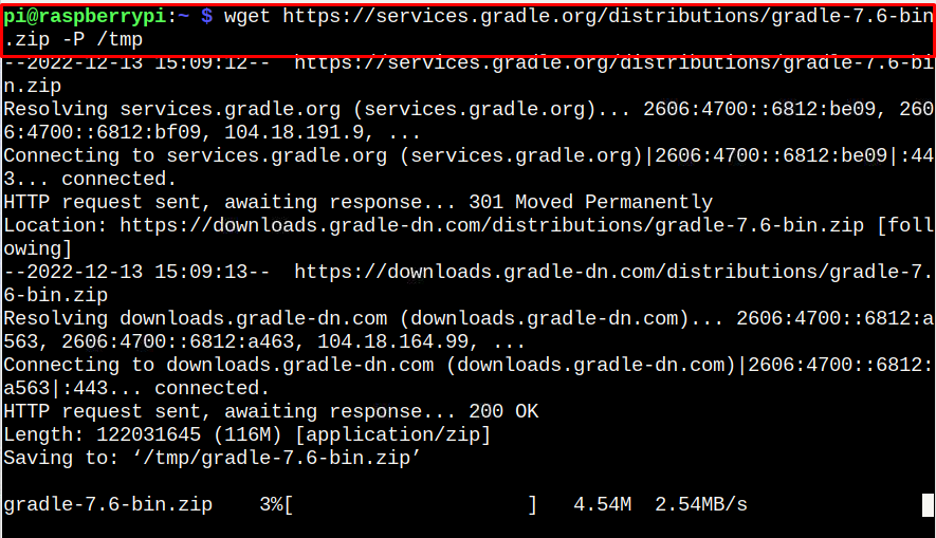
Step 2: Download Gradle Source File on Raspberry Pi
Visit the Gradle release page and check the latest version so that you can download it using the wget command.
The latest version of Gradle at the time of writing this article is 7.6, which can be downloaded in the /tmp directory through the following command:
Step 3: Unzip the Gradle Zip File
Now we are going to unzip the Gradle zip file at location /opt/gradle, where all unbundled packages are placed:

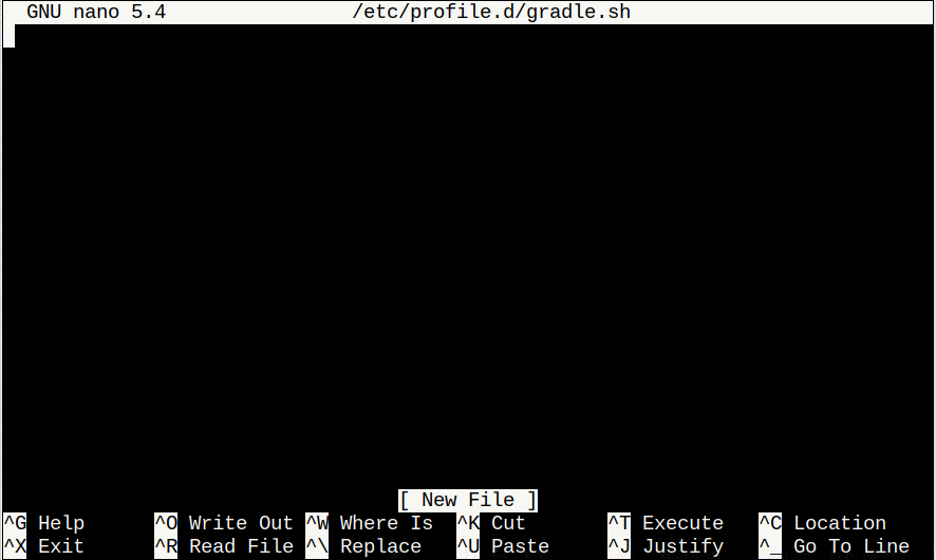
Step 4: Setup Environment Variable for Gradle
You must need to tell the system where the Gradle is placed so that you will be able to run the application. To do this, you must create a “gradle.sh” script file inside the “/etc/profile.d” location using the following command:
Inside the file, add the following lines inside the file to tell the system the path for Gradle on Raspberry Pi:
export PATH=${GRADLE_HOME}/bin:${PATH}
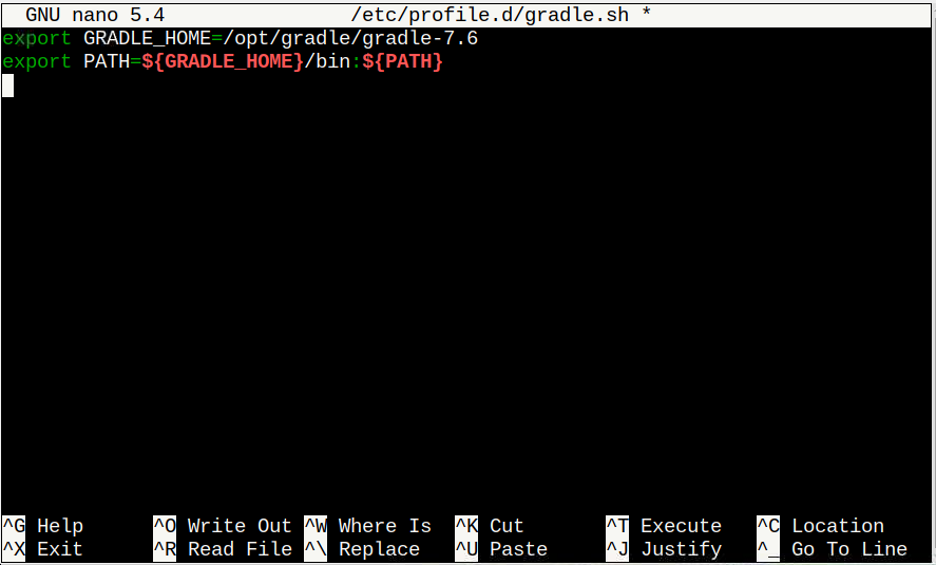
Note: Don’t forget to replace the Gradle version.
You must save the file using “CTRL+X”, add “Y,” and press enter to exit.
Step 5: Make Gradle File Executable
You must make the Gradle file executable using the following command:

Afterward, load the changes you made to the file using the following command:

Once the changes are applied, you can confirm the Gradle installation by running the following command:
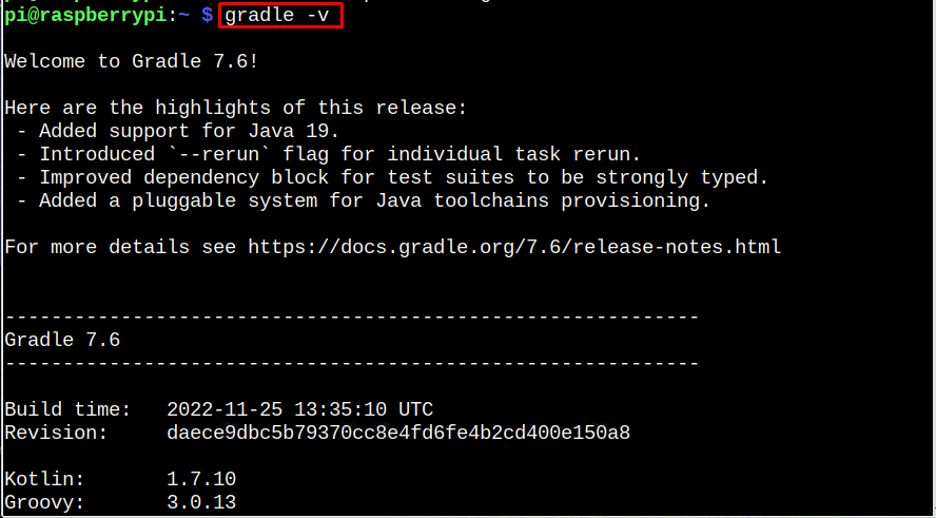
The above output confirms the installation of Gradle on the Raspberry Pi system and you can start building software through it.
Conclusion
Gradle is an open-source tool for building and automating any software. You can install this tool by first installing Java on the Raspberry Pi system. Afterward, you must download the Gradle zip file from the official website and unzip it inside the /opt/gradle directory. You must set the path for Gradle inside an executable file and load the changes to install the tool on the Raspberry Pi system successfully.