Rust is a fast and memory-efficient programming language for building software. It has the power to run on embedded devices and can easily integrate with other programming languages. Different software like Dropbox, Firefox and Cloudflare use the Rust programming language, making it an ideal fit for you to start working on it to develop different embedded software and reliable web services.
This article presents details guide to install Rust programming language on a Raspberry Pi system.
How to Install Rust on Raspberry Pi
To install Rust on Raspberry Pi, you should need two additional tools; the Rust tool for managing and running Rust builds on your Raspberry Pi system and the Cargo package manager handles the tasks for building the packages for Rust. To install both these tools with Rust programming language, you should follow the below-mentioned steps:
Step 1: Install Rust on Raspberry Pi
There is a script available for you to install Rust on a Linux system and you can easily execute this script to install Rust with Rustup and Cargo on Raspberry Pi.
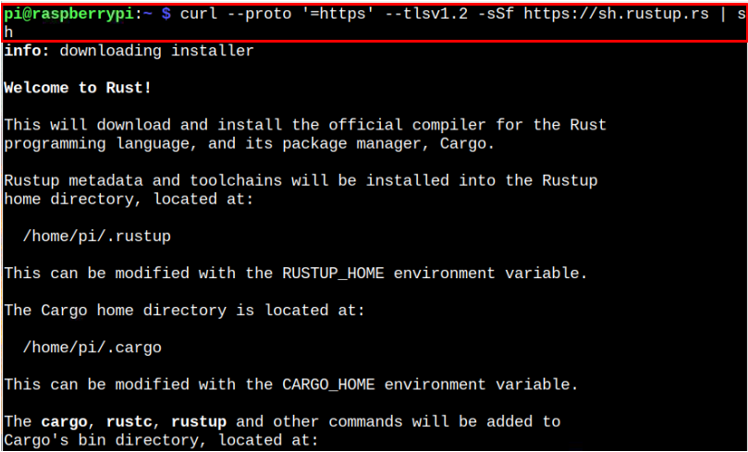
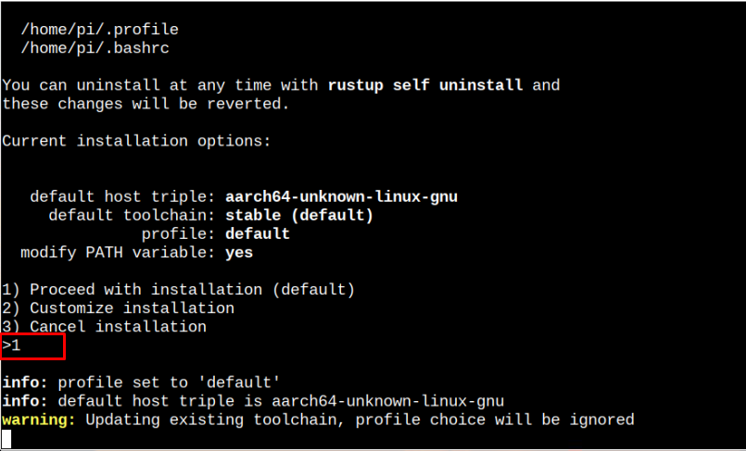
During the installation, you will be asked to select the option to process with the installation and you have to select the default one.
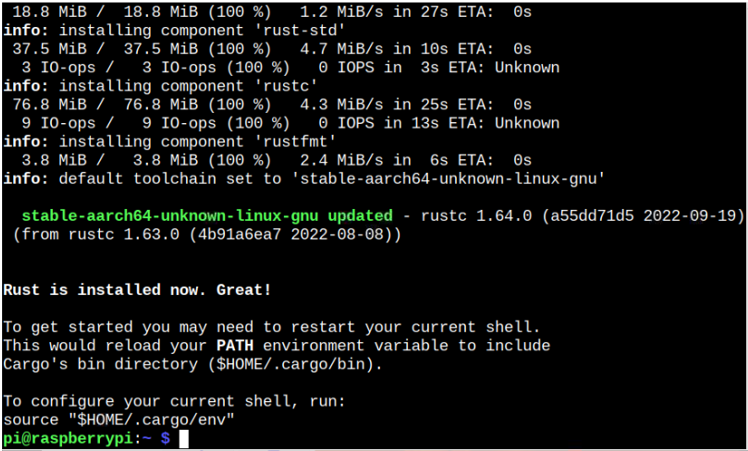
The installation process begins with installing Rust and Rustup on your Raspberry Pi system and you have to wait for the installation to complete.
Step 2: Configuring Path Environment Variable for Rust on Raspberry Pi
Although the above script successfully installs Rust and required tools on your Raspberry Pi system, to get started, you should configure the path environment variable to include these tools in the bin directory. This will help you confirm the versions by successfully running the “–version” command.
To configure the environment variable, you must manually add Rust to the system path using the following command:

Alternatively, you may issue the following command for adding Rust to the system path manually.

Step 3: Check Rust, Rustup and Cargo Version on Raspberry Pi
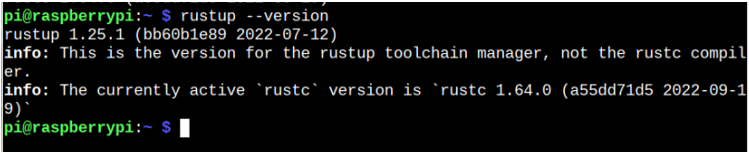
After configuring the environment variable, you can now successfully run the following command to check the Rust programming version on Raspberry Pi:

To confirm the Rustup version, you can use add the below-mentioned command:
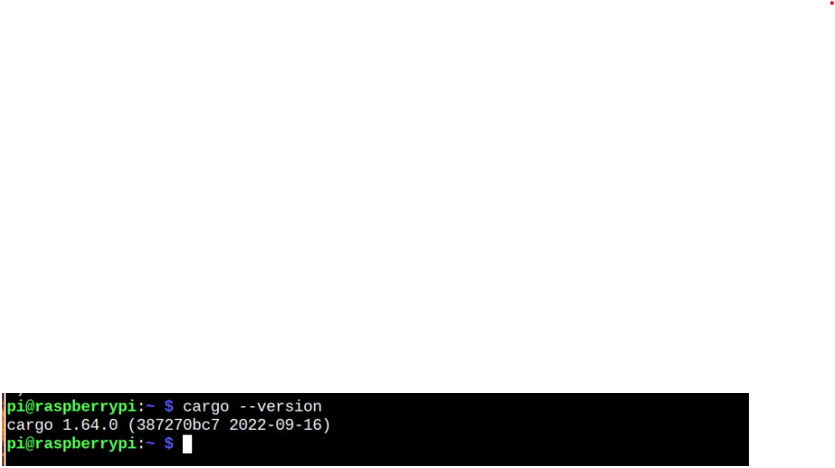
To ensure Cargo is also installed, you can use the following command to confirm its version:
Step 4: Update Rustup on Raspberry Pi
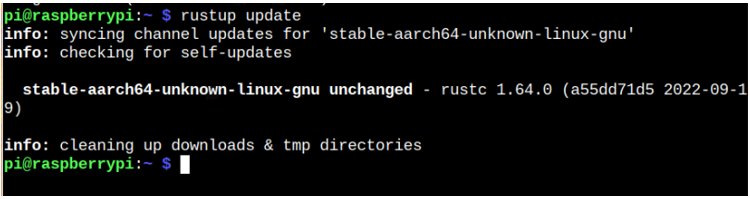
You can update Rustup on Raspberry Pi anytime by executing the following command to ensure running the latest software version on Raspberry Pi.
Use Rust on Raspberry Pi
Now, if you are a beginner, you should know how to write, run and write code in Rust programming language. You should create a file with the .rs extension since Rust uses this extension for executing the program. In our case, we created a simple welcome message file with the name “welcome.rs” using the following command:
Inside the file, add the following code written in Rust programming language. You can write a code by yourself; however, the main body will remain the same.

Save the above “welcome.rs” file using the “CTRL+X” key. After saving the file, you should compile the code by applying the following command:
![]()
After the compilation, execute the program using the following command:

This completes the execution of simple welcome message code using Rust programming language.
Conclusion
Rust is a robust and memory-efficient programming language that allows users to build memory-efficient applications. You can install this programming language using the installation script mentioned above. The script installs the Rust programming language with additional tools such as Rustup and Cargo. To successfully run Rust with these tools, you should configure the path environment variable. Afterward, you can follow the guidelines above to learn how to execute a simple welcome message code using Rust on a Raspberry Pi system.