This blog will provide the required guidelines to install Webmin on your Raspberry Pi, so let’s begin.
How to Install Webmin on Raspberry Pi
The Webmin isn’t included in the official Raspberry Pi source list, so the direct installation through apt installer won’t work in this case and for that reason, you will need to download it from another source to run it on your Raspberry Pi device.
The below step-by-step instructions will help you in installing Webmin on your Raspberry Pi device:
Step 1: Installing Dependencies for Webmin
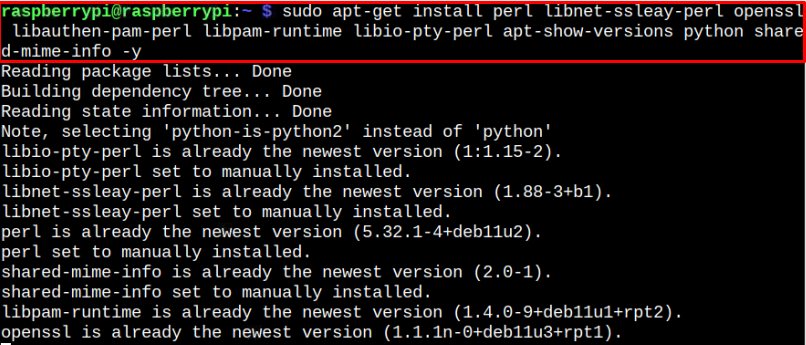
First, you must install a few dependencies on Raspberry Pi as these are needed for Webmin to operate on your device successfully and to do so, you must need to execute the below-given command:
Step 2: Downloading Webmin Deb Package
Once the dependencies are installed, you can execute the below-given command to download the latest Webmin deb package on your Raspberry Pi device.
At the time of writing this article, the latest version of Webmin is 1.998, which could be updated when you install and to confirm the latest version, you can visit the website.
Step 3: Installing Webmin on Raspberry Pi
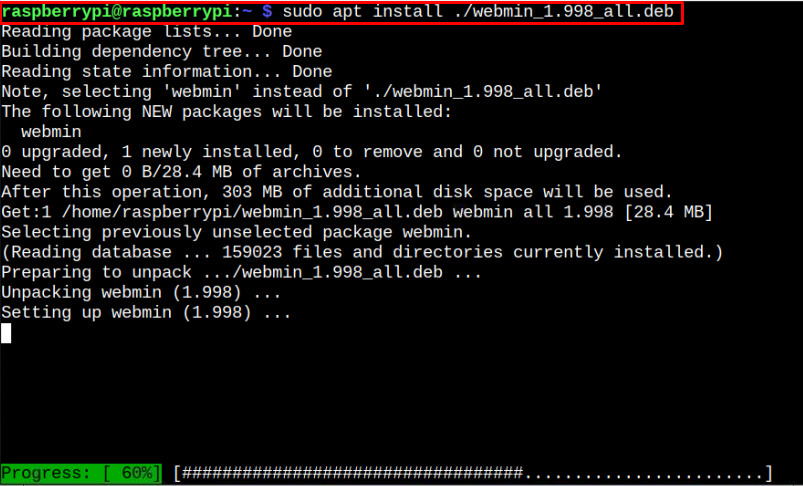
Next, you will need to install Webmin through the deb package using the apt installer by executing the following command:
Step 4: Accessing Webmin Dashboard Raspberry Pi
After successfully installing Webmin on Raspberry Pi, note down your Raspberry Pi IP address through the “hostname -I” command in the terminal and then head toward your browser and enter the address https://Pi_IP:10000/.
Before signing in, it’s better to execute the following command and change your password for the default root user using the following command:
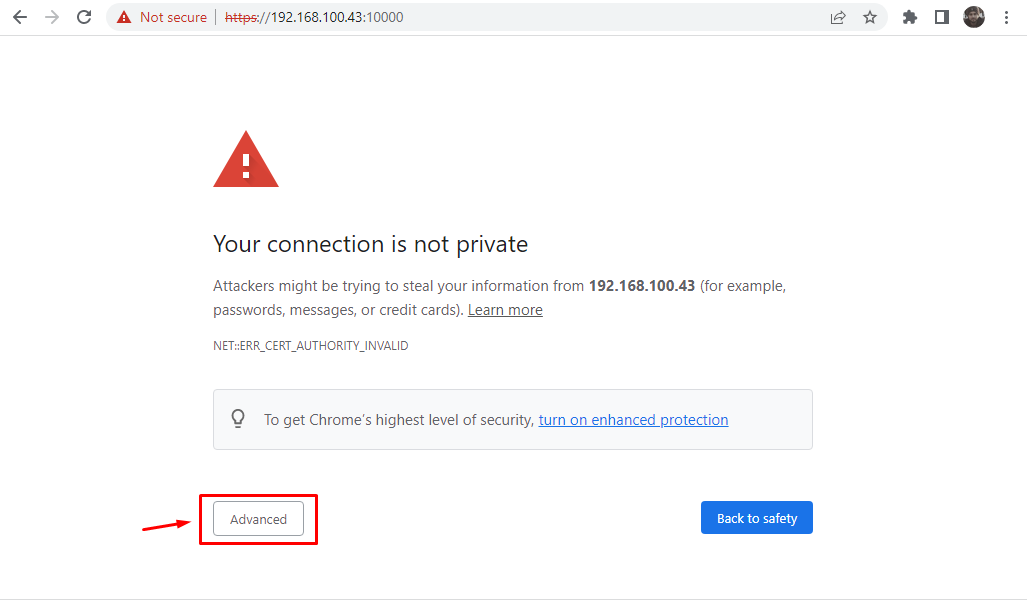
Once the password is set, go to your browser and add the address https://Pi_IP:10000/ to hit enter. Click on the “Advanced” option in case you see the following screen.
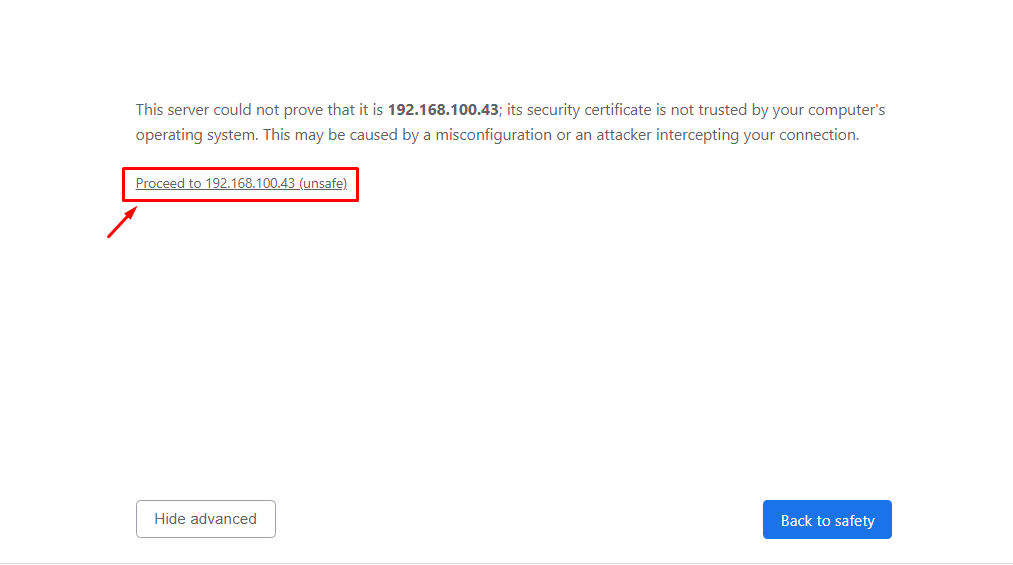
Then choose “Proceed to the address”.
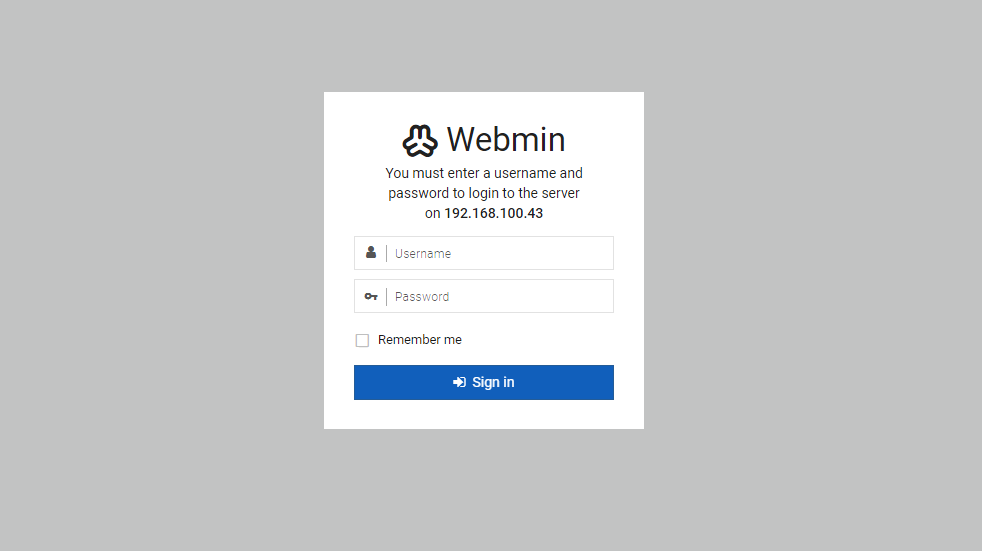
This will open the Webmin sign-in page and you have to enter the username and password that you have set up above.
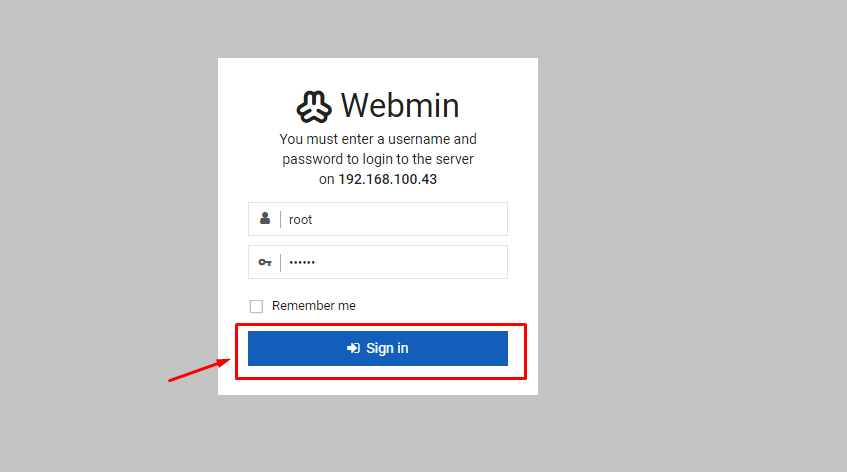
After adding the user credentials, click on the “Sign in” button to log in to the Webmin dashboard.
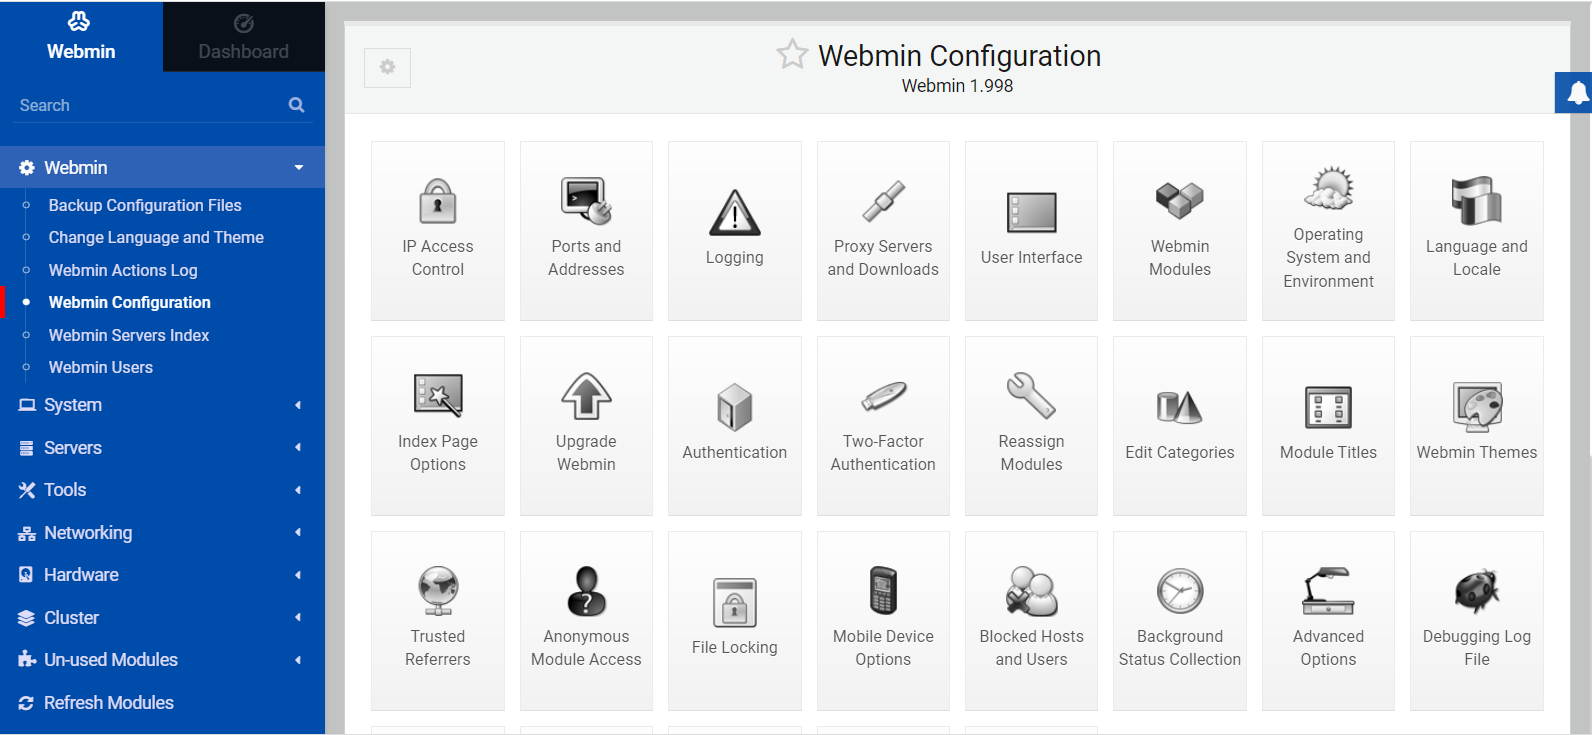
There, you will have many settings for your Raspberry Pi device and you can change them according to your needs because from now on you will be able to manage your device from your browser.
Conclusion
Webmin is a perfect administrator tool that lets you control several settings like DNS configuration, user accounts, file locking, and much more directly from your browser. You can install this tool on your Raspberry Pi device by downloading the deb package from an external source and using the apt installer to install it on your device successfully. After the installation, you can use the Raspberry Pi IP address with port number “10000” in your browser to open the Webmin dashboard with your username and password.

