The FTP (File Transfer Protocol) is a method by which we can upload and transfer the files from the sender to the receiver using the internet connection as it allows you to send the large file of size in the gigabytes with a full security. The FTP server can also be used to transfer files to the Raspberry Pi but for this we have to set up the FTP settings on the Raspberry Pi which are explained in detail in this write-up.
How to setup the FTP on the Raspberry Pi
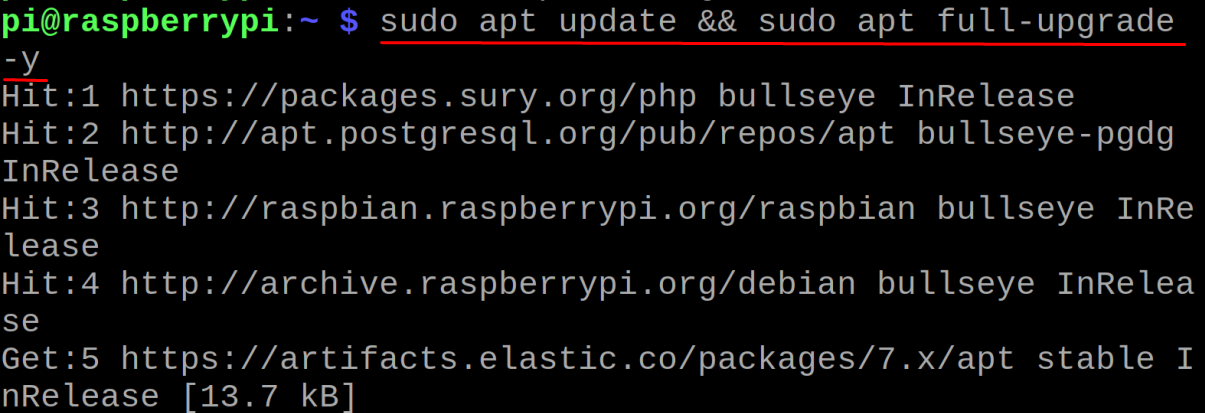
It is always recommended that before installing any new package, update the repository to get the latest version of the packages and then also use the upgrade command, so that previous outdated packages can be update to the latest versions:
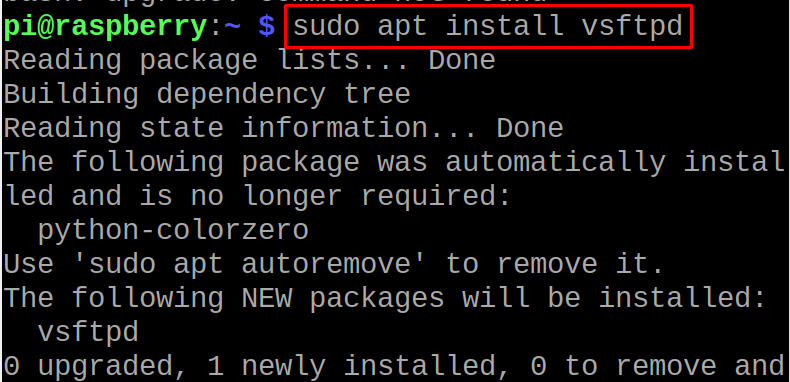
Now it’s time to install the “vsftpd” package which comes by default in the repository of the Raspberry Pi:
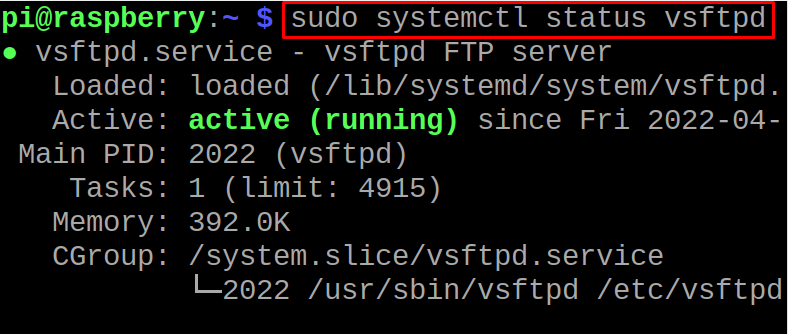
When the installation command of vsftpd executed successfully, we will check the status of the installed vsftpd service using the systemctl command:
In the above output, it can be seen that the vsftpd service is running, now we will enable it with the help of the command:
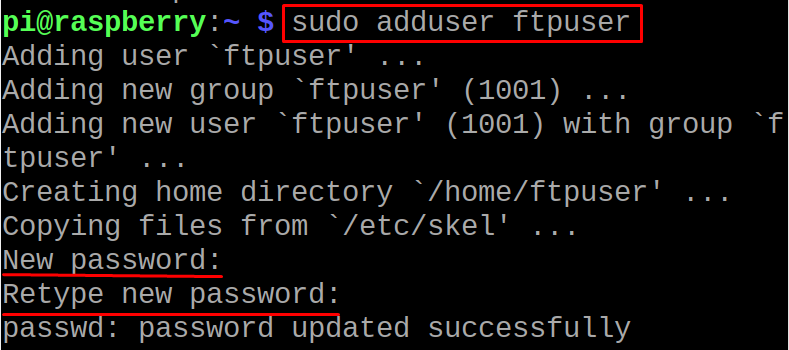
To add the user in the vsftpd, run the command:
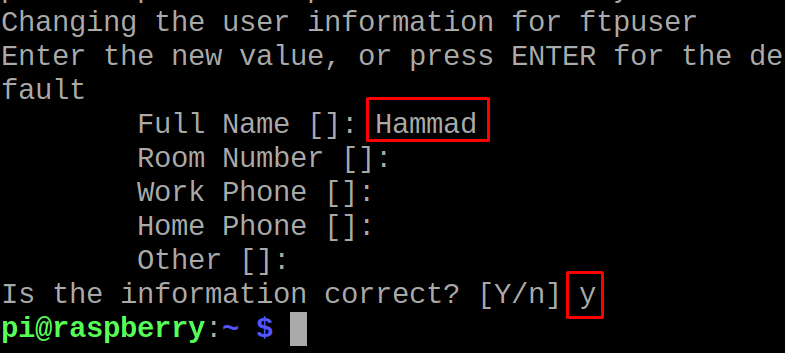
When the command is executed, it will ask you to set a password for the new user and then it will ask the personal information about the new user created:
Type “y” to confirm the above information and close the terminal. To confirm the creation of the new user we will run the command:
The “Hammad” user has successfully been created, now we will make the directory with the name of ftp_dir in the /home/ftpuser/ with the command:
In the above command “-p” option is used to tell the mkdir to create the entire path tree and next step is to change the permission status of the ftp_dir using the chmod command to make it accessible:
After changing the permissions, we will open the configuration file of vsftpd using the nano text editor:
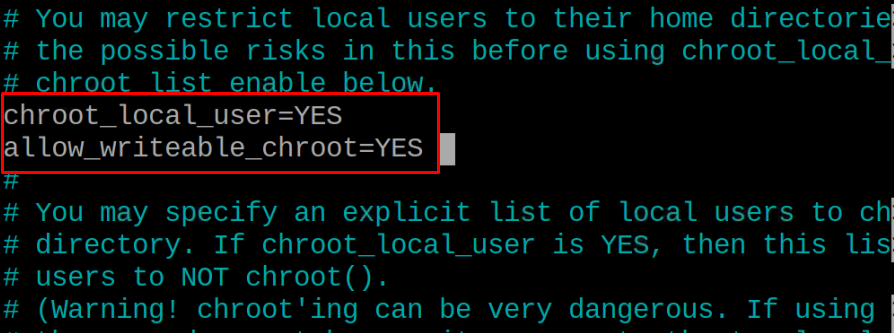
Now in the list open, make sure the following lines have been there and uncomment them by removing the “#”:
chroot_local_user=YES
allow_writeable_chroot=YES
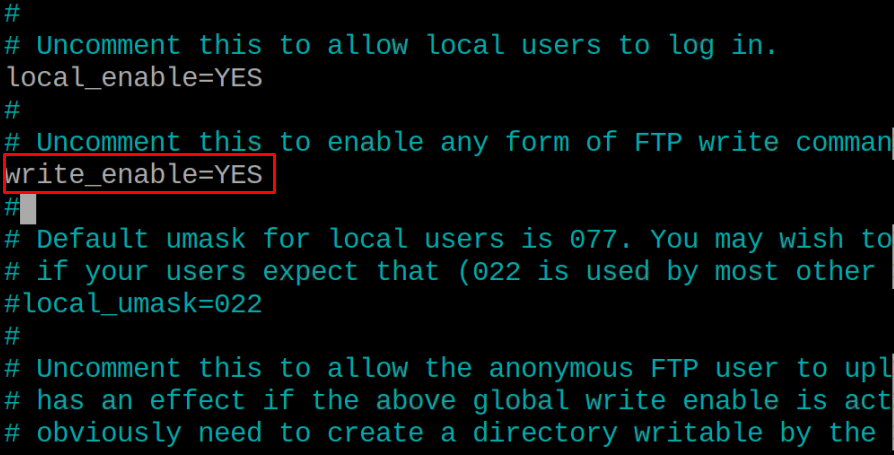
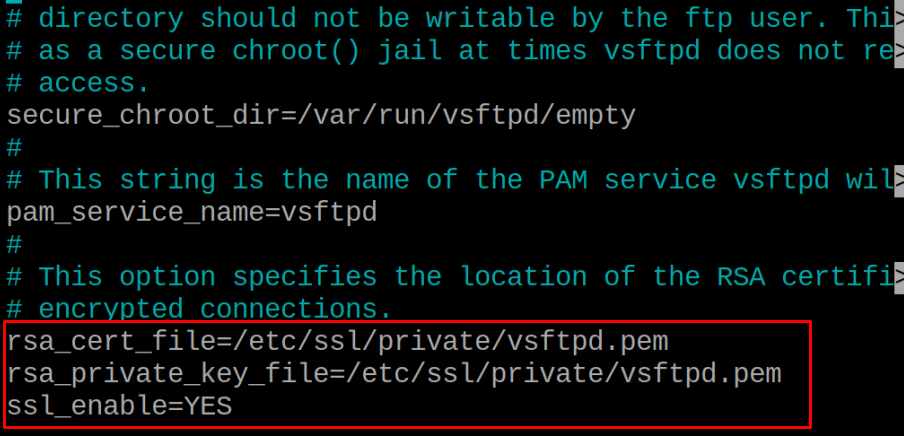
Then type these lines in the file:
rsa_private_key_file=/etc/ssl/private/vsftpd.pem
ssl_enable=YES
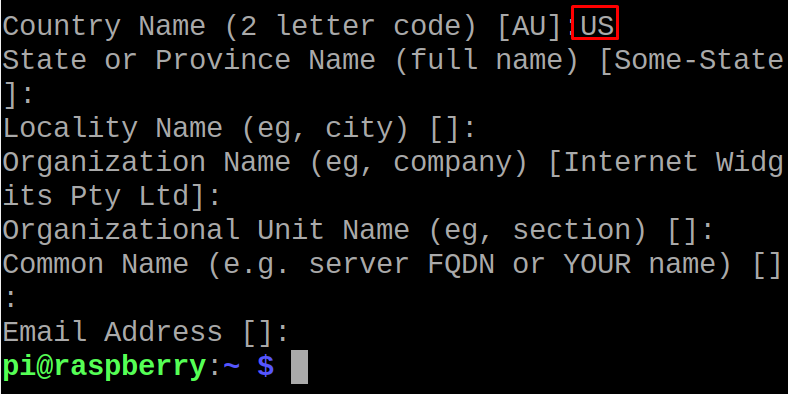
After making sure all the above lines are in the configuration file of vsftpd and uncommented, save the changes in the file and exit the nano editor. Finally we will create a dummy 2048-bit private key and a self created certificate with the validity of 10 years by using the command:
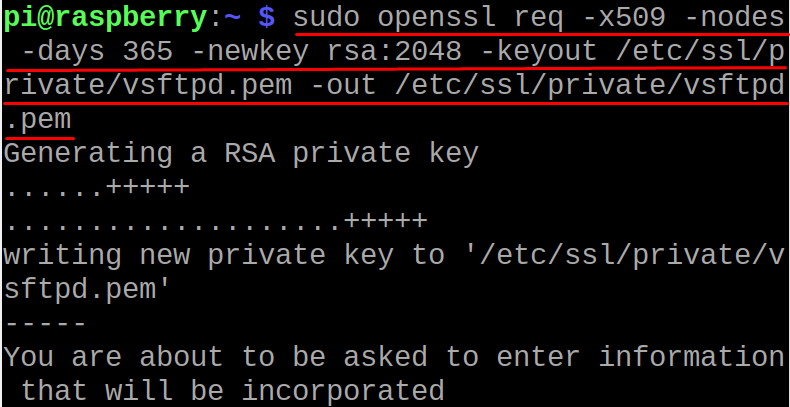
This certificate is saved in the same directory of ftp_dir, now we will restart the vsftpd service to save and apply the new changes made:
Confirm the status of the vsftpd service by using the command:
Allow the ports 20 and 21 using the ufw command:
Reload the ufw to apply the rules added:
Now we will open the Filezilla from another machine and type the “Host”, username and password and connect to it:
Once the connection is established successfully, we can move the files from the laptop to the host using the Filezilla:
Now in the terminal of the Raspberry Pi we will list down the contents of the ftp-dir to confirm the transfer of the file:
The image in the ftp_dir has confirmed that the file has been successfully transferred after the setup of FTP on the Raspberry Pi.
Conclusion
FTP allows the transfer of the files of any size with the security over the internet. In this write-up, the FTP server has been set up on the Raspberry Pi by installing the FTP on the Raspberry Pi and then we have transferred a file from the laptop to the Raspberry Pi using the Filezilla service.

