PINN is the most appropriate and convenient option to install the multiple operating systems on the SD card and allow the Raspberry Pi to dual boot the operating system. In this write-up, we will learn the method of dual booting the operating system on the Raspberry Pi by using the PINN option of the Raspberry Pi imager.
What is the dual boot
The Dual boot is the technique by which we can run multiple operating systems on the same computer instead of using different computers. We can switch to any operating system which is installed on the SD card.
This is mostly useful to perform and test the same operations in different operating systems.
How to flash the PINN on the Raspberry Pi
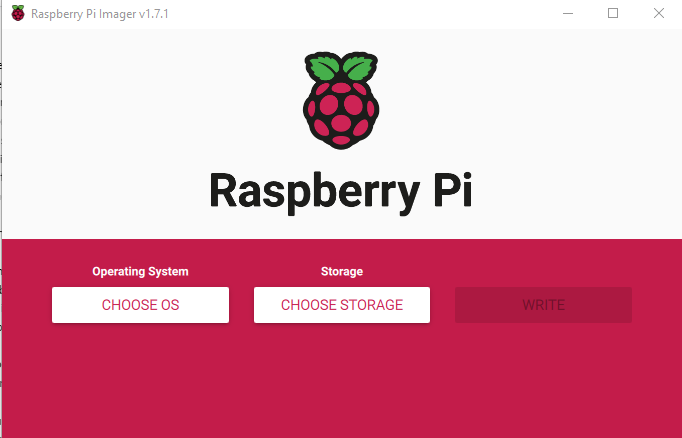
We can run multiple operating systems on the Raspberry Pi using the PINN option of the Raspberry Pi Imager, open the Raspberry Pi Imager:
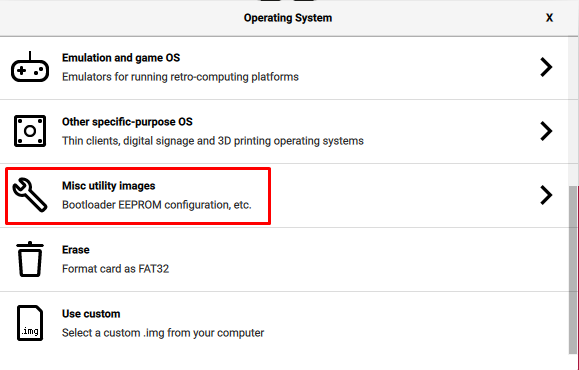
Now we will click on the “CHOOSE OS” and click on the “Misc utility images” option:
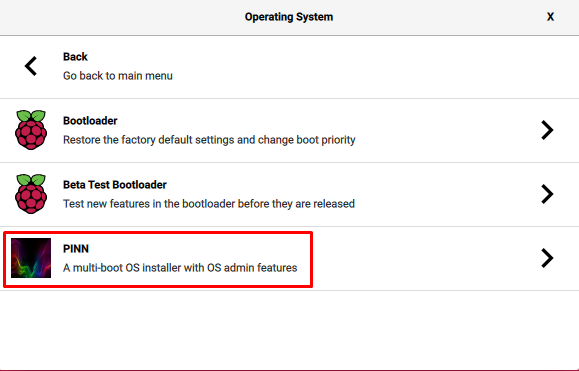
Then click on the “PINN”:
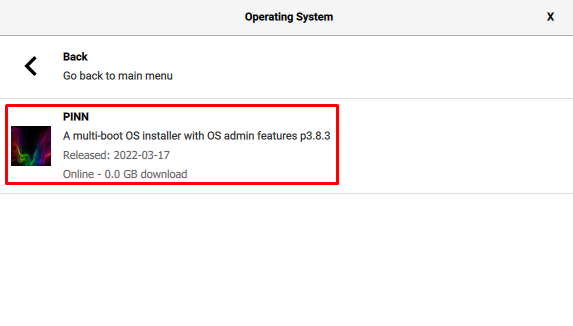
In the next menu, click on the “PINN”:
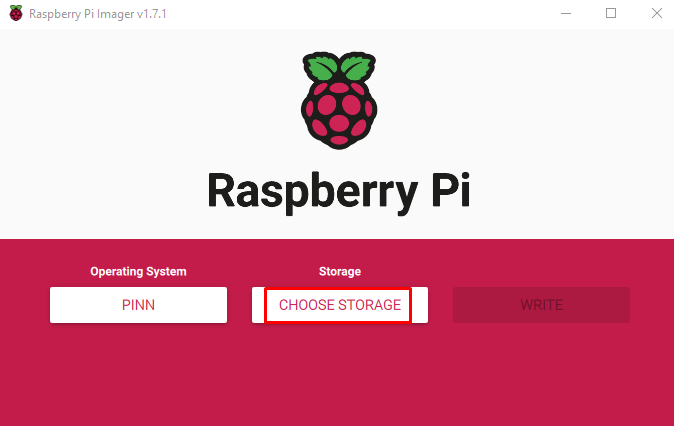
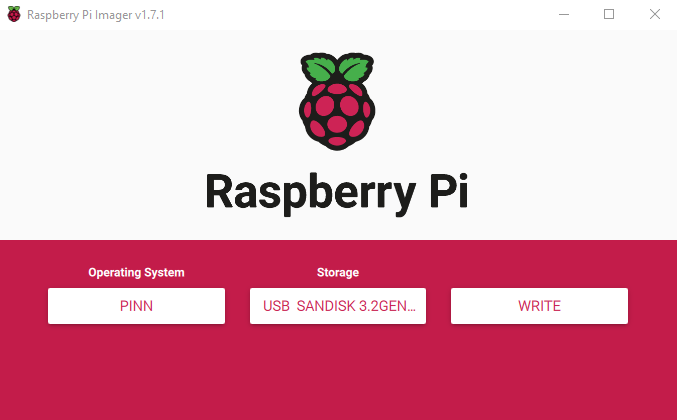
Now, choose the “STORAGE DEVICE” and click on the path of the SD card or USB where you want to flash the PINN:
Lastly, click on the “WRITE” option to flash the PINN on the Storage device:
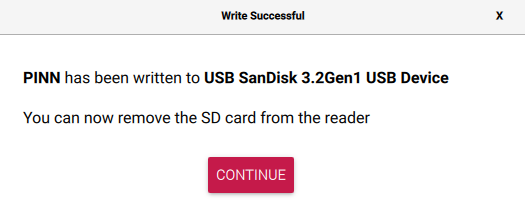
After the PINN is successfully flashed, a notification will appear to remove the storage device, click on the “CONTINUE” button:
How to run multiple operating systems on Raspberry Pi
When the PINN is flashed on the storage device successfully, insert the storage device into the Raspberry Pi and turn on the board so that it can launch the PINN.
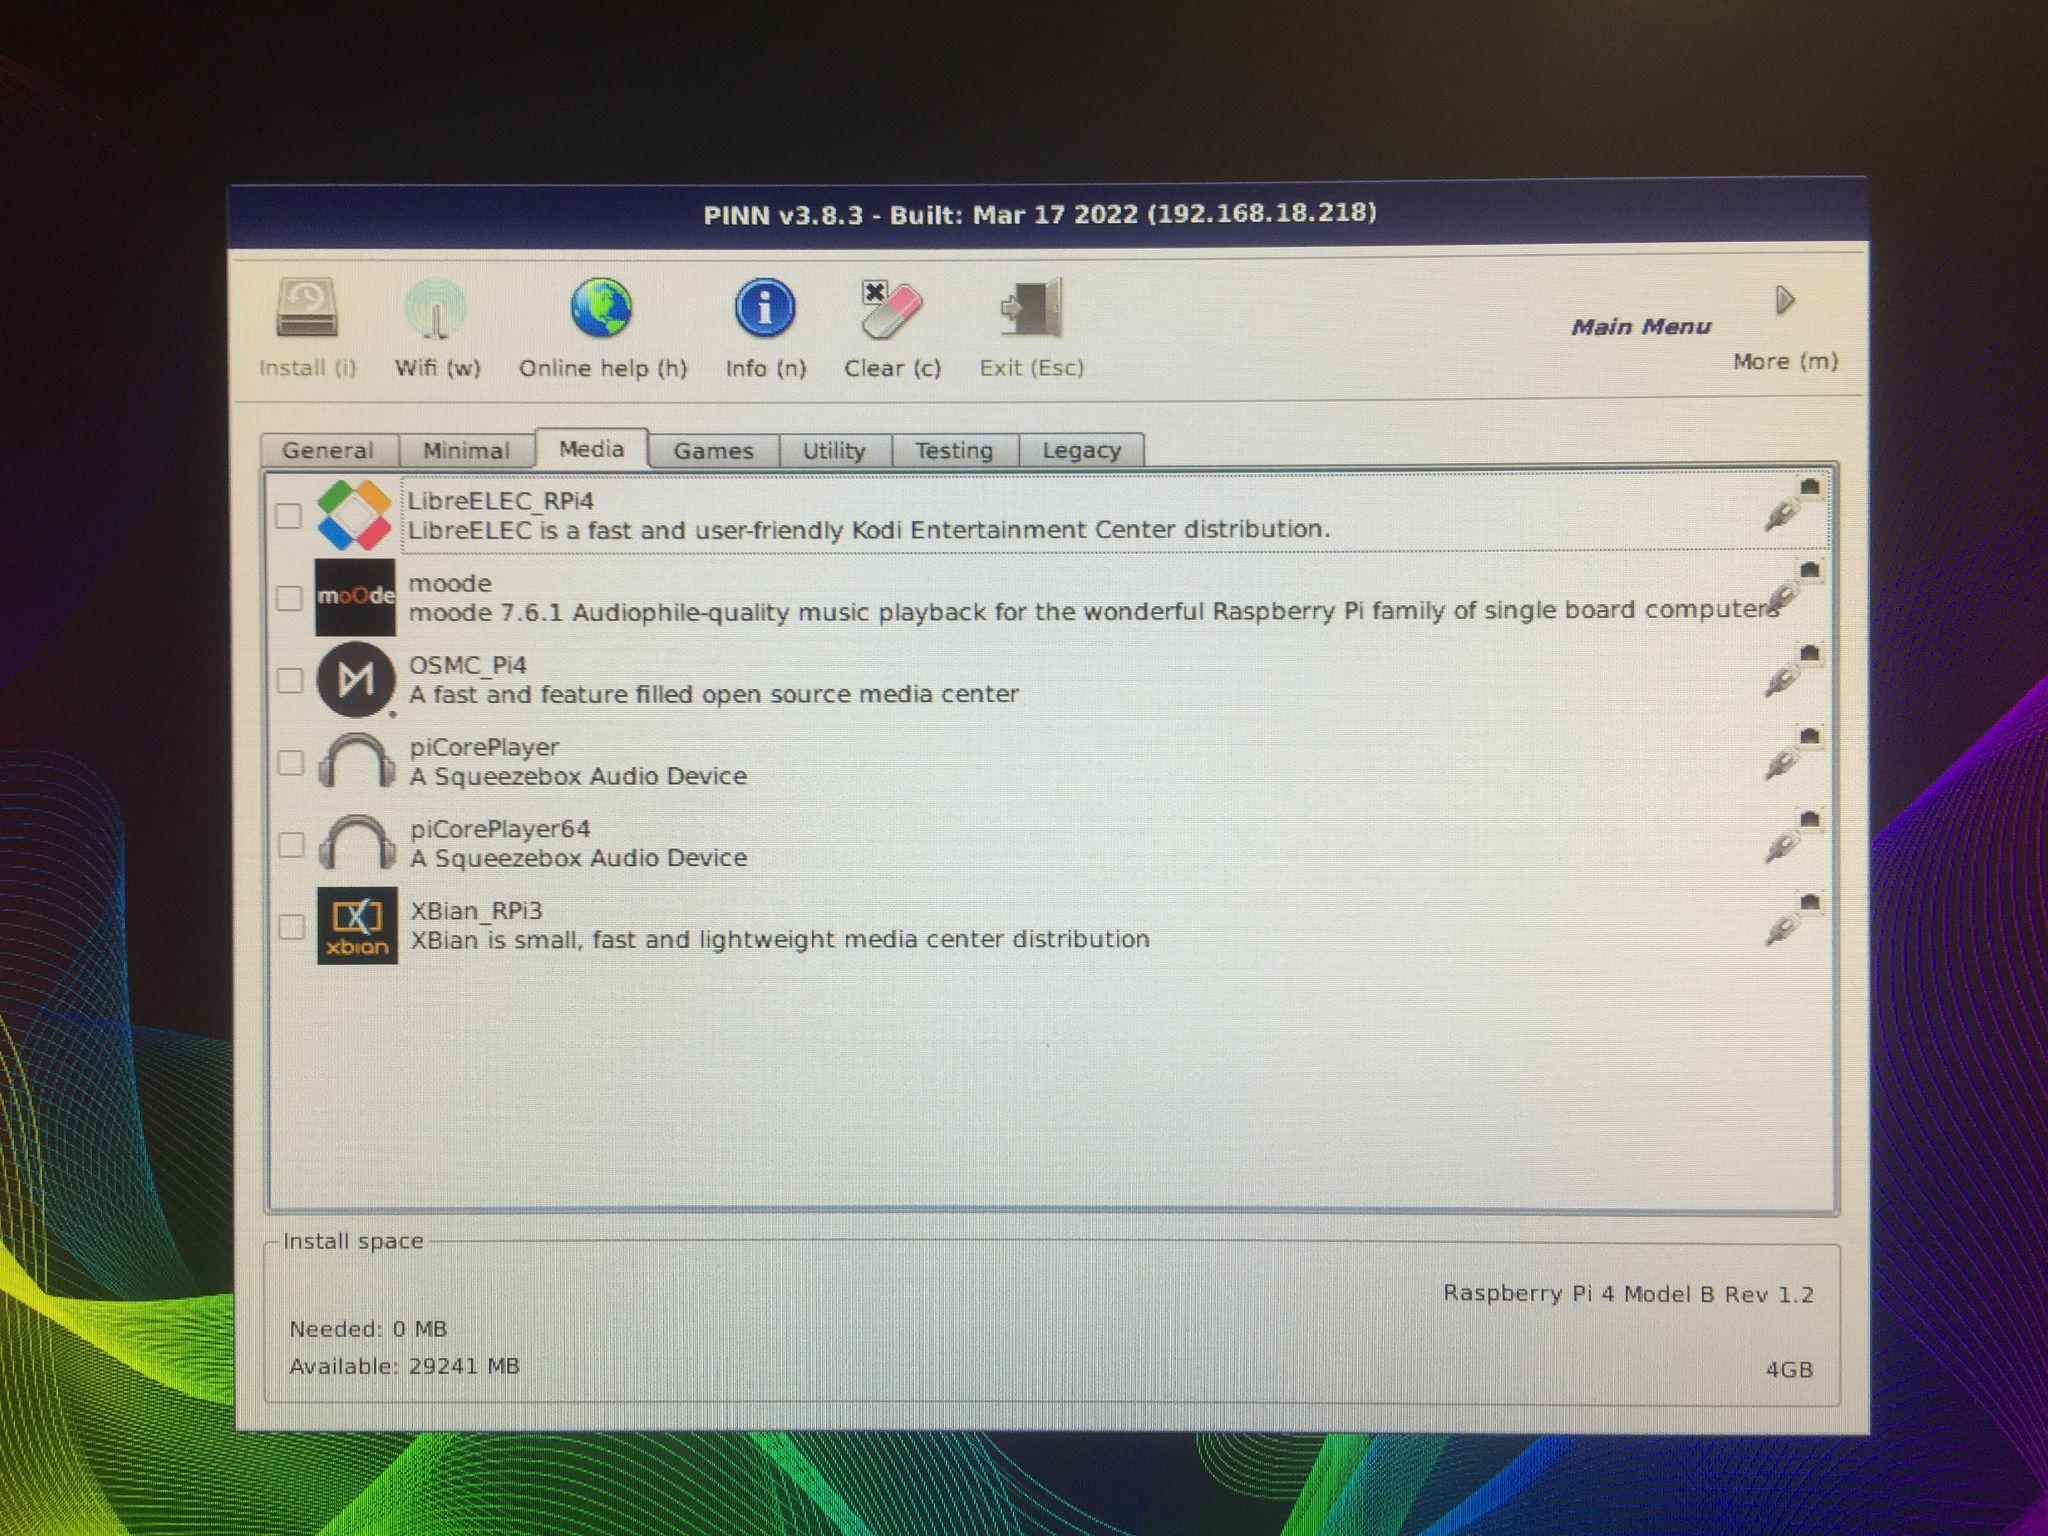
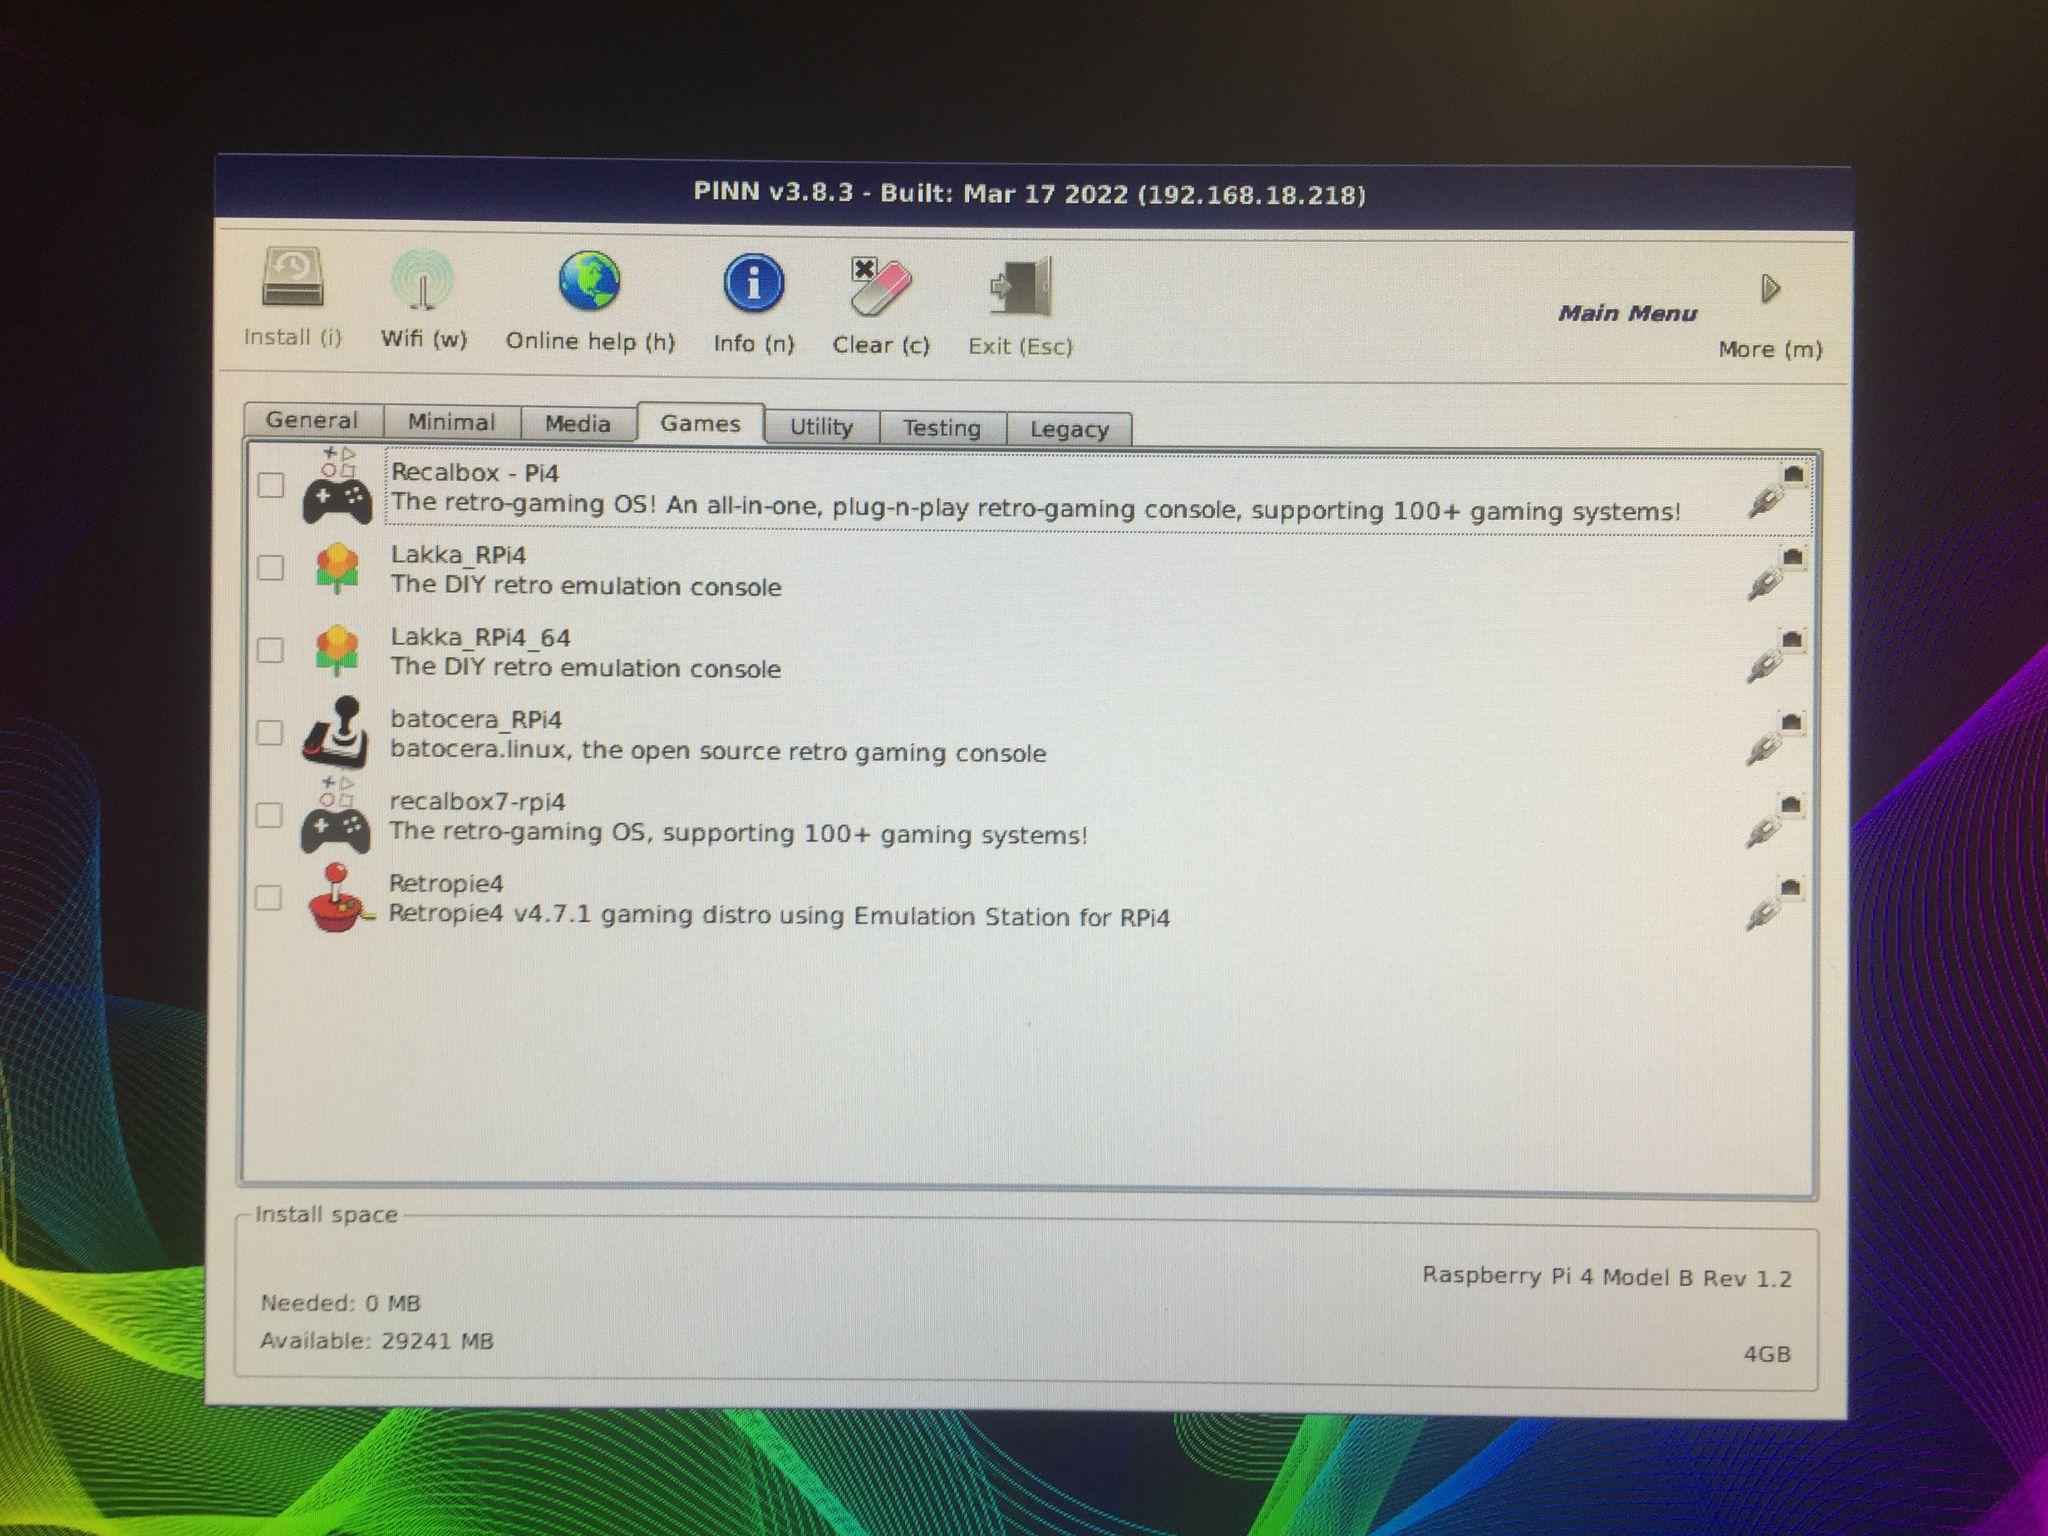
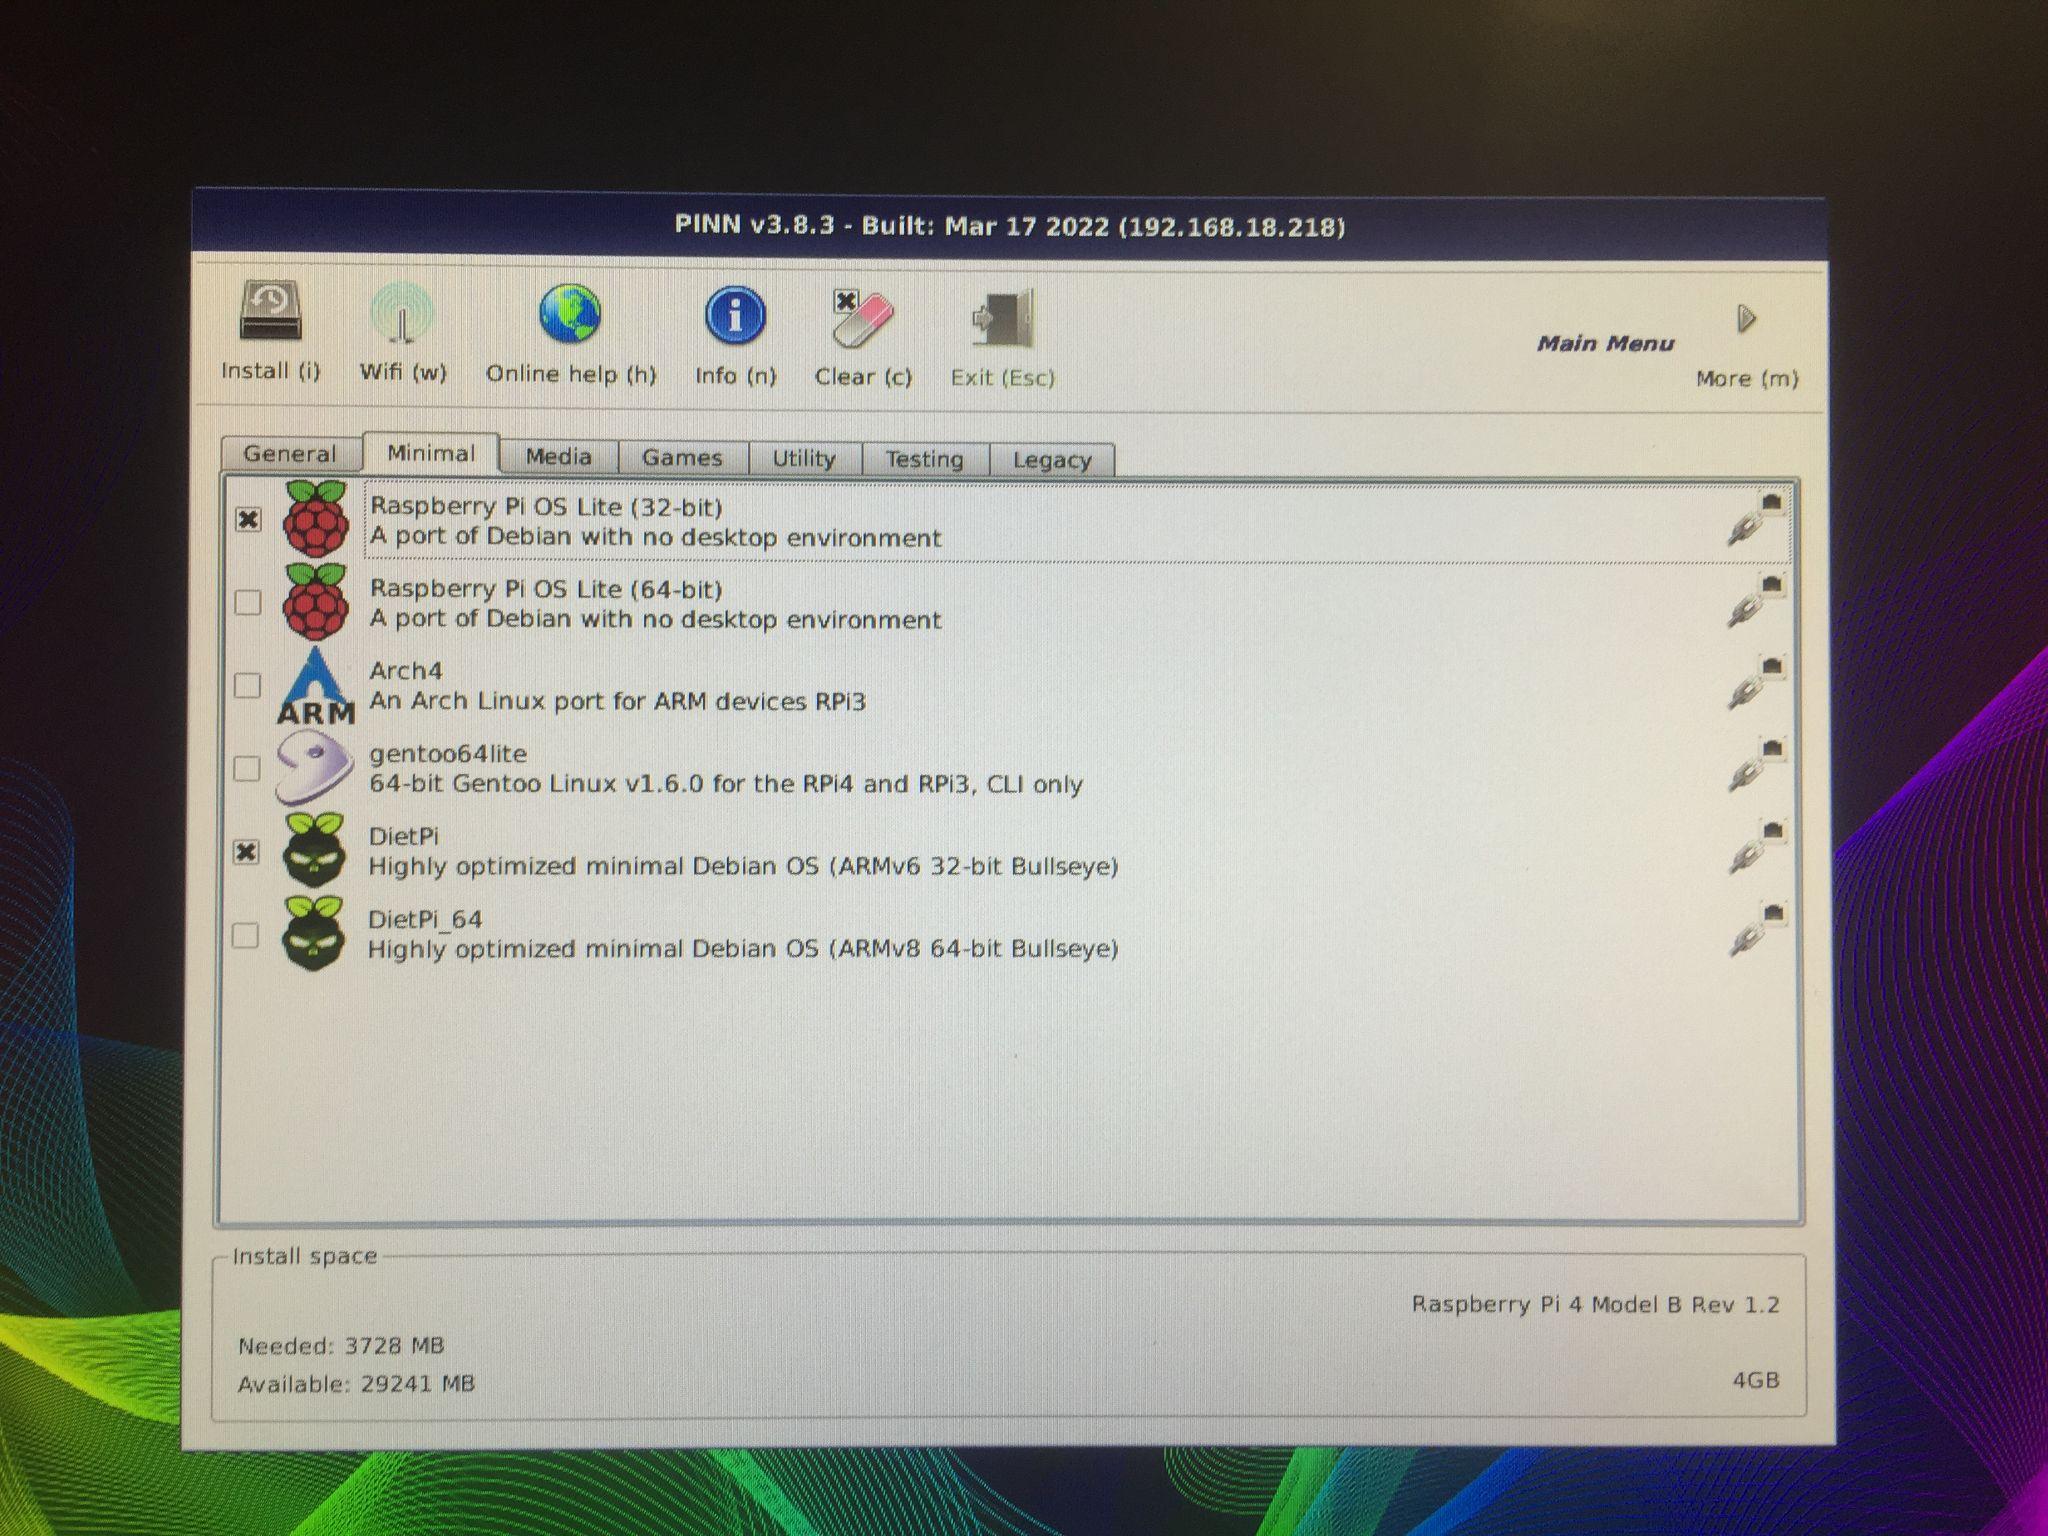
A screen will appear like this, it will display a prompt in which there are different distributions of various categories that can be installed on the Raspberry Pi. For example, if we click on the “Media” , it will display the distributions which are best for the media like LibreElec:
Likewise, there is the “Games” category which displays the gaming operating systems:
We will install the “Raspberry Pi OS Lite (32-bit) ” and “DietPi ”by clicking on them:
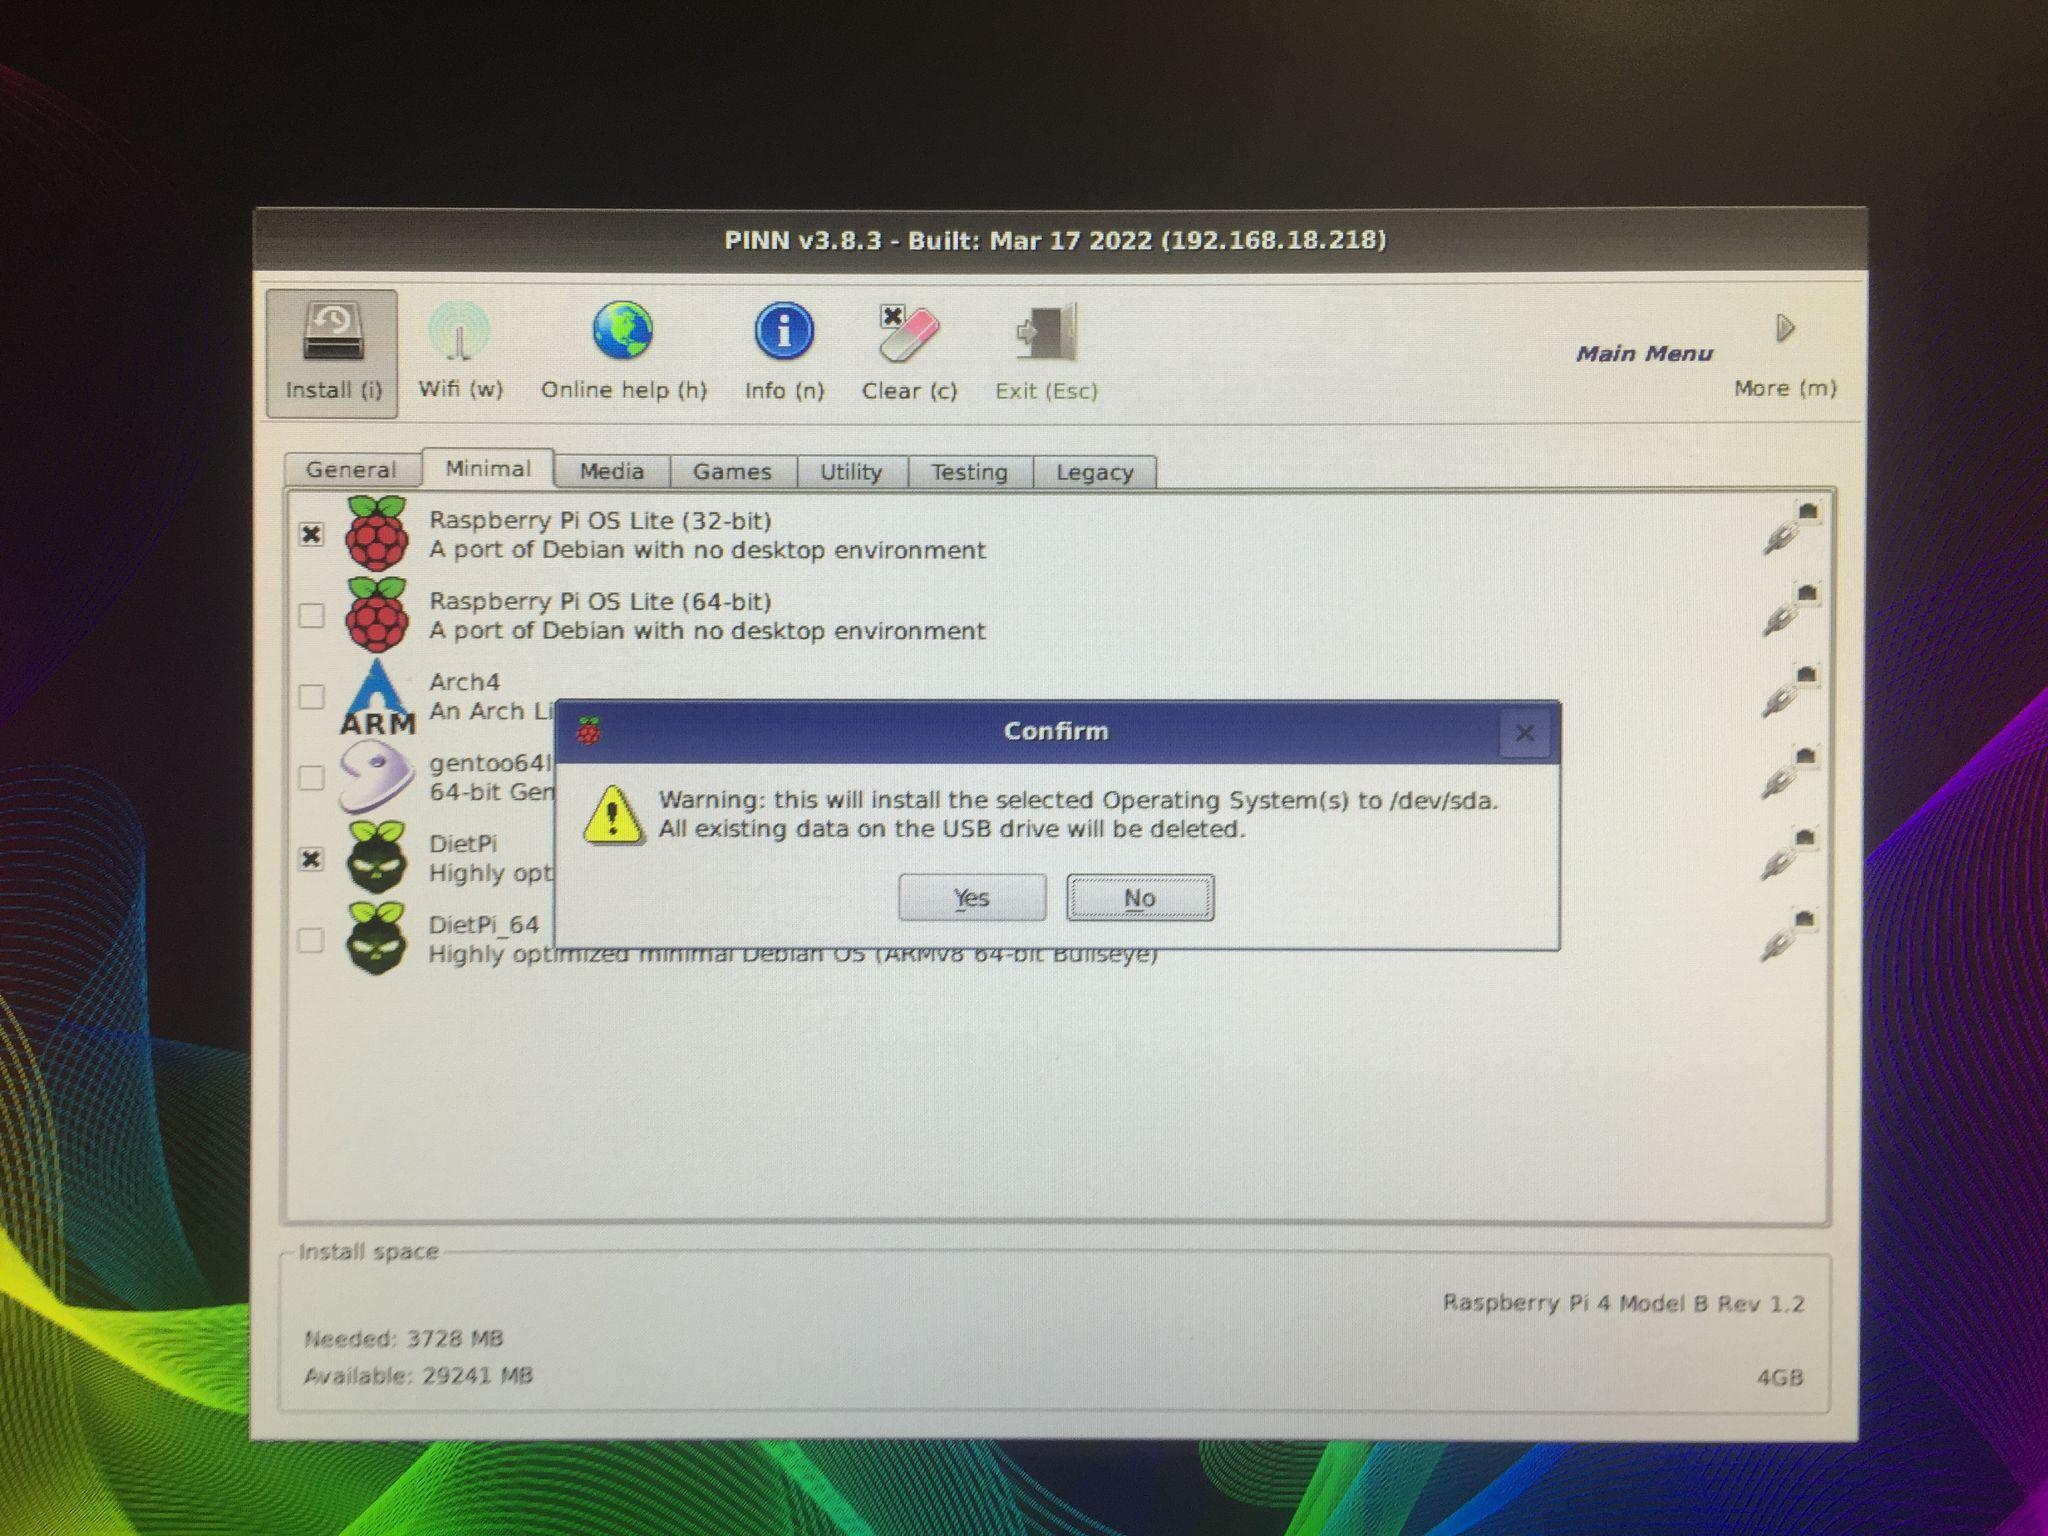
A warning message will be displayed that the existing data on your storage device will be deleted, click on the “Yes” button to format or erase all the previous data present on the storage device:
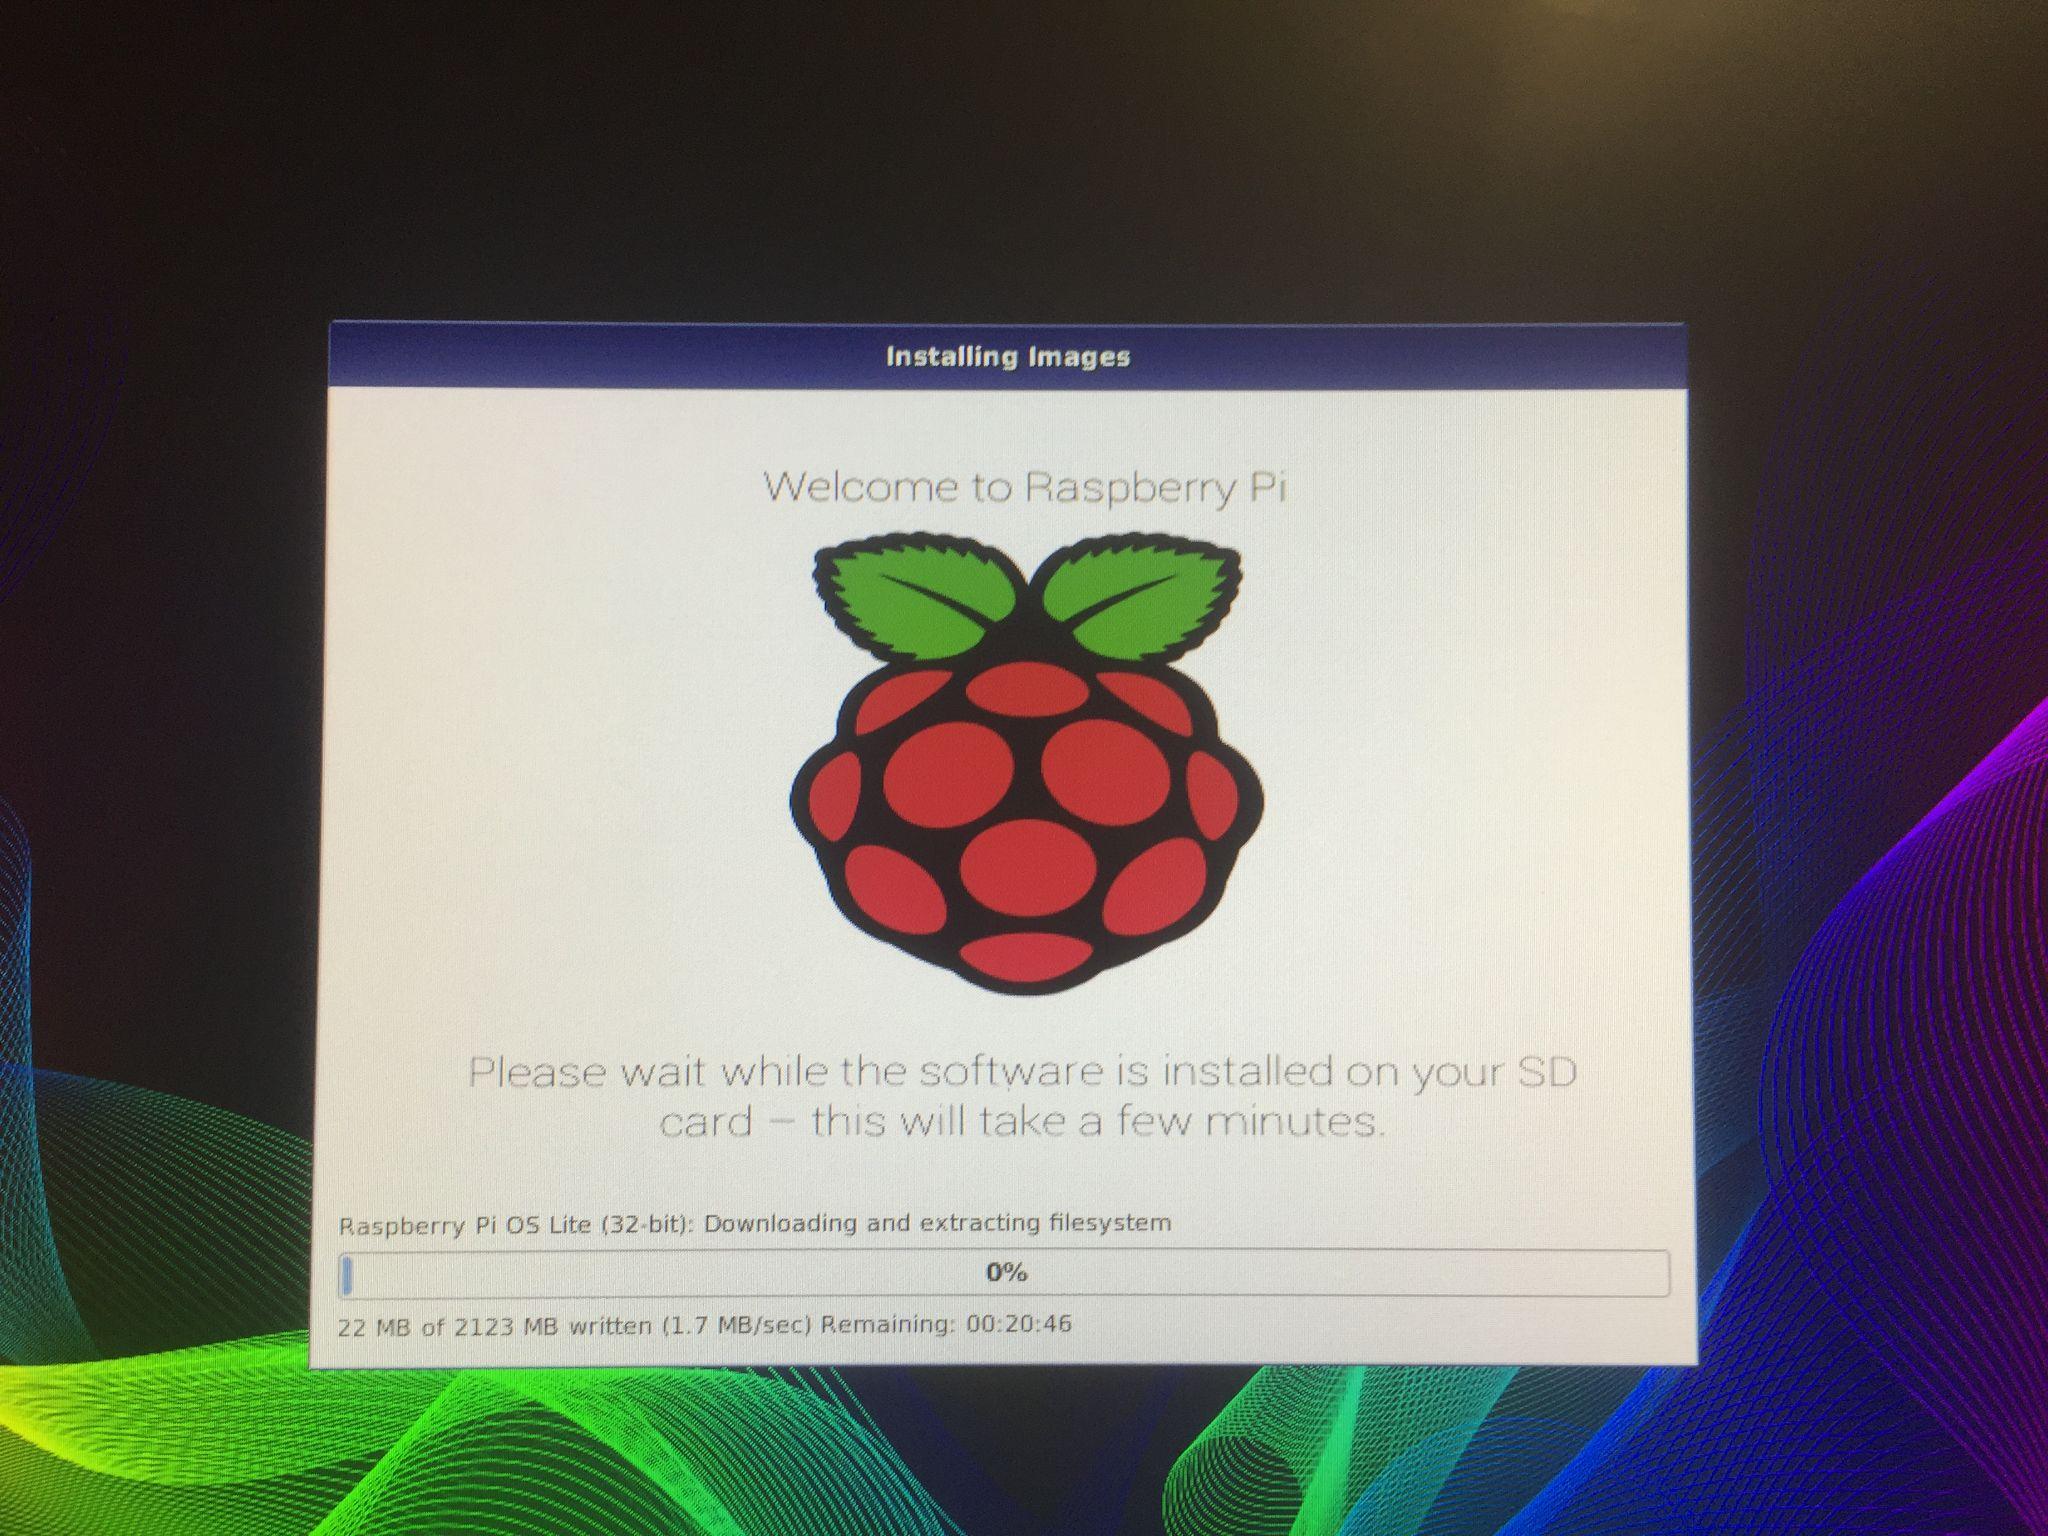
As you click on the “Yes” button, the installation process will start.
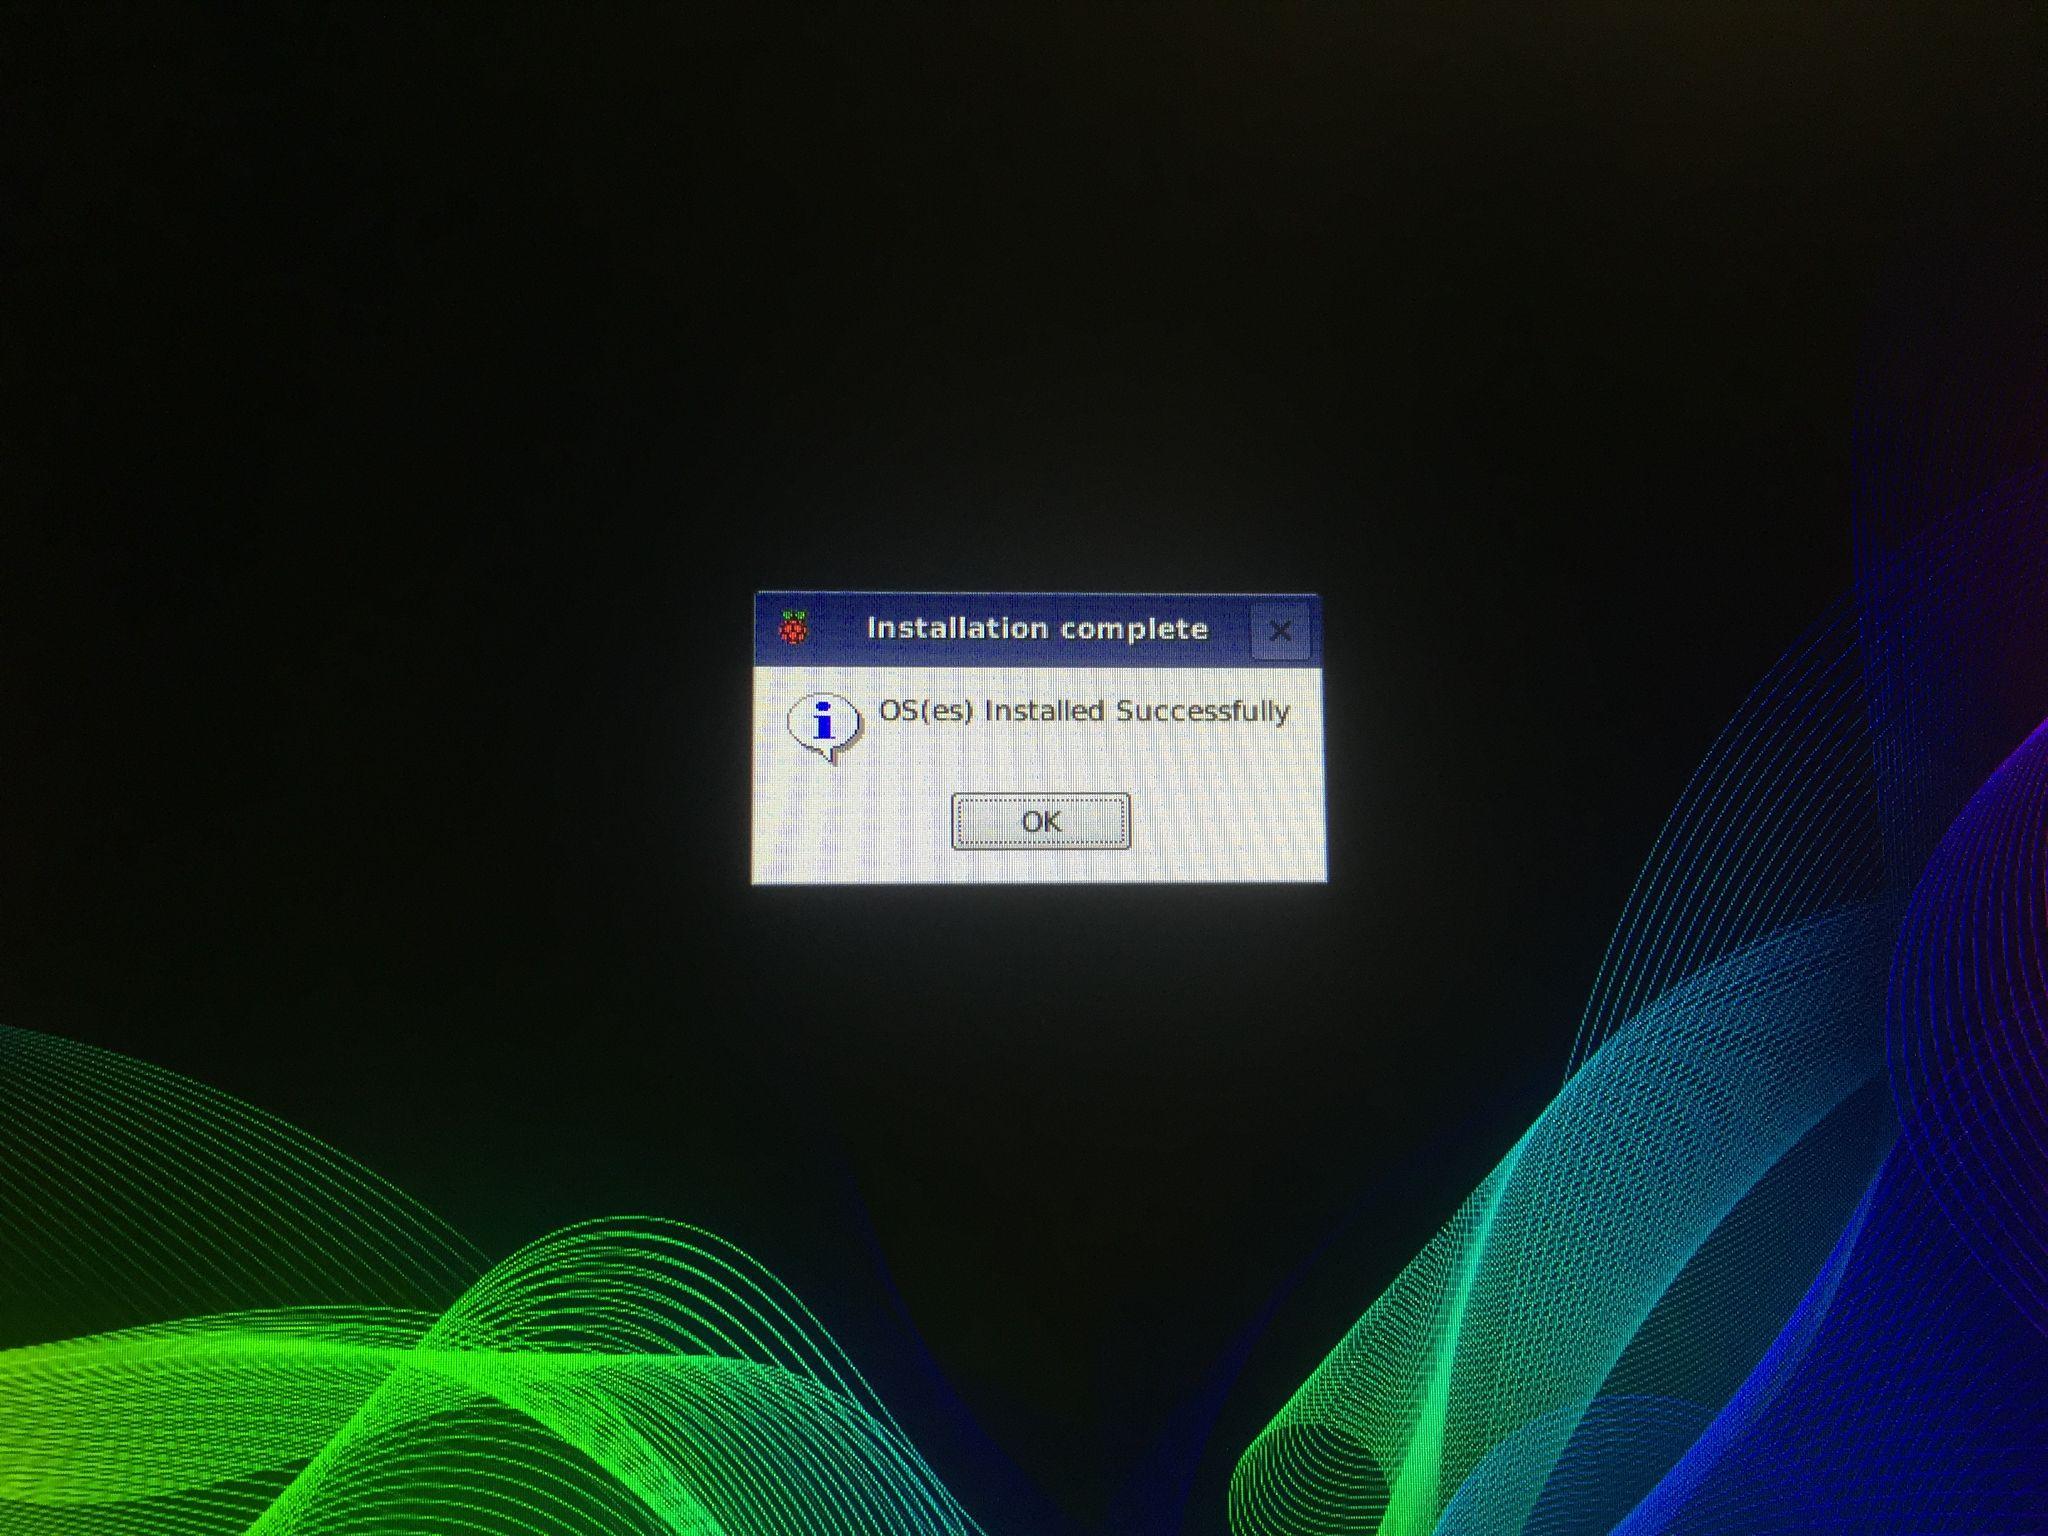
When the downloading and installation of the Raspberry Pi operating system are finished, the Raspberry Pi will be loaded:
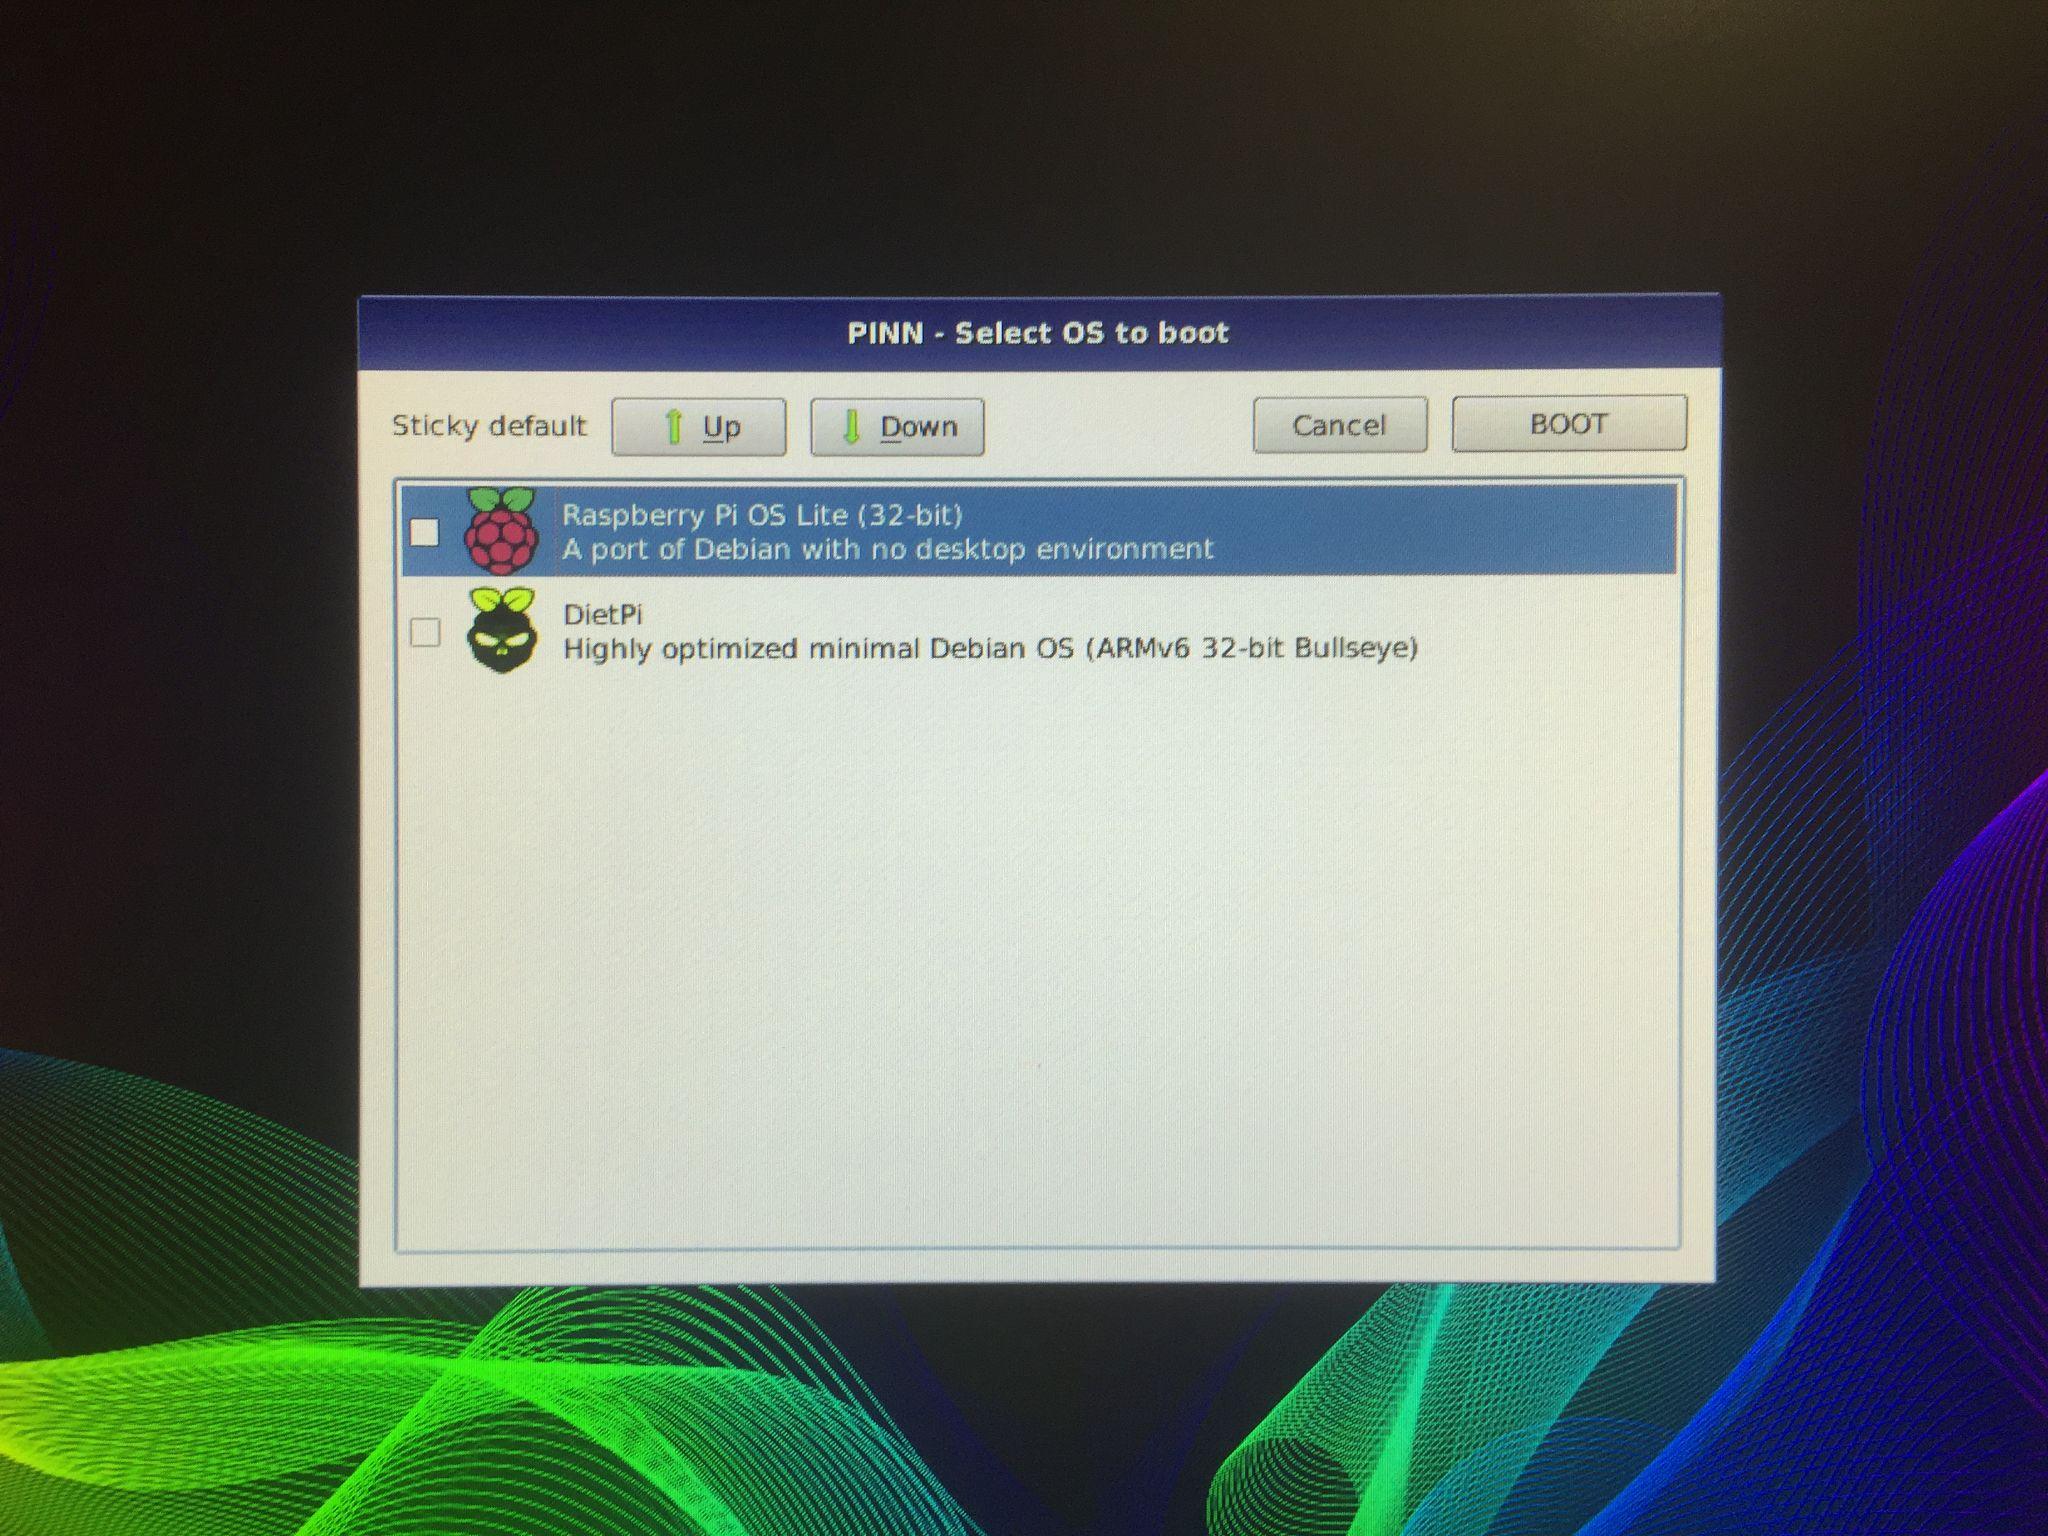
A message will be prompted that which operating system you want to launch, select the operating system and click on the “Boot” to boot that operating system on Raspberry Pi 4:
Every time you restart the Raspberry Pi 4, this message will appear and ask your choice of the operating system you want to boot.
Conclusion
The PINN is an alternative to NOOBS that provides an easy to run multiple operating systems using the same storage device on Raspberry Pi. Different operating systems have different features and use. We can use the applications that are exclusive to those operating systems. In this write-up, we have explored the methods to run multiple operating systems on the Raspberry Pi using the PINN.

