What is digitalWrite() function
From the function name we can assume that it writes some value, and this value will be in the form of 0 and 1. In other words we can say that this function is mainly used to control any device attached to the Arduino by assigning value to the pin of Arduino to which that respective device is attached. For using this function, we have to follow the syntax given below:
To use the digitalWrite() function we need to give it two arguments that are:
Pin: The digital pin number of Arduino on which the device is connected
Value: the value that is to be assigned to the pin of Arduino either HIGH or LOW
Since the microcontroller communicates in the form of 0s and 1s and Arduino takes zero as zero volts and one as 5 volts. So, if we give HIGH to the function, it means one or 5 volts whereas if we give LOW to the function as its argument it means 0 volts or 0 in binary form.
How we can use digitalWrite() function in Arduino
Using the digitalwrite() function, we can control almost every digital device by connecting it with an Arduino board. To demonstrate how we can use this function in Arduino we have given some examples of how this function can be used effectively to control the digital devices.
Controlling the LED using the digitalWrite() function
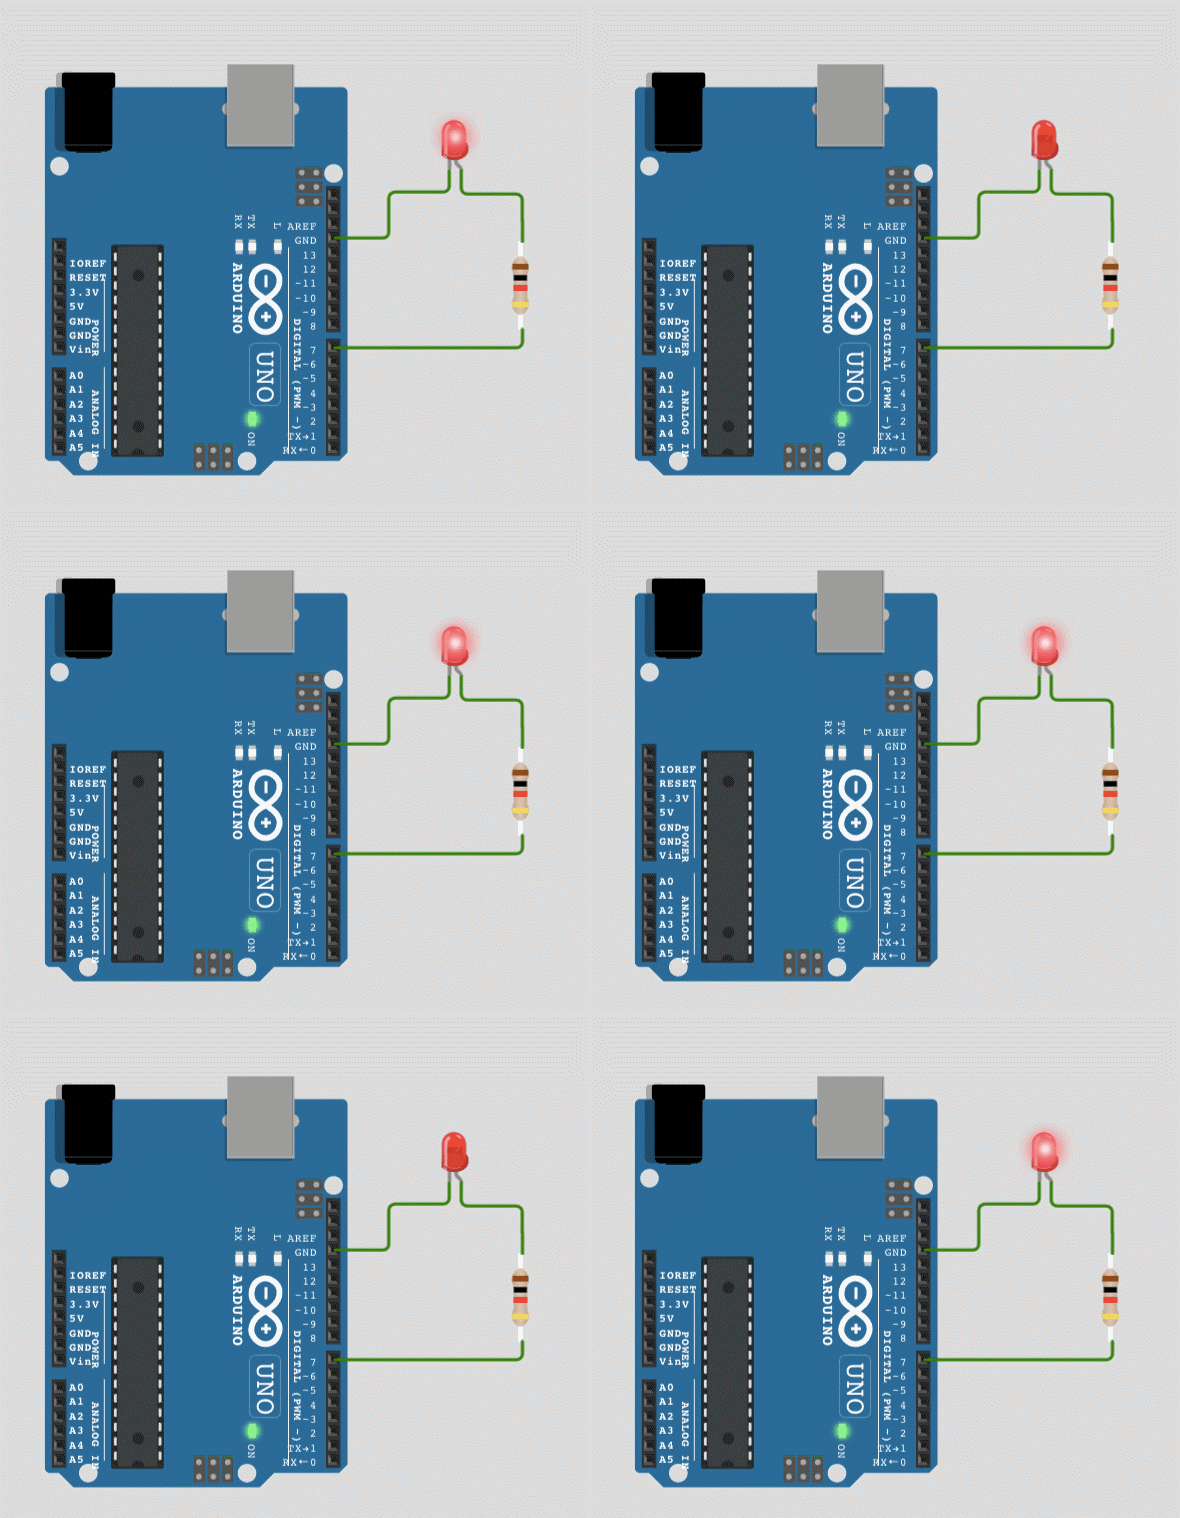
We can use the digitalWrite() function to control the LED by assigning its pin HIGH which will turn it on and to turn it off we have to use another digitalWrite() function and assign it the LOW value. Similarly, we can also make the LED blink by calling the two digitalWrite() functions with a small delay. We have given the Arduino that can be used for using the digitalWrite () to control the LED:
pinMode(7, OUTPUT);/*assigning the working mode of pin at which the LED is connected*/
}
void loop() {
digitalWrite(7, HIGH); /*giving HIGH value to the function to turn the LED on */
delay(1000); /* In order make the LED keeping the LED in HIGH state for a while*/
digitalWrite(7, LOW); /*giving LOW value to the function to turn the LED off*/
delay(1000); /* In order make the LED blink keeping the LED in LOW state for a while*/
}
The operation of above code can be seen below:
Controlling a relay using the digitalWrite() function
Another device that we can control using the digitalWrite() function is the relay as the relay needs a digital signal to operate.
Using the relay, we can control AC appliances easily by giving the relay signal using Arduino. We can control the relay by giving commands by either using any wireless medium or for test purposes we can give commands using the serial monitor of Arduino IDE. To communicate those commands to relay we need a function and this is the time where digitalWrite() function is used.
To give an idea of how we can control the relay using the digital write function we have given the Arduino code below:
int relay=8;/* Arduino pin that will send signal to relay*/
void setup() {
Serial.begin(9600); /* giving communication rate for serial */
pinMode(relay, OUTPUT); /* giving output mode to relay signal pun of Arduino*/
}
void loop(){
if(Serial.available() > 0) /* condition for checking the data on serial*/
{
data = Serial.read();/* getting the serial input*/
Serial.print(data); /*printing the serial input */
Serial.print("\n"); //giving a space for the next data
if(data == '1') { // if one is sent then
digitalWrite(relay, HIGH); /* give the signal of HIGH to relay*/
Serial.print("Relay is ON");
}
else if(data == '0'){/* if zero is sent then */
digitalWrite(relay, LOW);/* give the signal of LOW to relay*/
Serial.print("Relay is off");}
}
}
When we send 1 through the serial by pressing Ctrl+Enter after writing 1 on the gray bar of the serial monitor it will give the signal of HIGH to the relay using the digitalWrite() function and as a result the relay turns on the appliance or device connected to it.
Whereas when we send 0 on a serial monitor it will give the signal of LOW to the relay using the digitalWrite() function and the relay will turn off the appliance or device connected to it.
If you are interested in using the relay to control the home appliance please click here.
Conclusion
The digitalWrite() function serves the purpose of controlling the different digital devices connected to the Arduino by assigning the states of either HIGH or LOW to the pins of Arduino through which the devices are connected. To make the functionality and use of digitalWrite() function easy to understand we have first explained the function briefly. Next, we have given just two examples with the Arduino sketch of how we can use this function to control the devices.


