If you are looking for that one application, then you should try GIMP which is an extremely fast, lightweight and a robust application for your Raspberry Pi and it will edit the images for you without putting any heavy burden on your CPU resources. It is one of the choices of image editing programs for Raspberry Pi users and is becoming their top most priority nowadays because of professional image editing. For the Raspberry Pi users installing GIMP on their OS is like a piece of cake for them but if you are a beginner you will need to follow the methods in order to successfully install the GIMP application on your Raspberry Pi device and this article will help you in that perspective.
Installing GIMP on Raspberry Pi
Here, you will see the steps required to install GIMP on your Raspberry Pi device and start experiencing a professional image editing on the go.
If you are interested in installing GIMP on your Raspberry Pi device, you can do it on your Raspberry Pi desktop through below two methods. It’s entirely up to you which method you want to adopt but both methods need to be done carefully for successful installation of GIMP.
Installing GIMP using apt command
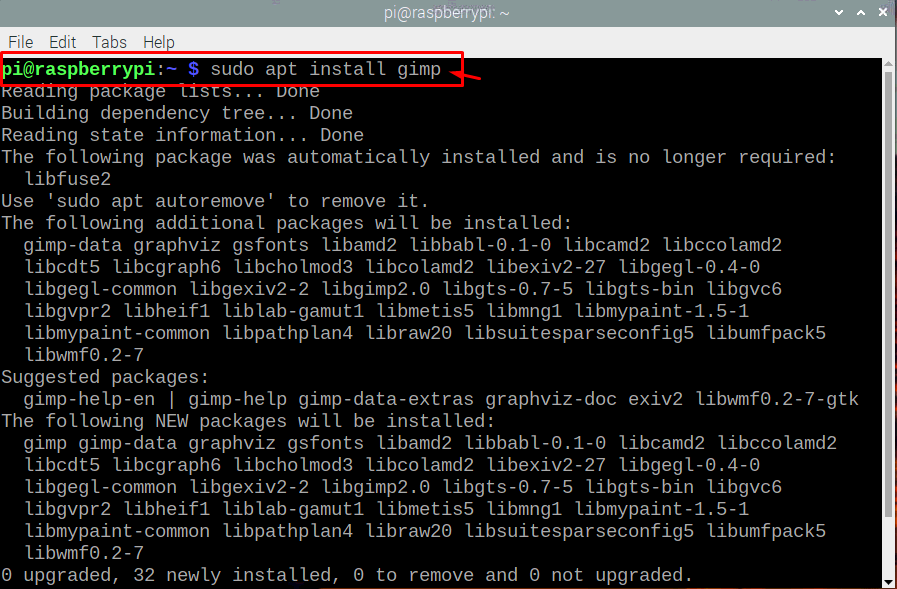
The GIMP application can be installed easily through the “apt” command and there are two ways to have GIMP installed on your Raspberry Pi device. The first one is to simply use the “sudo apt install” followed by the application name “gimp”. The command used to install GIMP using apt command is given below.
Installing GIMP through snap store
The second method you can use to install GIMP on Raspberry Pi is through “snap install” followed by the “gimp” and the command will look like this as shown below.
First use the below mentioned command in the terminal to install “snapd” which are application packages required to install snap on Raspberry Pi.
Then use the “sudo reboot” command in the terminal to reboot your device. After the reboot, enter the below given command in the terminal to install gimp through snap store.
After using any of the above methods, you will have to wait until the installation process is completed and, in a few minutes, you will see that GIMP will be successfully installed on your Raspberry Pi device.
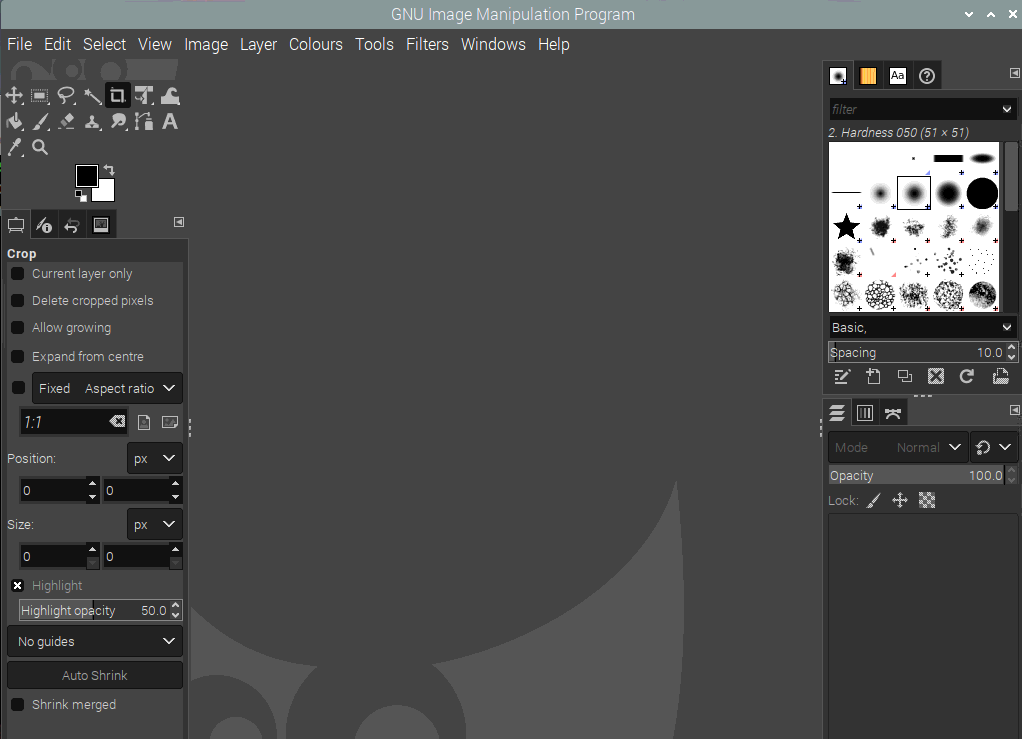
In order to run the GIMP application on your Raspberry Pi, you will need to enter the name “gimp” in the terminal and it will successfully appear on your screen in a few seconds.
If you want to edit an image, then you can go to the “File” option on the top left corner of the screen and there you can choose an image to edit according to your choice.
Removing GIMP from Raspberry Pi
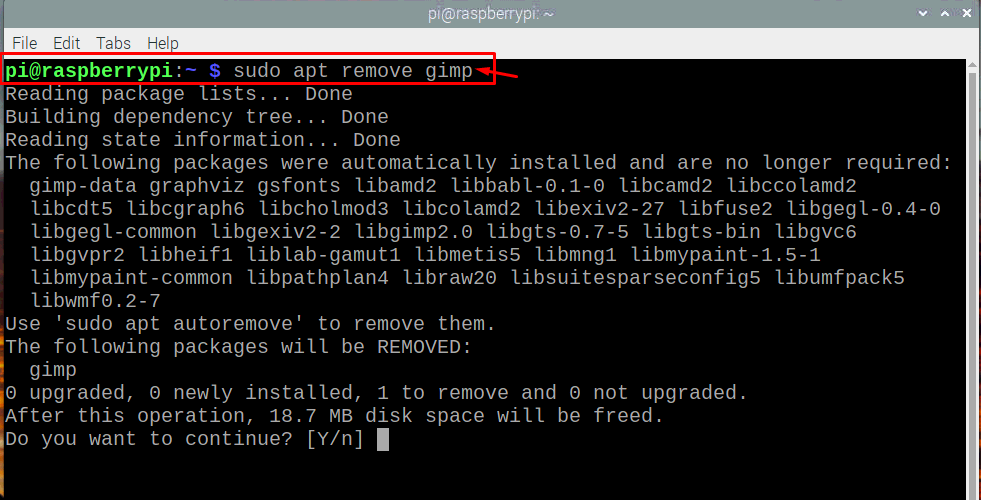
If you no longer require the services of GIMP, you can remove it from your Raspberry Pi device anytime by entering the below mentioned command in the terminal and it will remove the GIMP application from your device.
And if is installed through snap then use the below mentioned command to delete it:
Conclusion
If you really want to try out a good image editor tool which can be a fast and lightweight image editing application, you should install the GIMP application on your Raspberry Pi device. You won’t feel any difficulty installing it because the methods which are provided above are the most simplest ones and you will get GIMP on your Raspberry Pi desktop within a few minutes.


