Chrome OS is a free, simple, lightweight and open source operating system with Linux kernel. This minimalist operating system provides everything that you can expect from any other operating system. Chrome OS is an operating system which comes preinstalled on every Chrome book available in the market and you can run anything on the Chrome web browsers quite easily. The main feature of Chrome OS is to provide a fast and speedy computation experience by running the web apps on the Chrome web browsers. Not only that, if you need more apps to be installed on your OS, you will find them on the Web Store and finding any app from the web store is dead simple. If you are looking for a secure OS, Chrome is an ideal choice and its central design model ensures that your privacy won’t be compromised.
The good news for the Raspberry Pi users is that they can experience Chrome OS on their device as well and in order to successfully install Chrome OS on Raspberry Pi device, this article will help you in that and you only need to have carefully done each step.
How to install Chrome OS on Raspberry Pi
Here, you will learn how to install Chrome OS on a Raspberry Pi device but before going into the installation make sure that you have the following tools with you.
- Raspberry Pi 4 device
- SD Card
- Balena Etcher Software
- Chrome OS Image
- A desktop PC
In order to begin the installation process, you will need to do the below steps which will take you towards the successful installation of Chrome OS on Raspberry Pi.
Step 1: First, you will need to buy a good quality SD card and a card reader to be plugged into the PC. The size of the SD card should not be less than 8GB as the file size of Chrome OS is around 5-6 GB.
Step 2: Prepare your SD card and for that purpose you will need to format the SD card using the NTFS file system. In order to format it, you will have to put the SD card into the card reader and then port the card reader into the PC and it will work as a USB storage.
Step 3: The next step is to download the Chrome OS image file directly from the website, where you will find the OS for the Raspberry Pi.
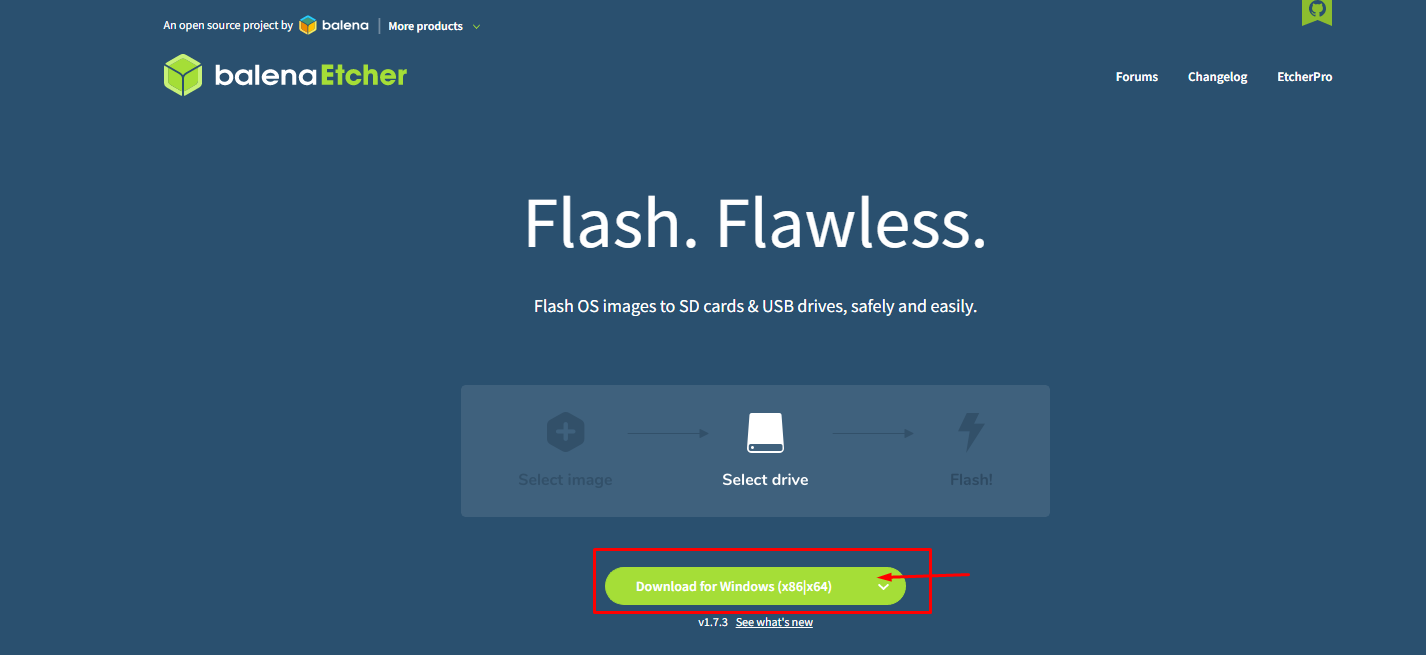
Step 4: Now, after downloading Chrome OS, you will then be allowed to download the Balena Etcher from the official website.
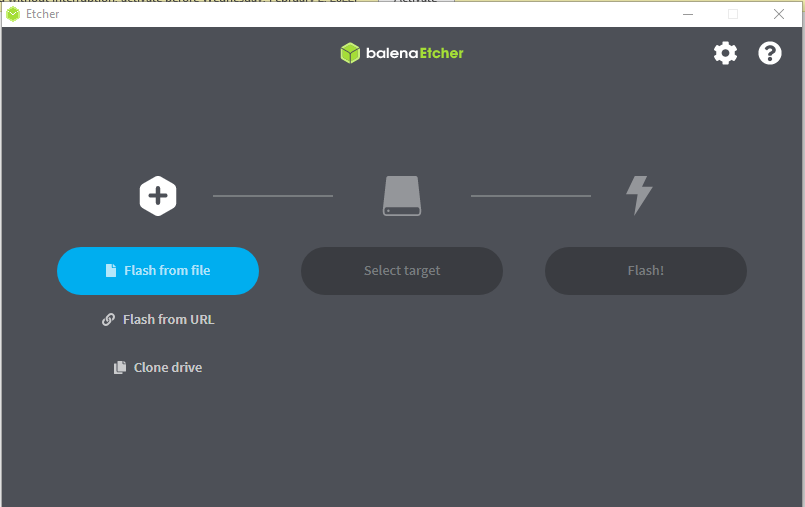
Step 5: Next, open the Balena Etcher from your Windows desktop.
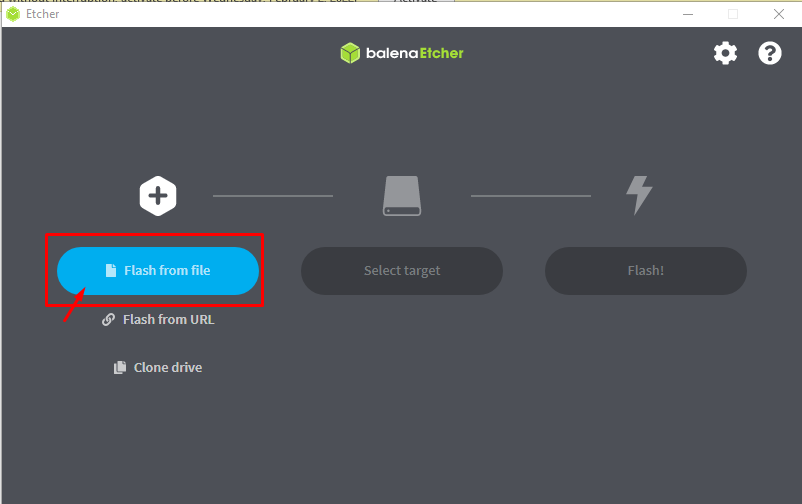
Step 6: Load the Chrome OS image file by clicking on the “Flash from File” Option.
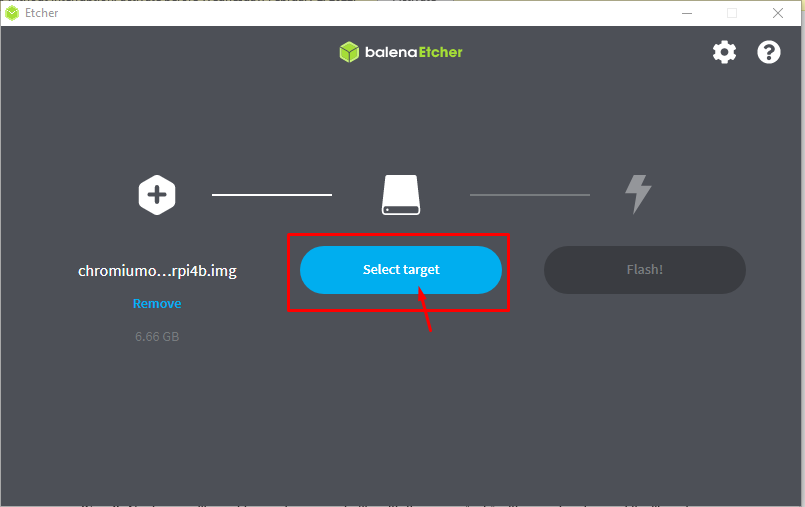
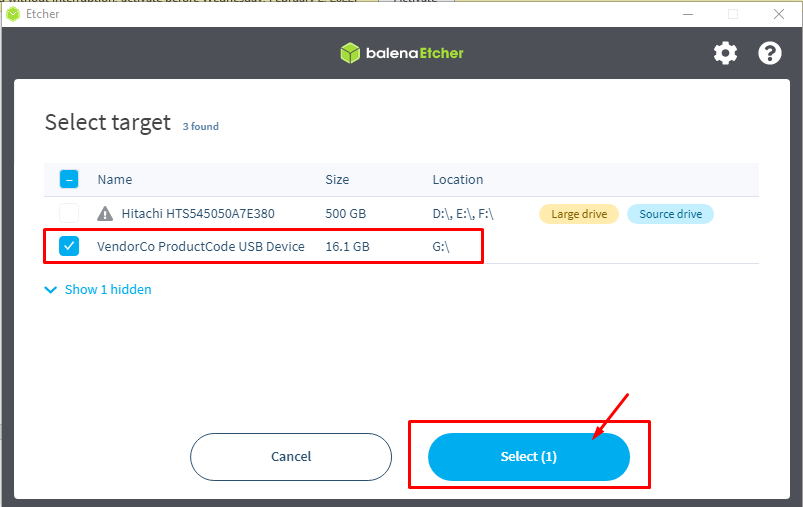
Step 7: Next, select the target drive where you will create the image of the Chrome OS and for that you will need to click on the option “Select target”. Here, you should select your USB storage as a target drive.
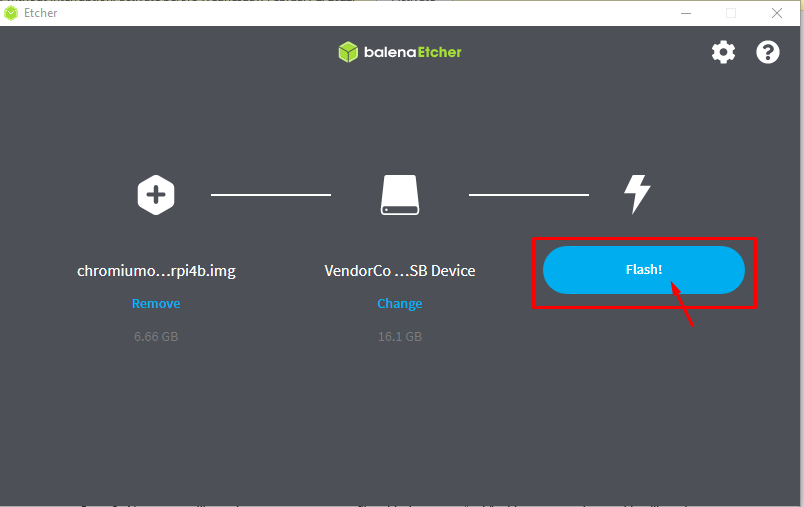
Step 8: After selecting the target, click on the “Flash” option to start creating the image of Chrome OS on the SD card. Wait for the set-up process to complete and it will take a few minutes.
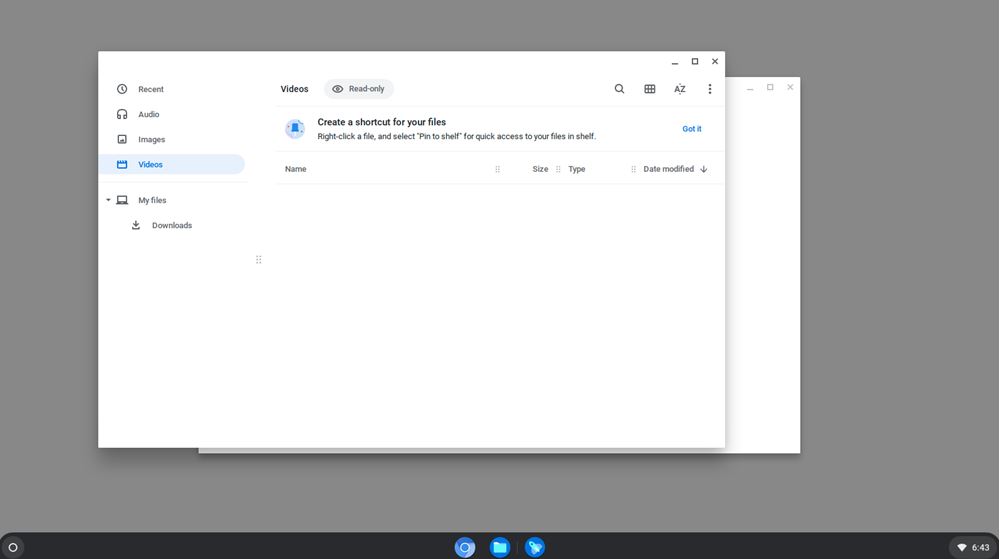
Step 9: Now, remove your SD card from the card reader and turn on your Raspberry Pi device and after 1-2 minutes you will then be allowed to put your SD card into the Raspberry Pi port. The first-time boot of Chrome OS will take some time and when it is finished you will then be able to see Chrome OS on your Raspberry Pi device.
Conclusion
Installing Chrome OS on a Raspberry Pi device is a pretty simple task and if you have successfully setup your desktop and carefully perform the above steps then you will be able to get your OS within no time. In addition to that you will also ensure that the desired power is provided to your Raspberry Pi and if you fail then you will be able to experience “No signal” on your monitor screen.

