How to make a basic shield
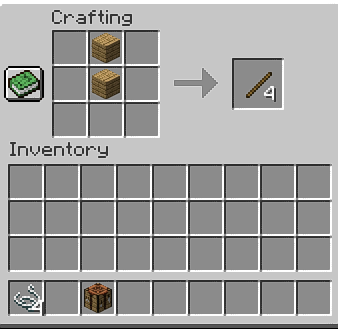
In order to make a basic shield, you need two items which are wooden planks and iron ingots. You craft wooden planks by using a wooden log that you can get by cutting trees as shown below.
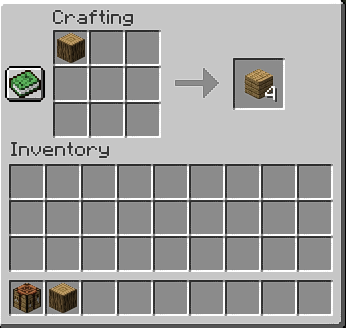
It can be seen from the above image that from one wooden log, you will get four wooden planks so as for six wooden planks you need to repeat this process twice.
Next you need a furnace in which you will place fuel and iron ore that you can get by digging deep into the ground using pickaxe and after the smelting process you will get the iron ingot.
Now create the furnace by placing eight cobblestones inside the crafting table as shown below which you can get by digging blocks of rocks using a pickaxe.
This is how it look like when you place it on the surface:
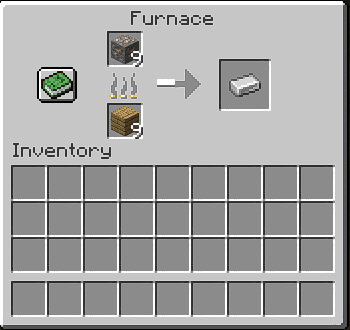
You also need fuel to do the smelting process and for that you can use the wooden planks that you have already crafted before and place them inside the furnace along with an iron ore as shown below.
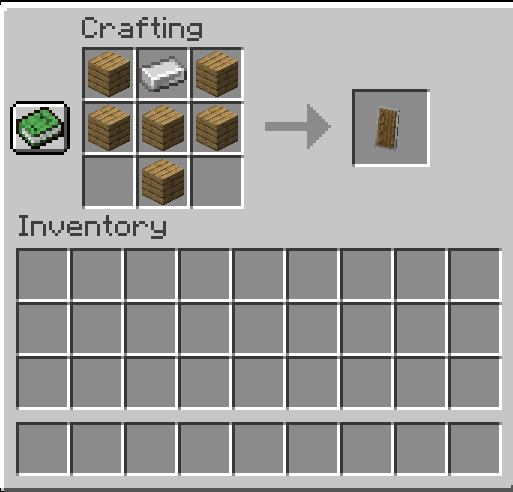
Now you have all the necessary items that are required to make a basic shield, so you need to place six wooden planks along with one iron ingot inside the crafting table as shown below.
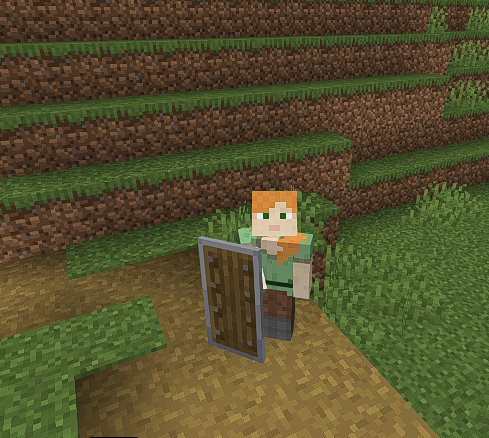
This is how a basic shield will look like when you equip it after crafting it.
How to customize a shield
The concept behind the customization of a shield is that you need to craft a banner, customize it, place it on the shield and your shield will be customized. Now you need to create a banner first for which you need wool and a stick. For one piece of wool, you require four pieces of strings and then place them inside a crafting table as shown below.
For a stick you need two pieces of wooden planks.
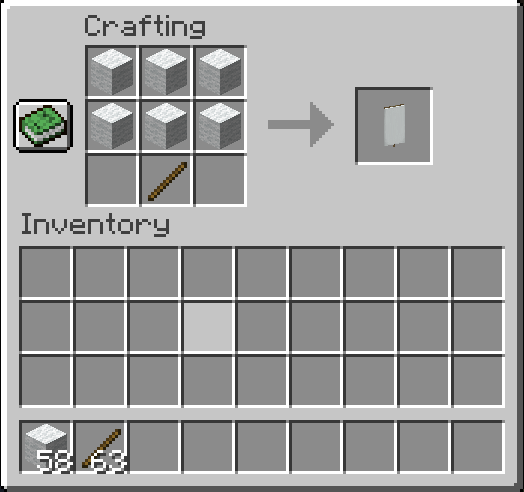
After crafting them, you need six pieces of wool along with one piece of stick to make a simple banner as shown below.
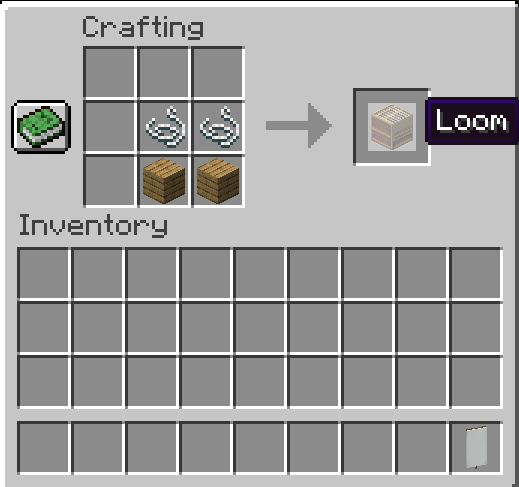
Now this is where you need to customize your banner for which you need a dye. There are 16 different colors of dye available and you can choose any one as per the design that you want to create. In our case we are using a yellow and light blue color of dye. You also need a loom that comes with lots of different patterns that you can put on a banner and you can craft that by using two pieces of wooden plank and strings as shown below.
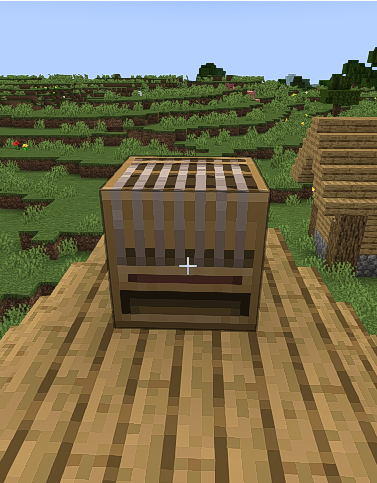
This is how a loom will look like when you place it on the ground:
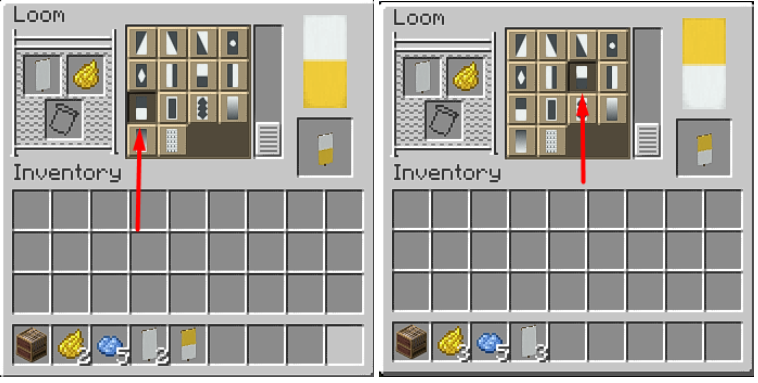
To customize your banner you need to right click on the loom and place a banner along with a dye and in the top center you will find many different patterns. You can select any of the patterns of your choice and the result will be displayed on the top right as shown below. In each of the pattern dye will be used on the white part of the design.
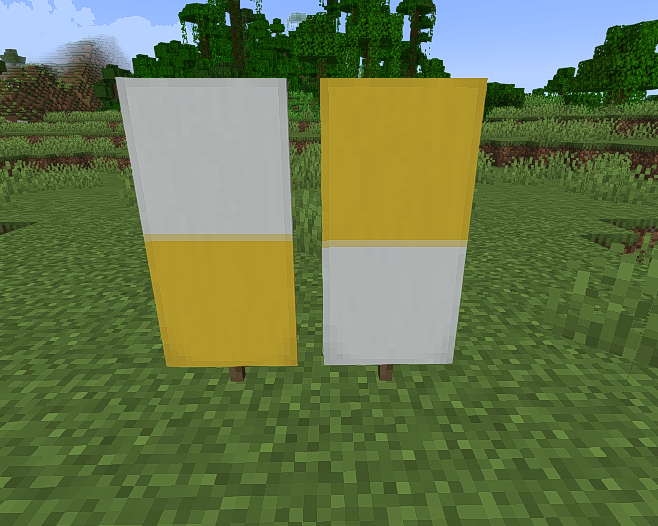
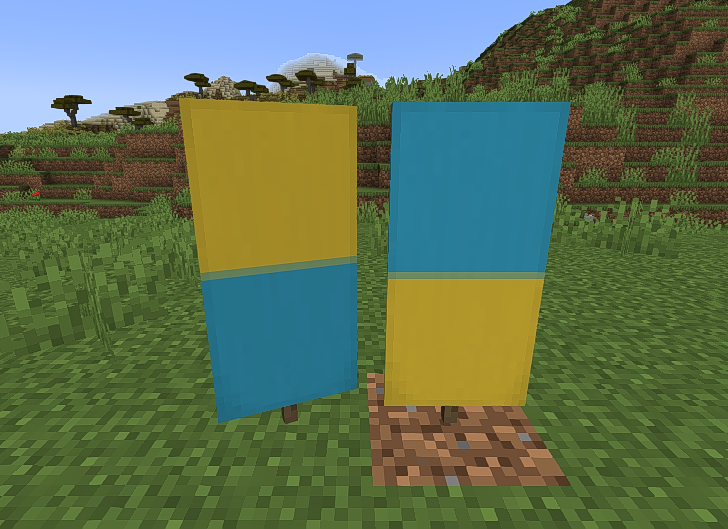
Now when you place these banners on the ground it will look something like this:
There are many banner patterns to choose from and you can use multiple patterns and dyes to improve your banner design. This is one example of a banner where I have used yellow with light blue dye.
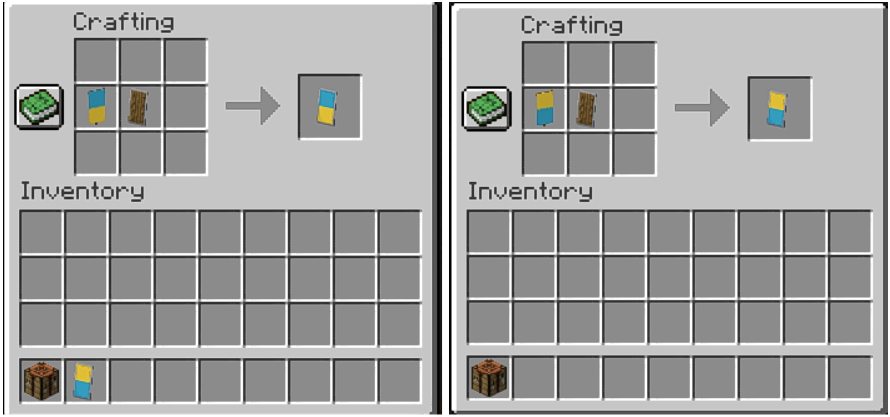
The next step is to place these banners with a shield inside a crafting table for customization as shown below.
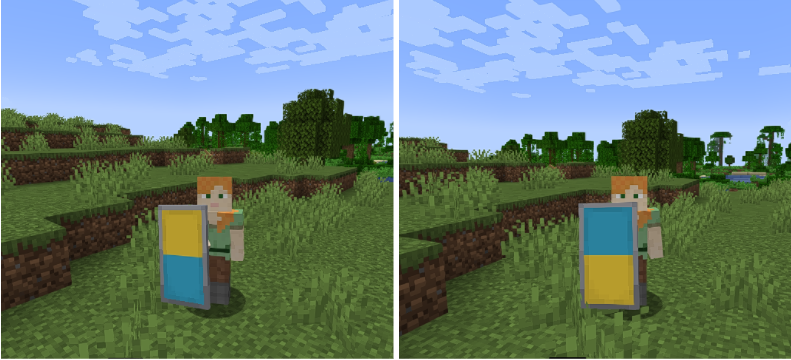
Now you need to place it in your inventory and then equip it to see the changes that you have done to your shield as shown below.
Conclusion
Shield is one of the most useful tools in Minecraft as it can protect you from all melees as well as long ranged weapons. But the basic look of the shield is quite simple and boring, and this article is especially written for you if you like to customize the shield. You can do that by first making a banner, customize it with different available designs as per your imagination and after that you need to place a banner and a shield inside a crafting table to customize your shield.


