There are many applications of the trigonometric functions in Arduino projects, so this write-up will help you to understand the usage of the trigonometric functions in Arduino with some examples.
List of trigonometry functions in Arduino
In Arduino, the trigonometry functions are included in the math.h library. This library is by default included in Arduino, so there is no need of including the library separately. A list of trigonometric function is mentioned below:
| Syntax of functions | Explanation |
|---|---|
| double sin(double x); | It is used to find the sine angle of x in radians |
| double cos(double x); | It is used to find the cosine angle of x in radians |
| double tan(double x); | It is used to find the tangent angle of x in radians |
| double asin(double x); | It is used to find the arc sine angle of x in radians |
| double acos(double x); | It is used to find the arc cosine angle of x in radians |
| double atan(double x); | It is used to find the arc tangent angle of x in radians |
| double atan2(double x, double y); | It is used to find the arc tangent angle in radians with the quadrant in which it is present on the basis of the sign of x and y |
| double sinh(double x); | It is used to find the sine hyperbolic value of x |
| double cosh(double x); | It is used to find the cosine hyperbolic value of x |
| double tanh(double x); | It is used to find the tangent hyperbolic value of x |
| double hypot(double x, double y); | It is used to find the value of hypotenuse whose mathematical expression is |
Note: The “Double” data type will be used with all the trigonometric functions.
The use of all these trigonometric functions will be understood with the help of an example.
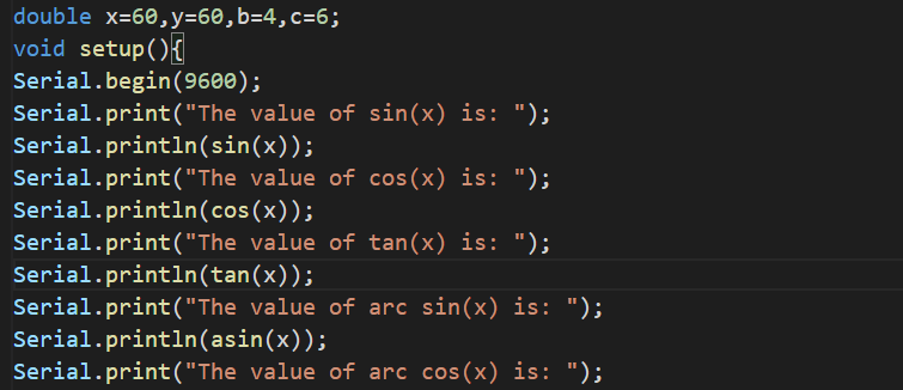
Example: Consider the following example in which we are going to declare two variables with angles using the code:
void setup(){
Serial.begin(9600);
Serial.print("The value of sin(x) is: ");
Serial.println(sin(x));
Serial.print("The value of cos(x) is: ");
Serial.println(cos(x));
Serial.print("The value of tan(x) is: ");
Serial.println(tan(x));
Serial.print("The value of arcsin(x) is: ");
Serial.println(asin(x));
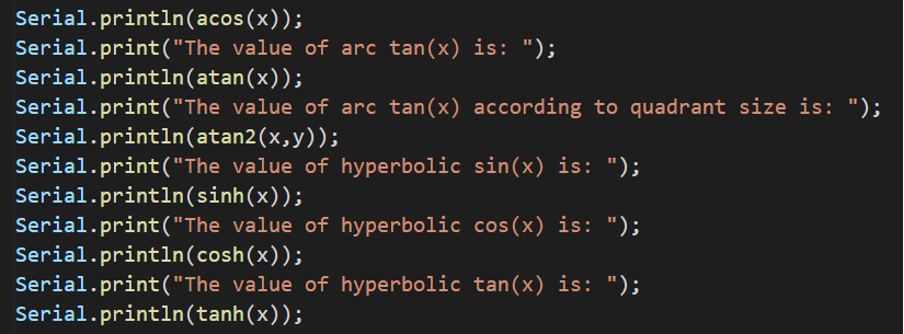
Serial.print("The value of arccos(x) is: ");
Serial.println(acos(x));
Serial.print("The value of arctan(x) is: ");
Serial.println(atan(x));
Serial.print("The value of arctan(x) according to quadrant size is: ");
Serial.println(atan2(x,y));
Serial.print("The value of hyperbolic sin(x) is: ");
Serial.println(sinh(x));
Serial.print("The value of hyperbolic cos(x) is: ");
Serial.println(cosh(x));
Serial.print("The value of hyperbolic tan(x) is: ");
Serial.println(tanh(x));
Serial.print("The hypotenuse of sides a and b is: ");
Serial.println(hypot(b,c));
}
void loop(){
}
The output of the above code is:
In the above output, the values of the hyperbolic sin(60) and cos(60) are “ovf” which means the answers are exceeded from the range of the function. The answer should be between 1 to -1, beyond this range, it consists of the answer, not a number so displayed the nan.
Note: All these trigonometry functions take the input of angles in radians.
What is the method of converting the radians to the degrees in Arduino
We know the formula of the conversion of radians into the degrees is:
In the above equation pi = 22/7, 1 degree will be equal to 0.0174533 radian. We will define a user-defined function for this purpose which will be:
return((dgr*22)/(7*180));
}
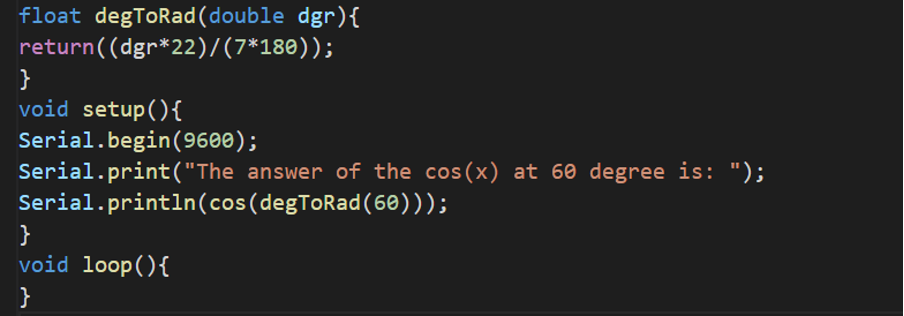
We defined a function with “degToRad” and passed a value of double data type. Then in the function, we return the value by applying the formula of conversion from radian to degree.
Consider the following example of converting radian into degree:
return((dgr*22)/(7*180));
}
void setup(){
Serial.begin(9600);
Serial.print("The answer of the cos(x) at 60 degree is: ");
Serial.println(cos(degToRad(60)));
}
void loop(){
}
The output will be in degrees:
Conclusion
The trigonometry functions in Arduino are included in the math.h library and can be used for various purposes like for controlling the movements in different projects. In this write-up, we have discussed the list of all trigonometry functions in Arduino with the help of examples. And also explained the conversion of rad to a degree by creating a user-defined function.


