As a beginner to Inkscape one of the first things you would want to learn is rotating objects in Inkscape. As compared to other photo editing software and image manipulation applications, Inkscape does this operation differently. In Inkscape, you can use multiple rotation options for rotating your selected objects. This write-up will show you how to rotate objects in Inkscape using the toolbar buttons, Transform tool, and the on-canvas Rotate handles. So, let’s start!
How to rotate object in Inkscape using toolbar button
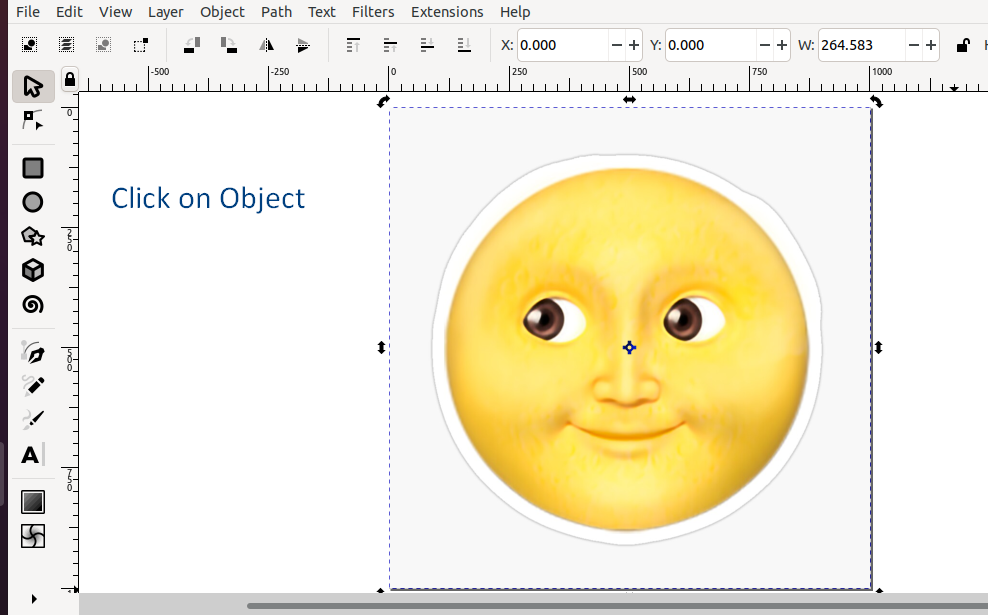
The toolbar buttons in the Inkscape permit you to rotate your selected objects 90 degrees at a time. To do so, firstly we will add the required object to the Inkscape canvas. In our case, we have selected an image for the rotation purpose:
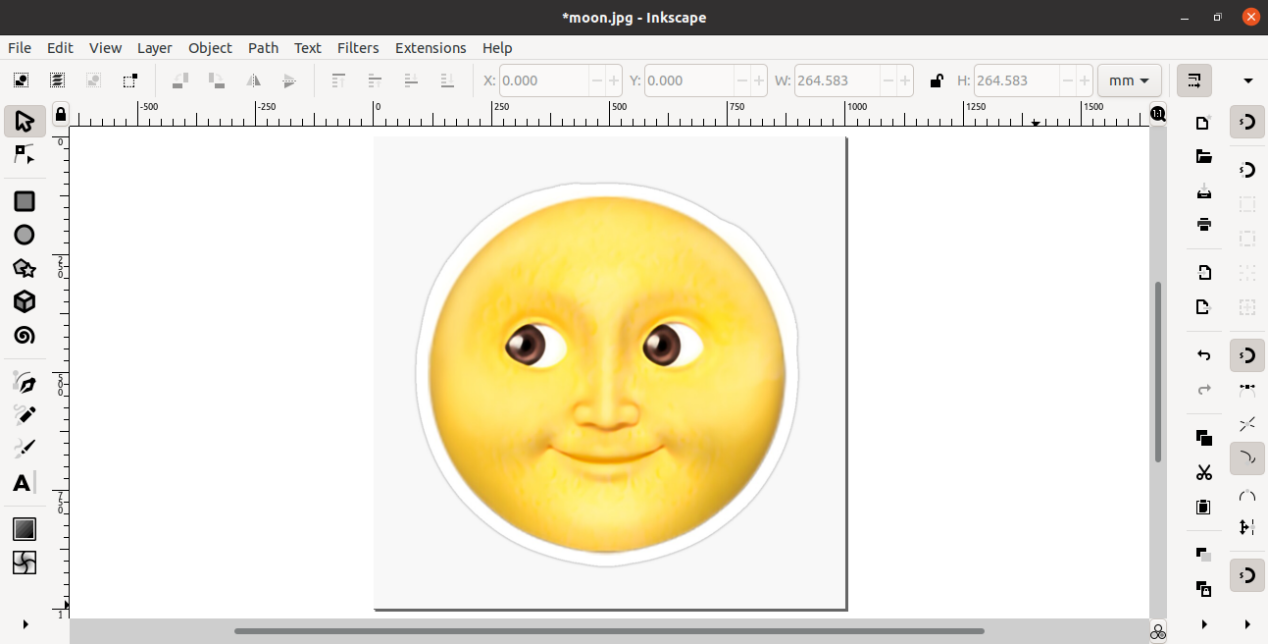
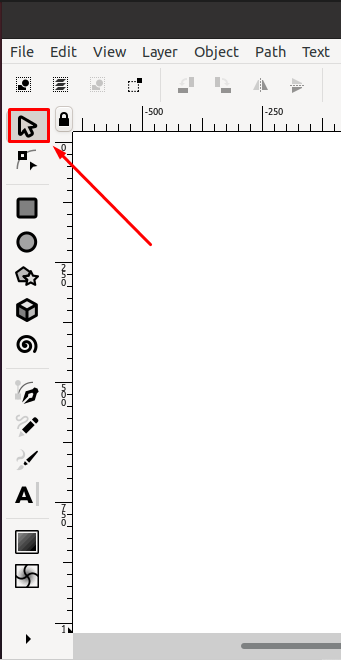
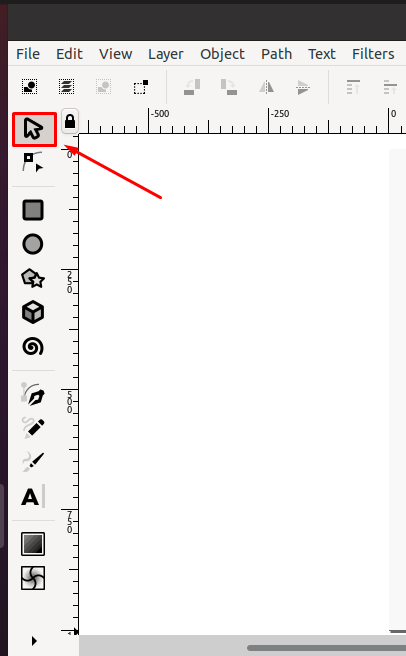
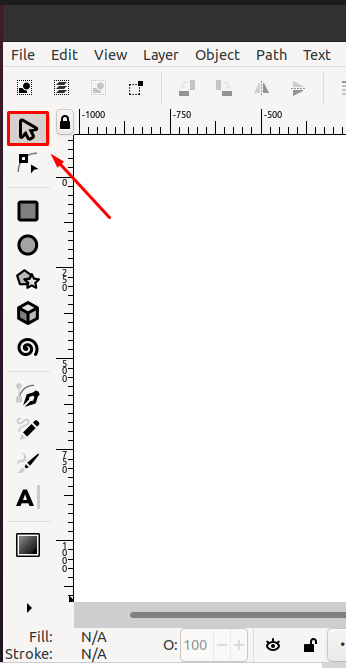
In the next step, choose the “Select and Transform” tool from the Inkscape toolbar, which is present at the left side of the Inkscape window:
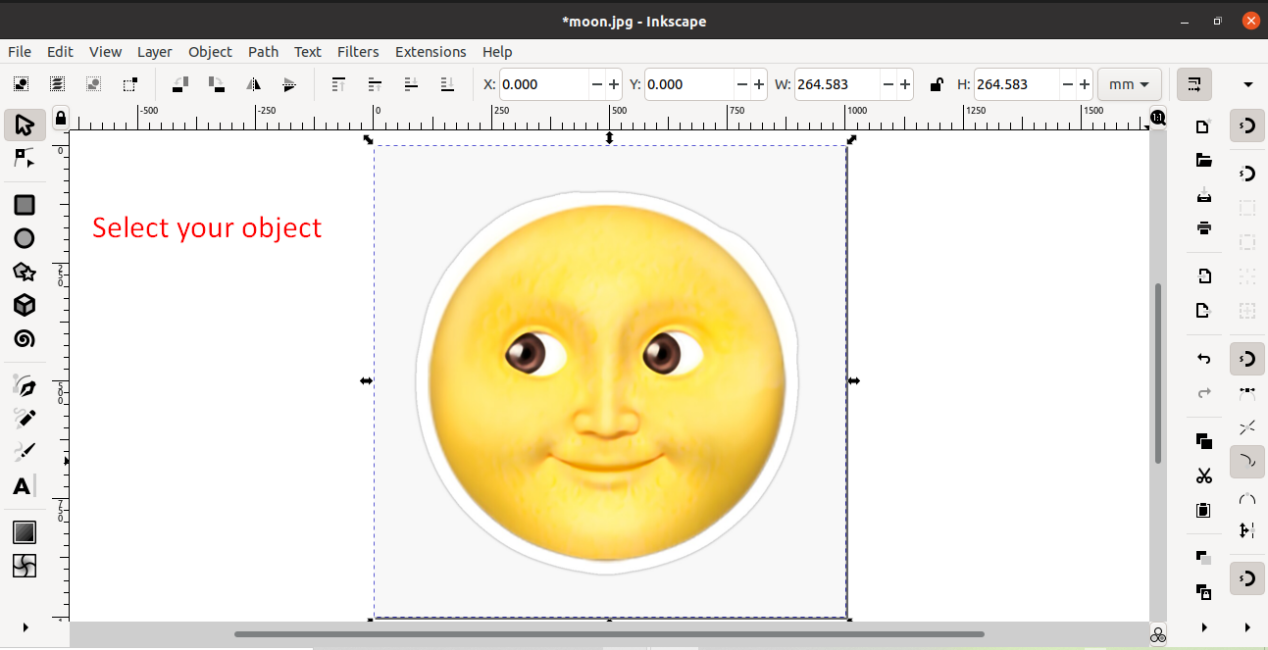
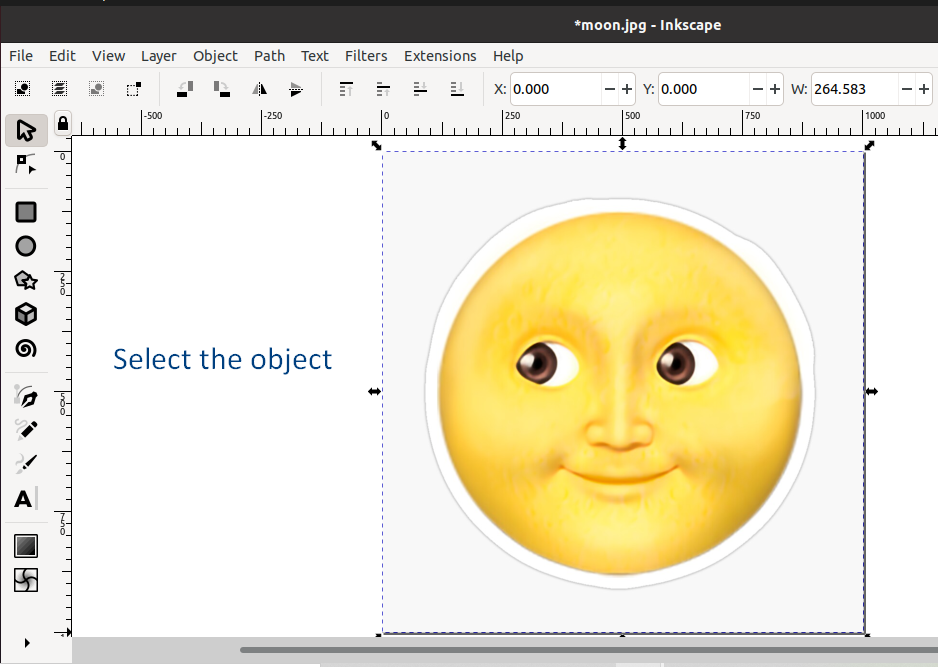
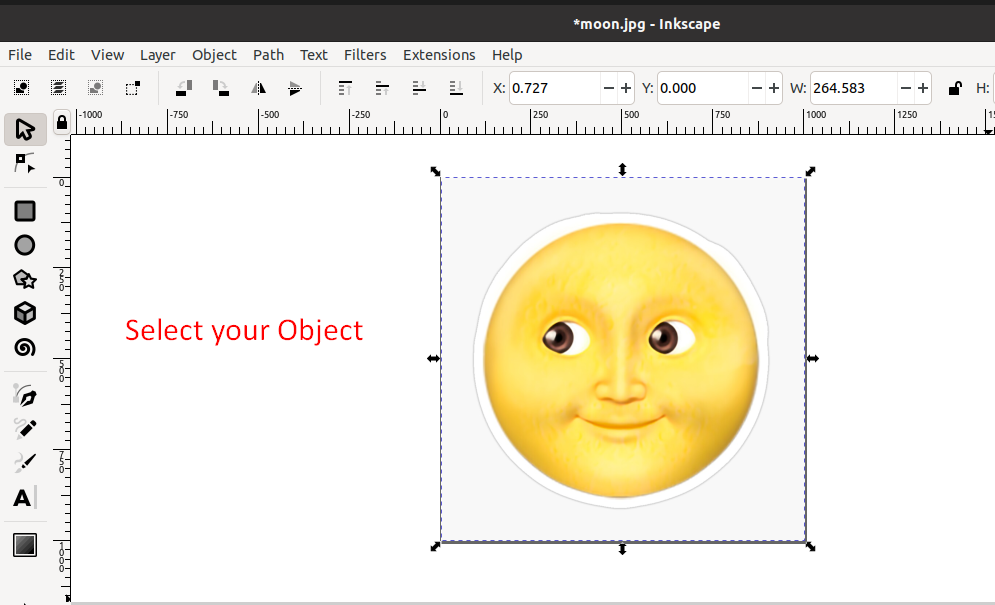
With the help of the “Select and Transform” tool, select the object you want to rotate. The dotted line around the object will confirm that it is selected:
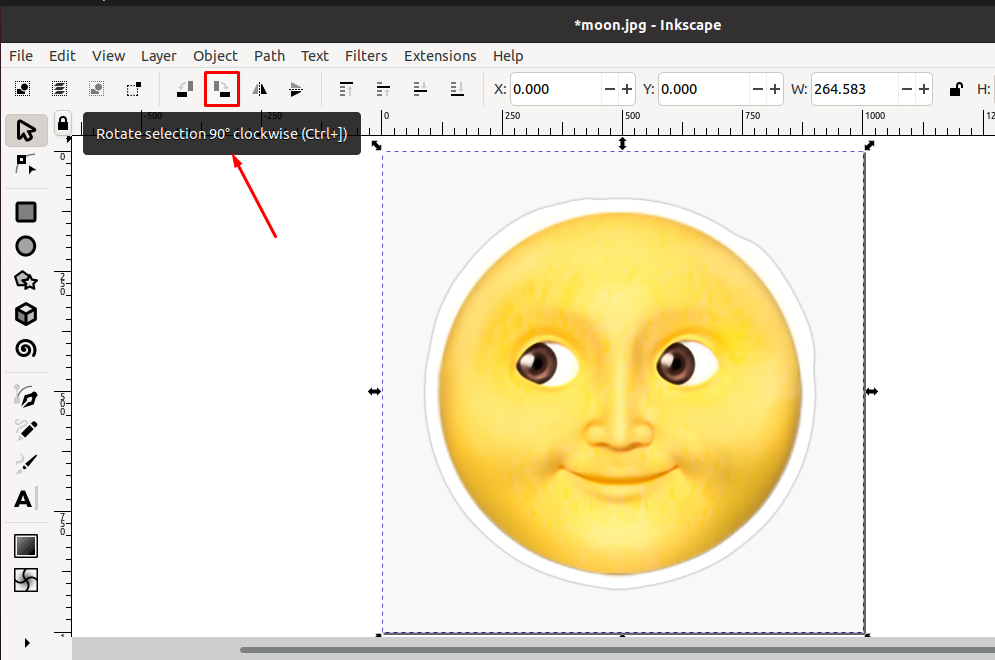
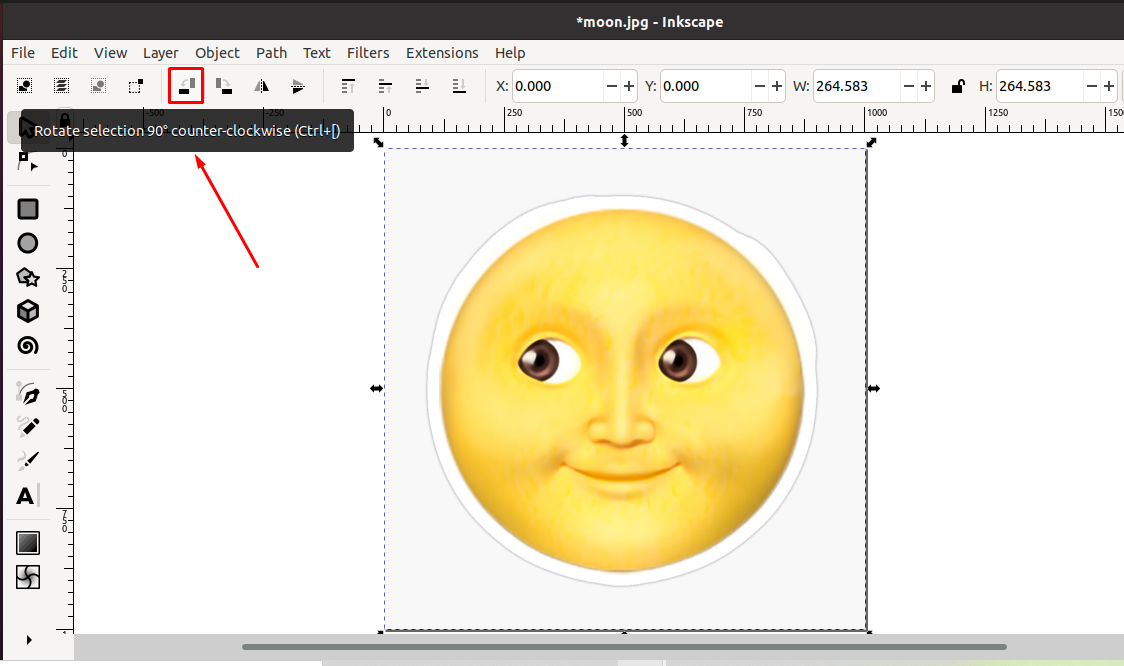
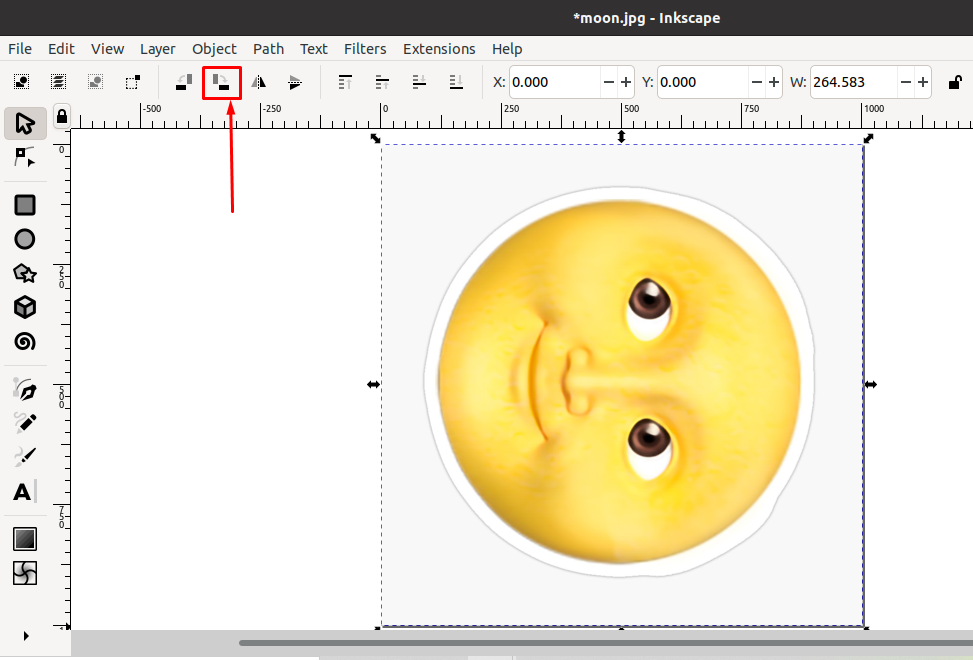
After selecting the object, look for the rotate buttons under the menu bar. Inkscape provides two rotate buttons, one to rotate the selection 90 degrees clockwise and the second to rotate 90 counter-clockwise :
Now, select any of them according to your requirements. In our case, we have clicked the left button to rotate the selected object 90 degrees in the clockwise direction:
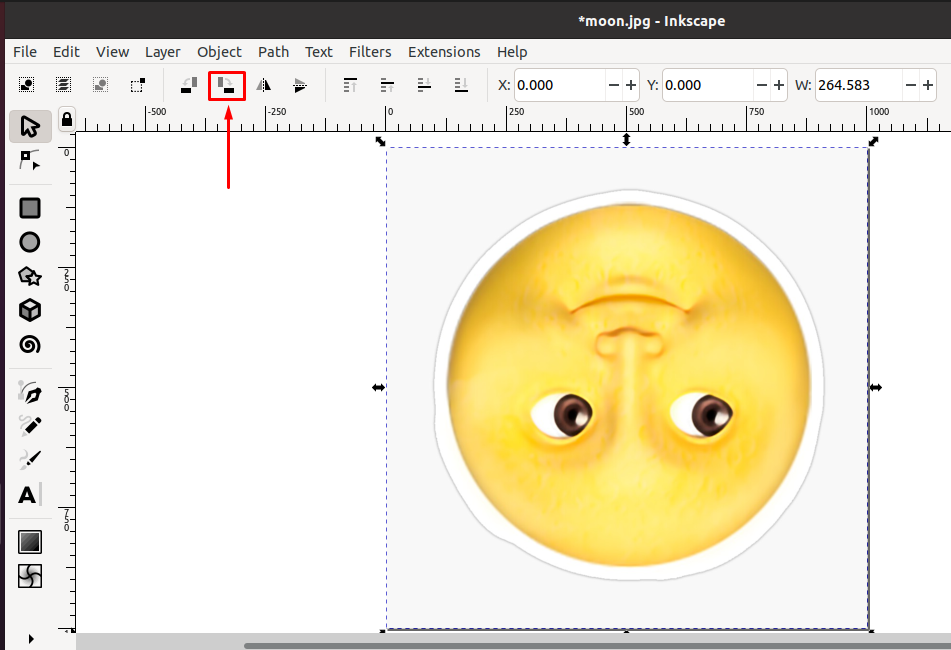
Clicking the same button again will rotate it in the following way:
How to rotate object in Inkscape using on-canvas rotate handles
The “Rotate button” only allows you to rotate in a 90 degrees increment, whether in a clockwise or counter-clockwise direction. Using the on-canvas rotate handles provides a wider range for the rotation purpose.
To utilize the specified option, firstly choose the “Select and Transform” tool from the Inkscape toolbar and then select the object which we want to rotate:
After selecting the object, click on the “Object” again for viewing its rotation handles:
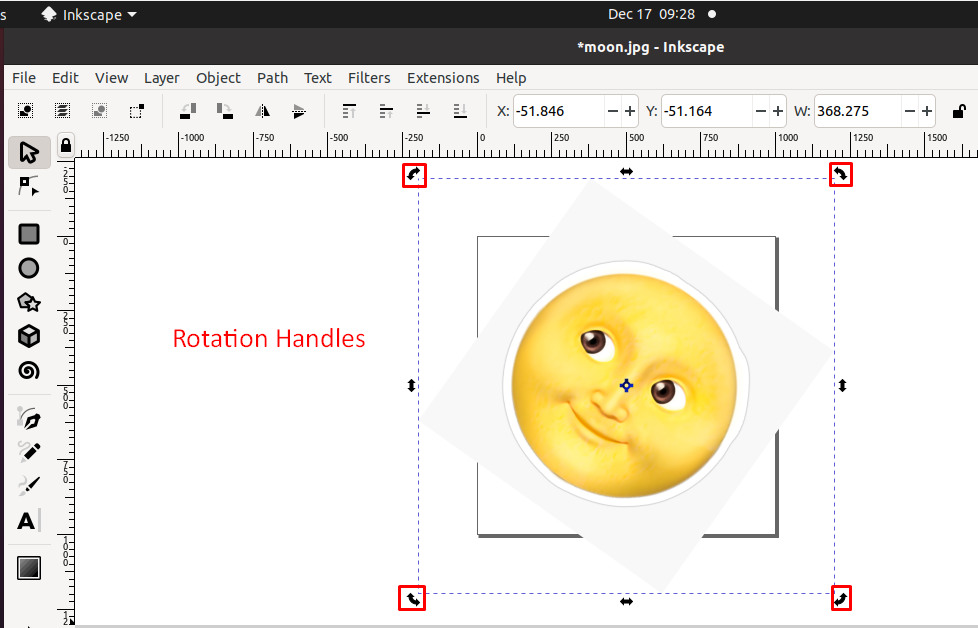
From the below-given image, you can see that four rotation handles will be now visible on the selected object. Utilize any of them to rotate the object at the required position:
How to rotate object in Inkscape using Transform tool
What if you want to set an object by specifying the number of degrees? The previously given method will not allow you to do so. However, using the Inkscape transform tool, you can add the number of degrees for the rotation.
To start the rotation procedure, firstly select your object with the help of the “Select and Transform” tool:
After selecting your object, look for the “Object” option in the Inkscape menu bar:
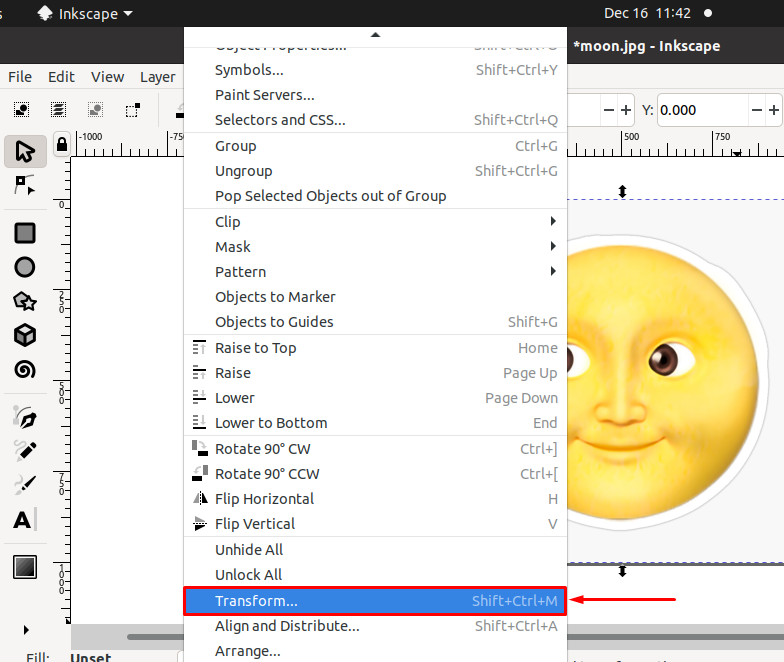
Now, choose the “Transform” option from the “Object” menu, or you can press “SHIFT+CTRL+M” for the same purpose:
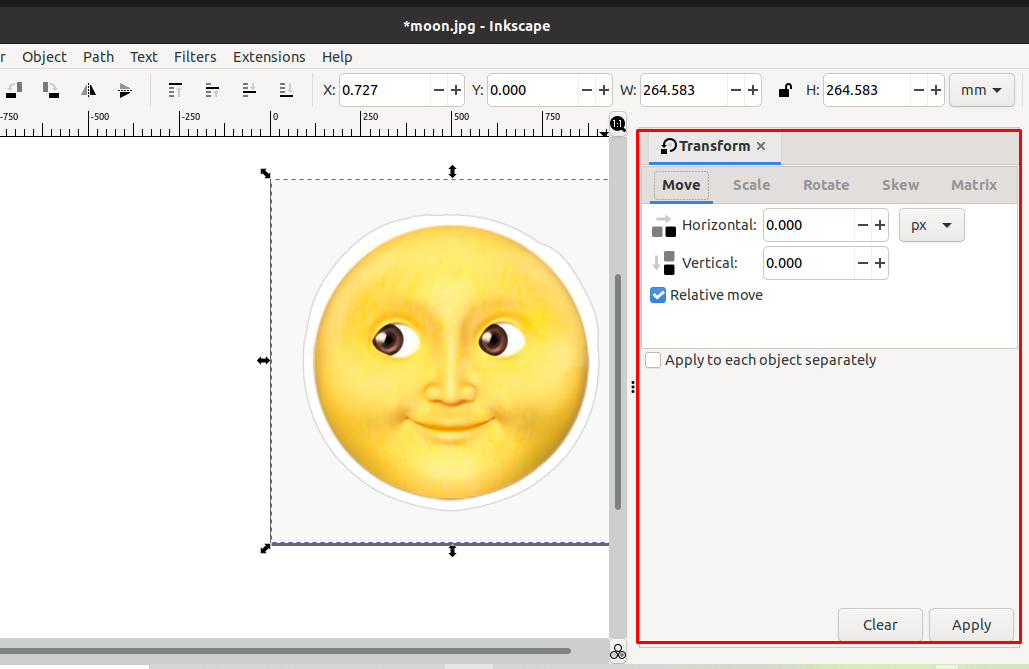
The “Transform” window will appear at the right-side of the Inkscape window:
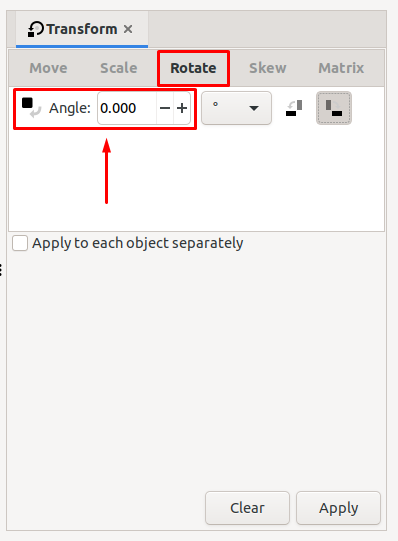
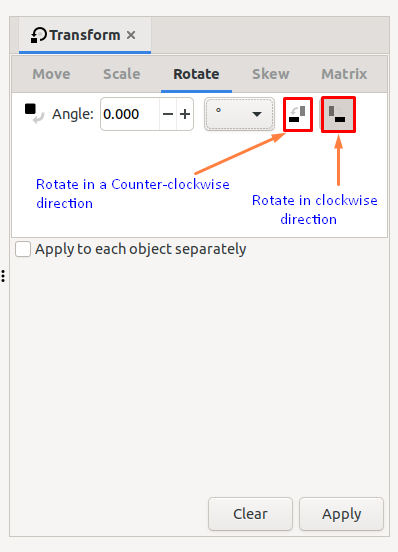
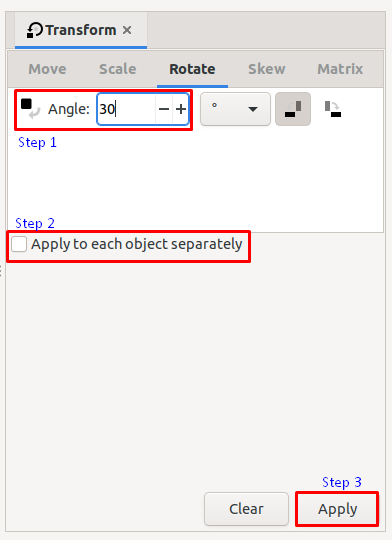
Clicking on the “Rotate” tab of the “Transform” window will permit you to enter the number of degrees for object rotation in the “Angle” input field:
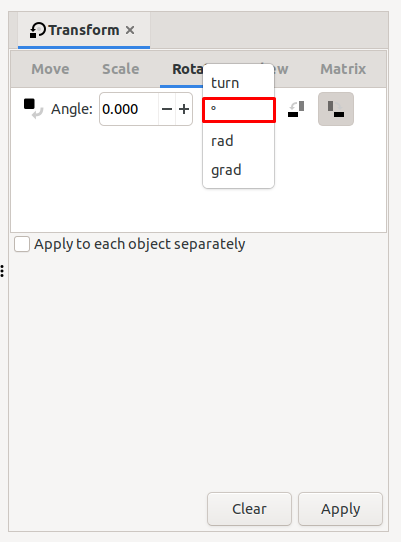
By utilizing the highlighted drop-down menu, you can set the rotation measurement unit as “turn”, degree “°”, “rad” or “grad”:
The two buttons next to the “drop-down” menu are used to rotate the selected object in counter-clockwise and clockwise directions:
After knowing the usage of each option, enter the number of degrees of rotation and mark the “Apply to each object separately” to apply the added settings to all of the objects:
Here is the preview of our selected object after rotation:
Conclusion
Inkscape lets users rotate objects at any required angle. It does not provide a separate tool for the rotation purpose; however, you can utilize other options such as the toolbar buttons, transform menu, and the on-canvas rotate handles for rotating the selected object. This write-up demonstrated how to rotate an object in Inkscape using the mentioned options. We recommend you use the Transform menu method as it will assist in adding a custom value for the rotation.

