Overclocking Raspberry Pi System in 5 Steps?
Overclocking can be done on Raspberry Pi in just 5 steps to increase the system’s performance. Follow the below-mentioned steps for overclocking your Raspberry Pi.
Step 1: Check the Current Speed
Before overclocking it is recommended to check the current speed if the current speed is already very high then overclocking shouldn’t be done as it can damage the system by overheating the system.
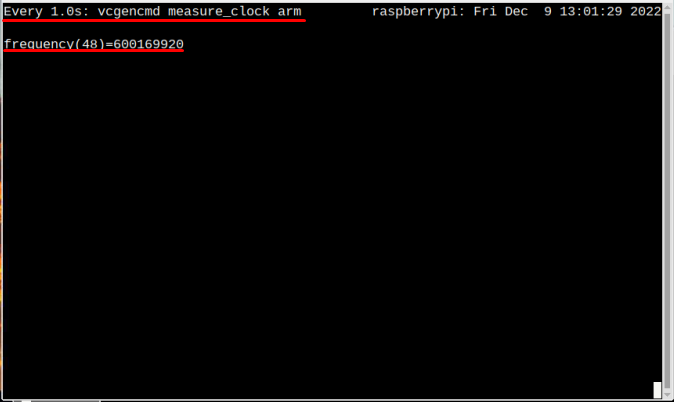
To check the current speed of the system, follow the below-mentioned command:
As an output the clock frequency or in easy terms the speed of the system will be displayed on the screen. The default frequency for Raspberry Pi 4 is between 600 – 700 MHz.
Step 2: Updating System
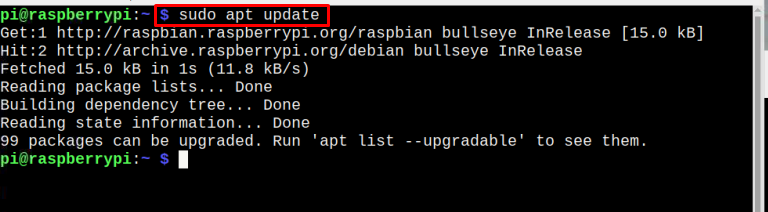
Let us update the system before overclocking to check for the latest packages and for that follow the below-mentioned command:
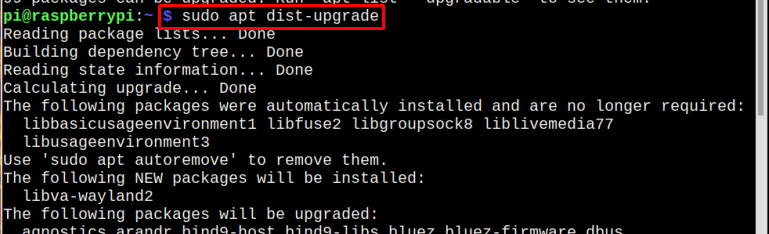
It is better to update the dependencies too and to update dependencies type the below-mentioned command:
Step 3: Reboot
Then finally Reboot the system so that it will restart with an updated repository:
Step 4: Overclocking
Now the system is ready to overclock, to overclock the system you have to access the boot configuration file. Open the config file using the nano command which is mentioned below:
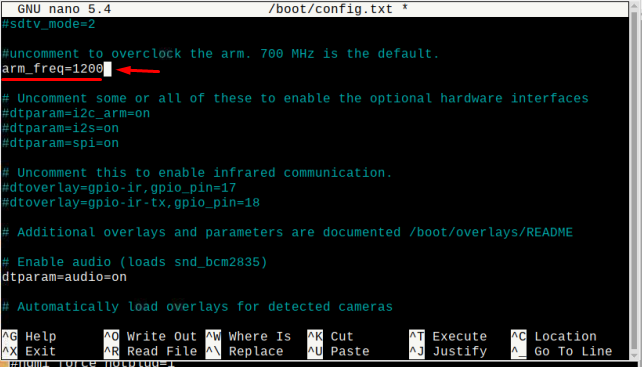
Then scroll down in the file to a find where arm_freq = 800 is mentioned:
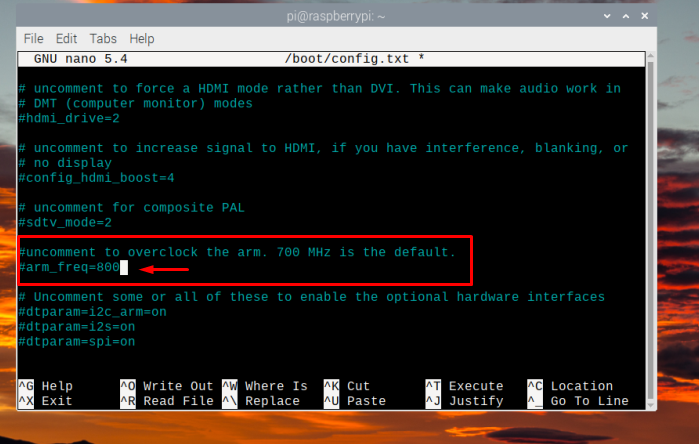
Now change the value from 800 to any value of your requirement; till 1800 it is safe to use but increasing it more than that could overheat the system. Here, I have used 1200 which is a very moderate value for overclocking:
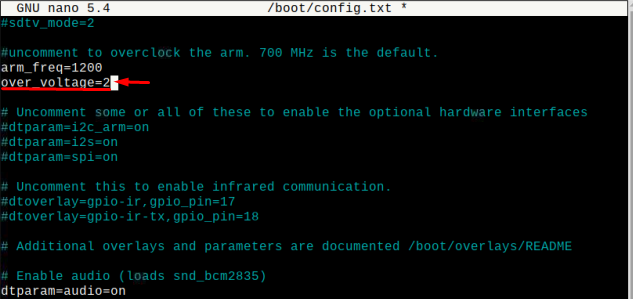
Now add an extra line below to set the voltage level for overclocking, by doing this Raspberry Pi will deliver more power to the CPU. The value limit for over_voltage is between -16 to 8 for Raspberry Pi:
Here I have used the over_voltage value equal to 2:
Now press Ctrl + X and then Y and the modified config file will be saved, then finally press Enter to get back to the terminal.
Step 5: Final Reboot
Now last step is to reboot the system for one final time so that the system will start with a new clock speed, for that purpose type the below-mentioned command:
When the system will restart, it will start working at the new speed and even the temperature of the device will change.
Verify Overclocking (Optional)
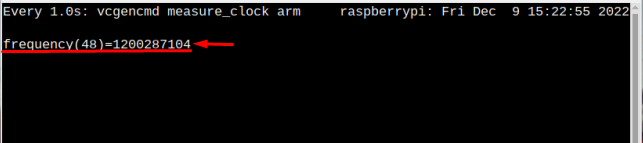
This is just an optional step, if you want to verify if the system is overclocked or not and for that check the new speed of the system by using the below-mentioned command:
In the output you can see that the system has shifted to the new speed, which means your Raspberry Pi has been overclocked successfully:
Maximum Overclocking Limit for Different Raspberry Pi Models
| Model | Max Limit |
|---|---|
| Raspberry Pi 1 Model A & B | arm_freq=1000 |
| Raspberry Pi 2 v1.1 | arm_freq=1000 |
| Raspberry Pi Zero and Zero W | arm_freq=1100 |
| Raspberry Pi 3 A+ | arm_freq=1500 |
| Raspberry Pi 3 B+ | arm_freq=1500 |
| Raspberry Pi 4 | arm_freq=2200 |
Conclusion
To overclock Raspberry Pi firstly the system and dependencies will be updated and after the reboot, the config.txt file will be modified with arm_freqency and over_voltage values. Then finally after the reboot, the system will be overclocked. But make sure to not overclock arm_freq value more than 1800 to avoid unnecessary damage to the system due to overheating, and the range for over_voltage is between -16V to 8V.