If you need guidance in formatting an SD card for Raspberry Pi, you should follow the methods to perform the formatting operation properly.
How to Format SD card for Raspberry Pi
There are several methods to format your SD card on Raspberry Pi but here we will provide you with the two easiest methods to properly format your SD card.
Method 1: Format SD card for Raspberry Pi from Windows Menu
Method 2: Format SD card for Raspberry Pi from Third-party Application
Method 1: Format SD card for Raspberry Pi from Windows Menu
On Windows desktop, formatting an SD card is pretty simple which only takes a few seconds to format the Raspberry Pi SD-card.
To perform this method, you just need to follow the below-given steps for formatting the SD card:
Step 1: First you will need to insert your SD card into the card reader or SD card jacket and then insert it into your laptop USB or jacket port respectively.
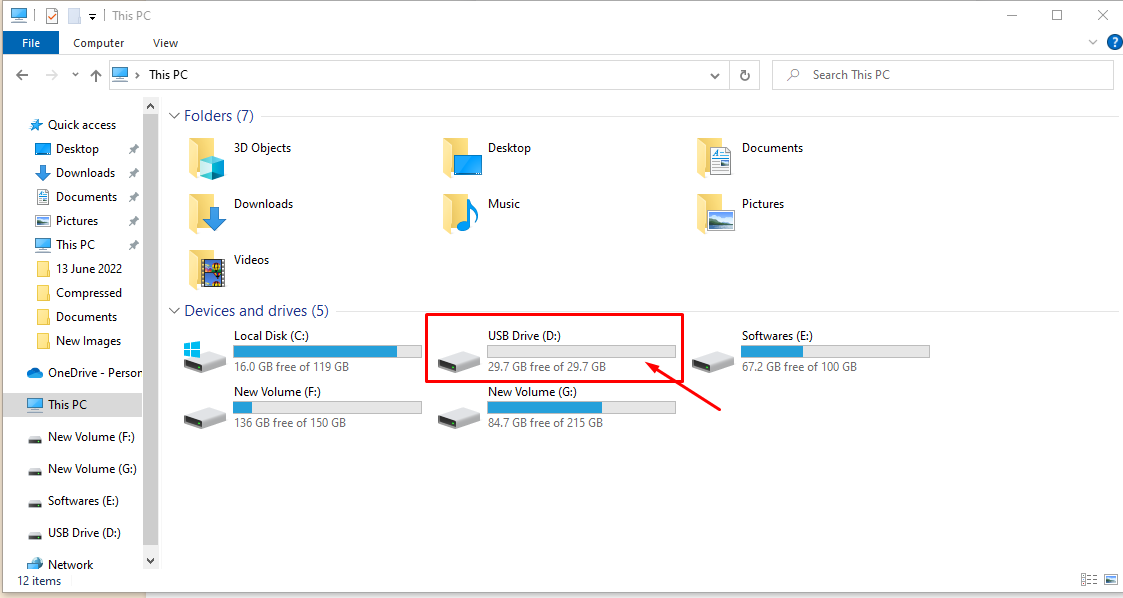
Step 2: Wait for your laptop to detect the SD card and once it’s done you can see your drive as shown in the image below.
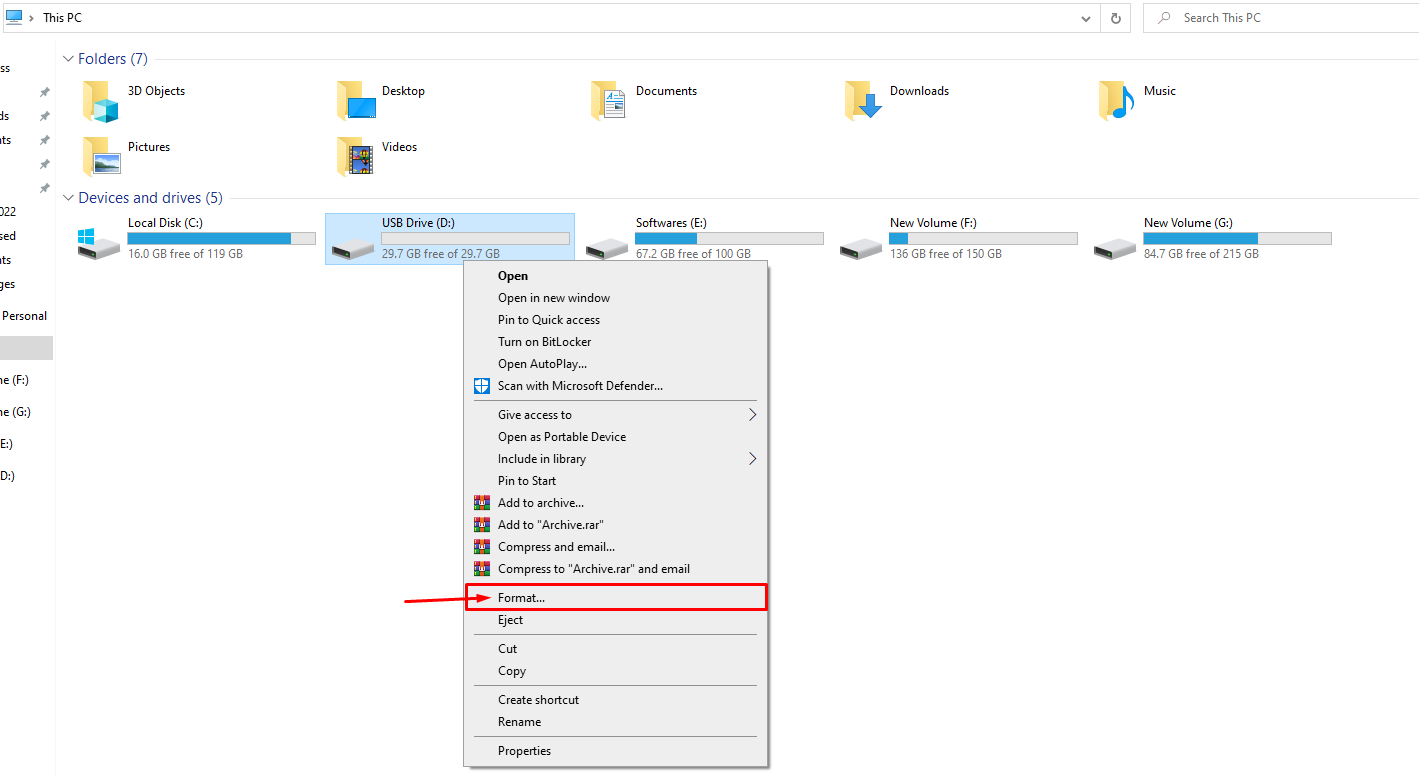
Step 3: Right click on the USB Drive and click on the “Format” option.
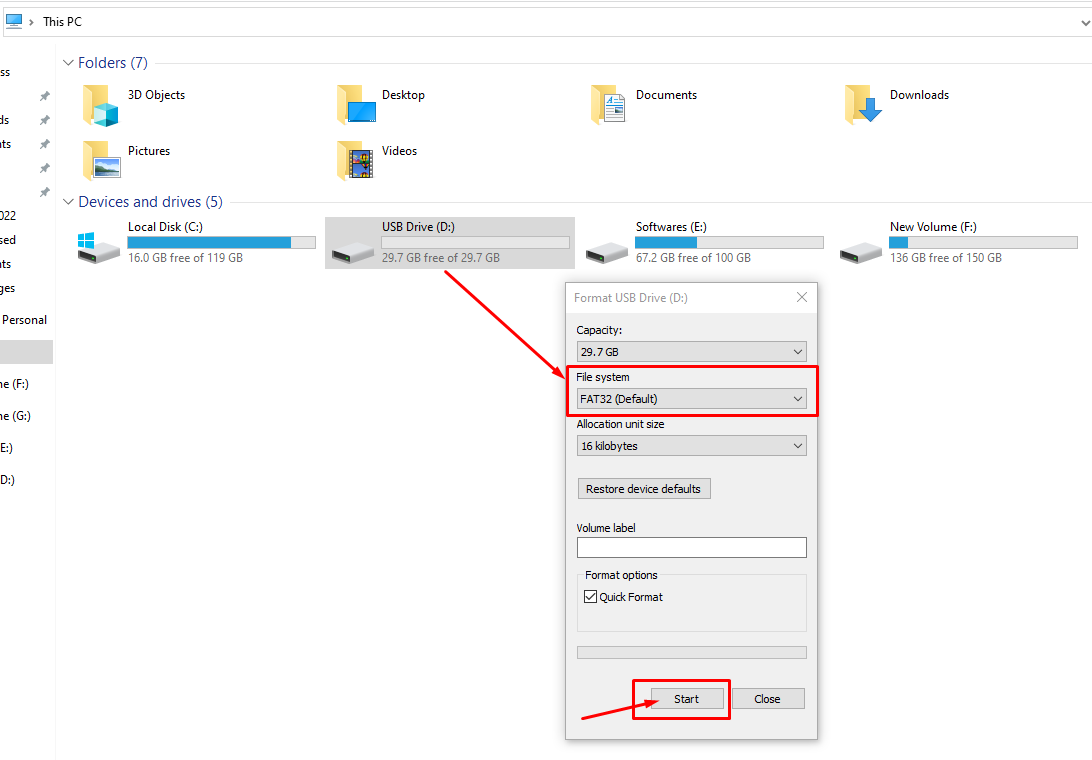
Step 4: Select your File system as FAT32 or NTFS and then click on the “Start” button.
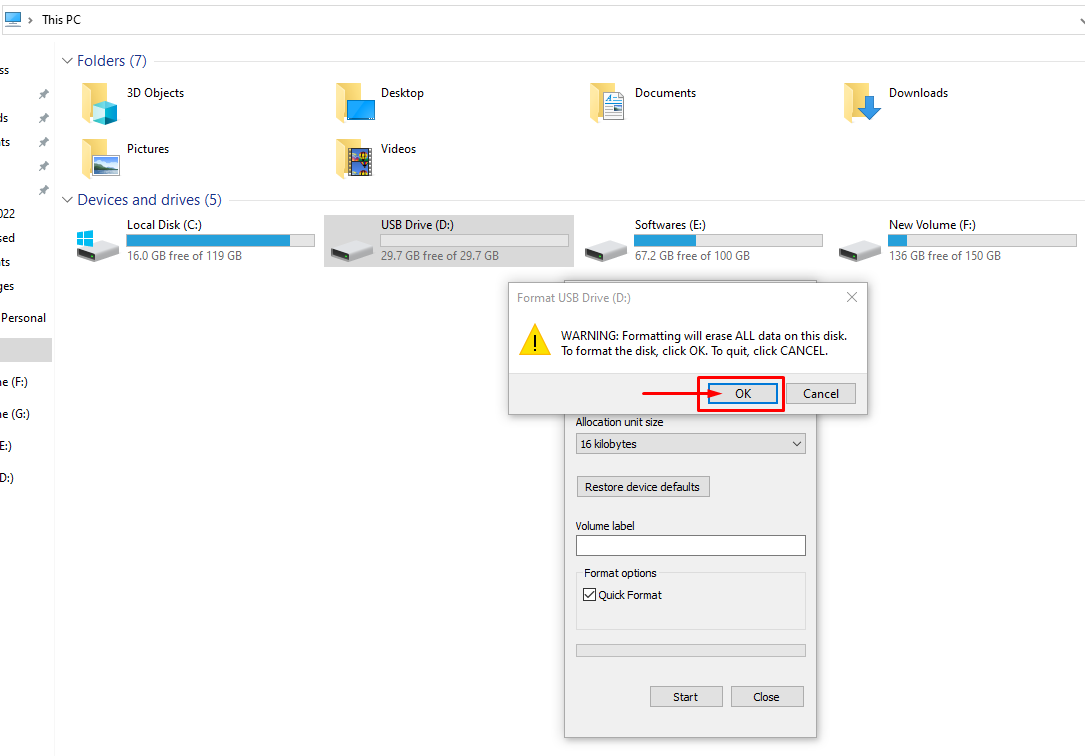
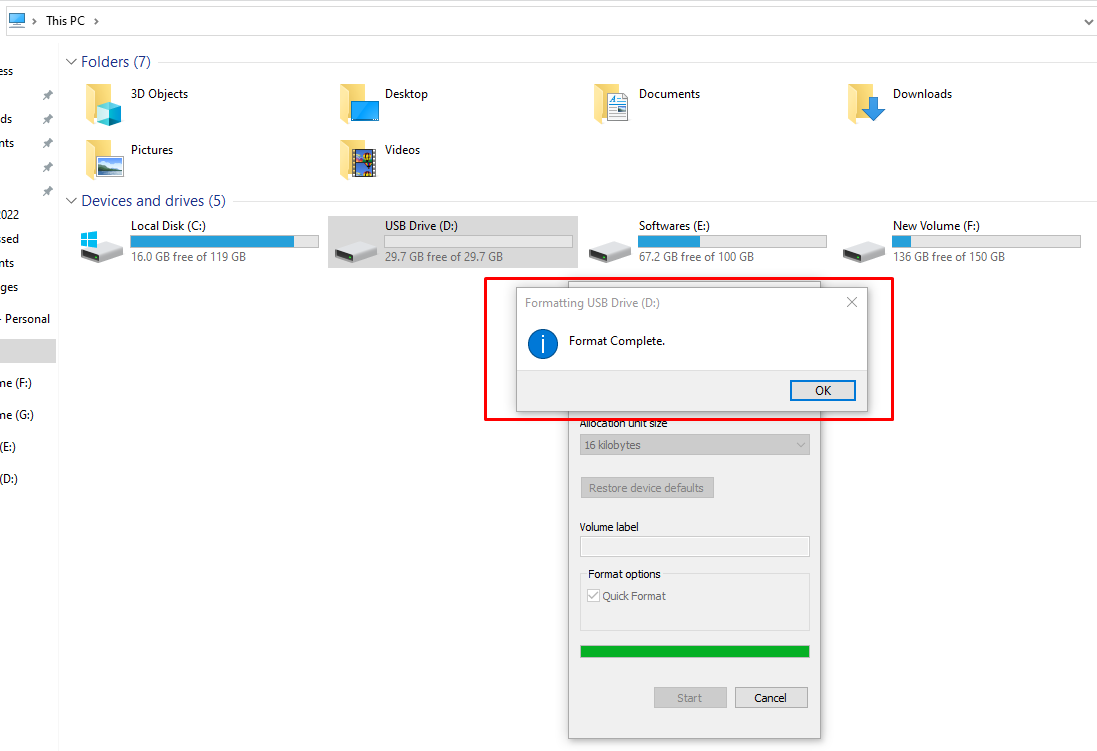
Step 5: Click the “OK” button on the warning that appears on your screen as this will format the SD card.
This formats the SD card as confirmed in the next onscreen window.
Method 2: Format SD card for Raspberry Pi from Third-party Application
You can also utilize the services of a Third-party application to format your SD card for Raspberry Pi. There are several third-party applications but the most preferable option is the “SD Card Formatter” which you can easily download from the website. You can download this application for Windows and MacOS and it’s a pretty lightweight application that quickly formats your SD card. You can follow the below-mentioned steps to learn how to format an SD card through the “SD Card Formatter”.
Step 1: Ensures that your SD card is detected by your laptop.
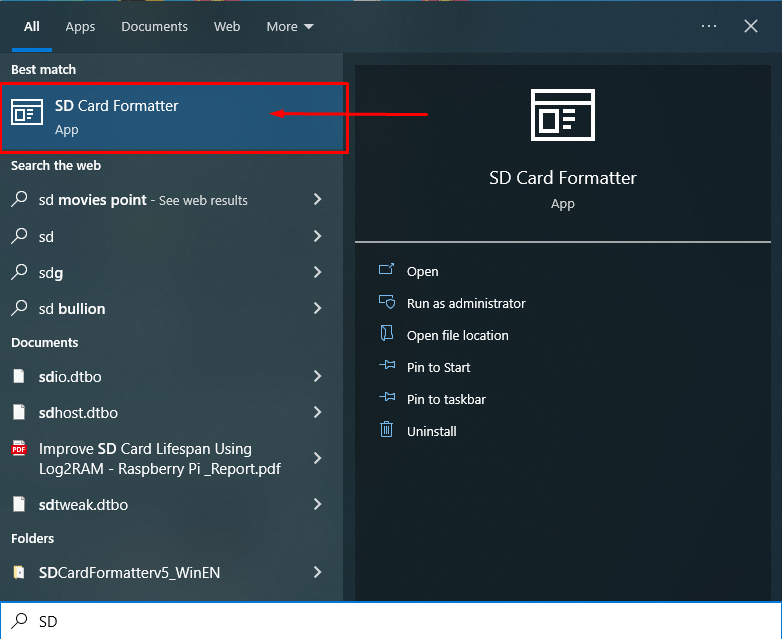
Step 2: Now, open the “SD Card Formatter” on your desktop from the search option.
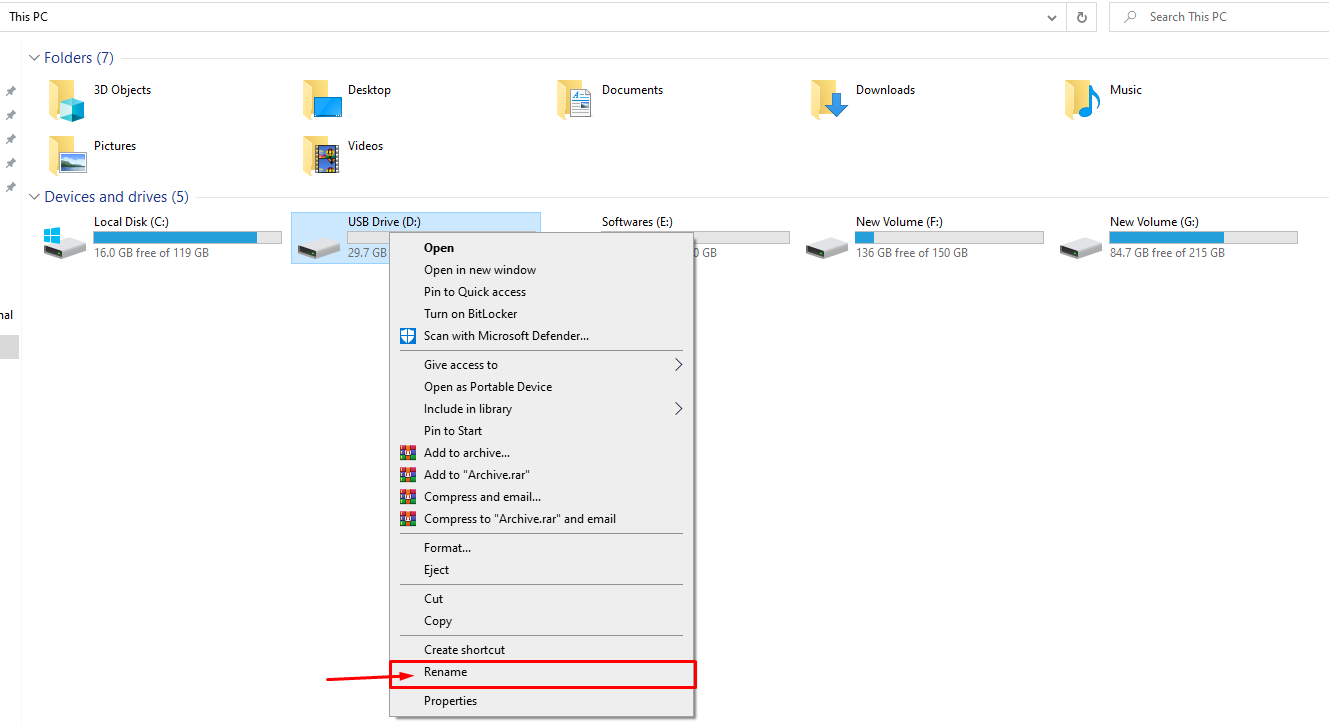
The application automatically detects your SD card with the drive letter. You can name your card so that it will help you to properly identify your SD card reader. Follow the attached image guideline to rename your SD card.
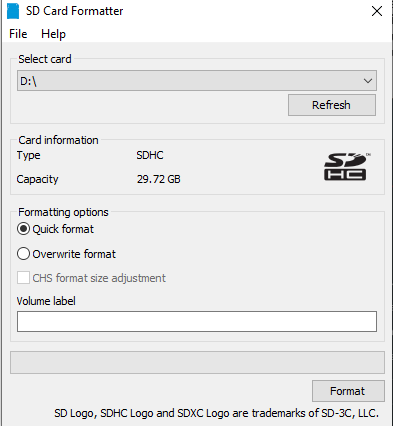
In our case, we rename the device as “USB Device” and by heading back towards the application we can see our device.
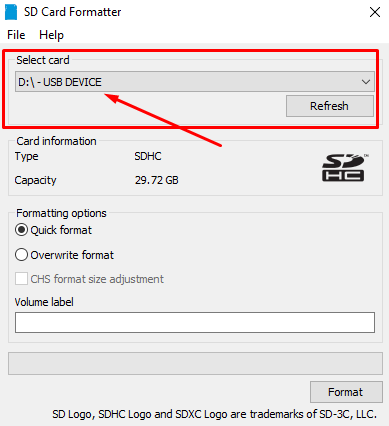
Step 3: Once your device is detected, click on the “Format” option.

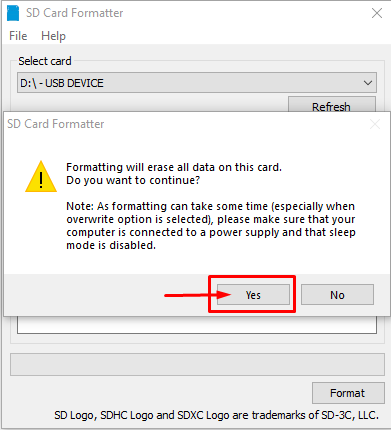
Step 4: Click on the “Yes” option to continue formatting the SD card for Raspberry Pi.
When the formatting completes, you will be able to see the successful formatting notification on your screen.
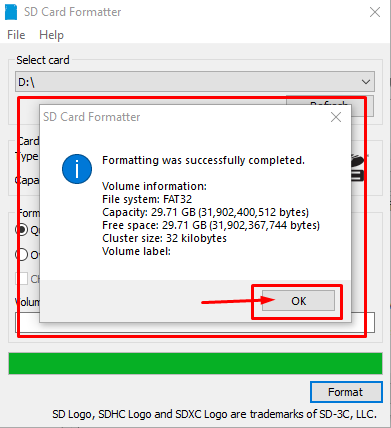
After successfully formatting your SD card, you are good to install any operating system on it so that you can use it on your Raspberry Pi device.
Conclusion
Correctly formatting an SD card ensures a successful installation of an operating system that you can use on your Raspberry Pi device. You can follow the two simplest methods from the above guidelines: the built-in format option or a third-party application like an “SD card formatter” to format your SD card properly. Once it’s done, you can install any operating system on your SD card to experience the desktop environment on your device.