Docker is a popular tool to create, deploy, and organize containerized applications. A Docker registry is a service used to organize and keep Docker images. Docker images are components of Docker containers that execute applications in separate environments. The Docker registry can be private as well as public. Moreover, users can also utilize multiple registries to organize Docker images.
This blog will discuss the following aspects:
What Docker Registry is Set as the Default?
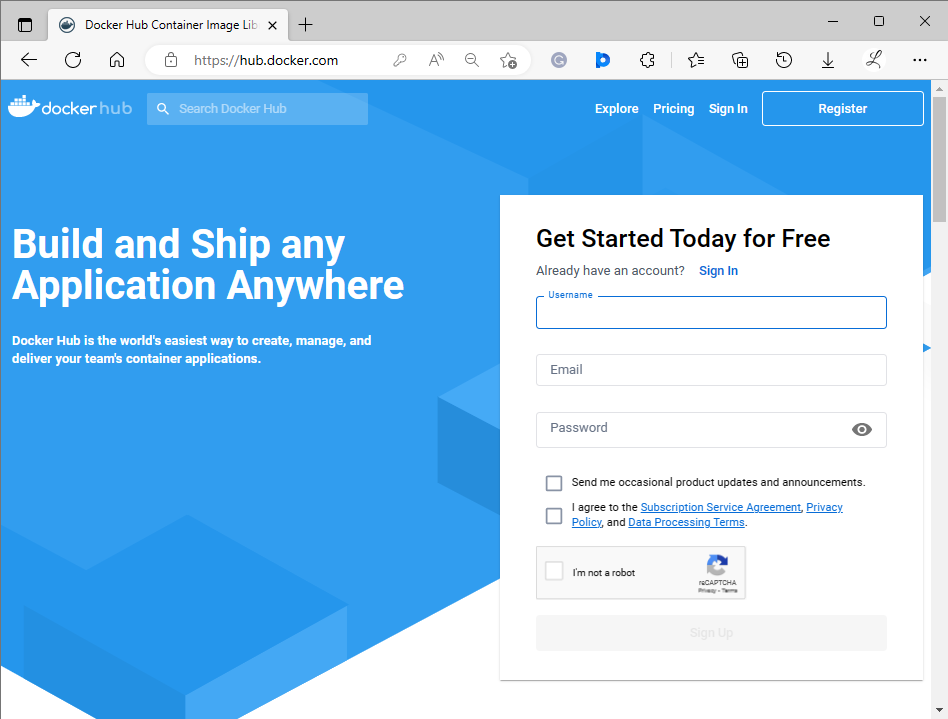
The default set registry for Docker is Docker Hub. It is the public Docker registry used to upload and download Docker images. It acts as a central cloud repository for Docker images where developers can find, download or upload images. It also provides features, such as automated builds that allow users to automatically create and test images from source code.
Users can use Docker Hub using its official website by creating a new account or logging in to an already existing account:
How to Use Default Docker Registry (Docker Hub)?
Docker Hub is used for different reasons, such as:
Pull (Download) Image from Docker Hub
To pull or download images from Docker Hub, first, select the particular Docker image on Docker Hub. Then, utilize the “docker pull <image-name>” command in the terminal. Follow the provided steps, to do so.
Step 1: Pull Docker Image
Run the “docker pull” command along with the desired image name in the PowerShell terminal to pull it. For instance, we need to pull the “alpine” Docker image:
The above output shows that the desired Docker image has been successfully downloaded into the local repository.
Step 2: Verify Pulled Image
View the local repository images to ensure that the selected Docker image has been downloaded into it or not:
In the above screenshot, the highlighted part displays the pulled Docker image i.e., “alpine”.
Push (Upload) Image to Docker Hub
To push or upload an image to Docker Hub, log in to Docker Hub in Windows PowerShell. Then, select a particular local image and tag it. After that, push the tagged image using the “docker push <user-name>/<image-name>:<tag>” command. Check out the following steps to perform this operation.
Step 1: Log in to Docker Hub in Terminal
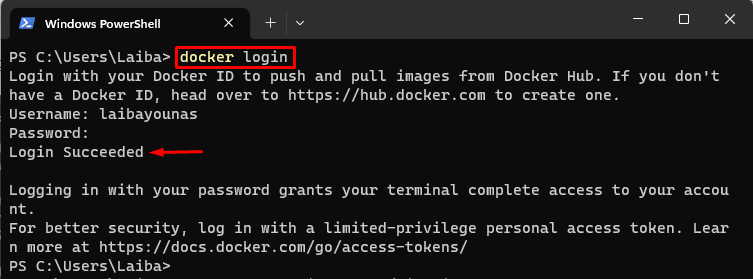
First, run the following command in the Windows PowerShell and provide the required credentials to log in to Docker Hub:
The output shows that Docker has successfully logged in.
Step 2: Tag Desired Image
Then, select the particular Docker image and tag it with the help of the “docker tag <source-image> <username>/<target-image>:<tag>” command. For instance, we are tagging “linuximg” image:
In this way, the specified “linuximg” image has been tagged.
Step 3: Push Selected Image to Docker Hub
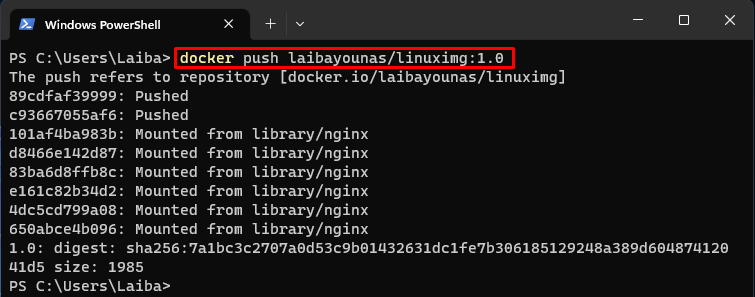
Next, execute the following command to push/upload the selected tagged image to the Docker Hub:
The above output shows that the Docker image has been successfully pushed.
Step 4: Verify Pushed Image
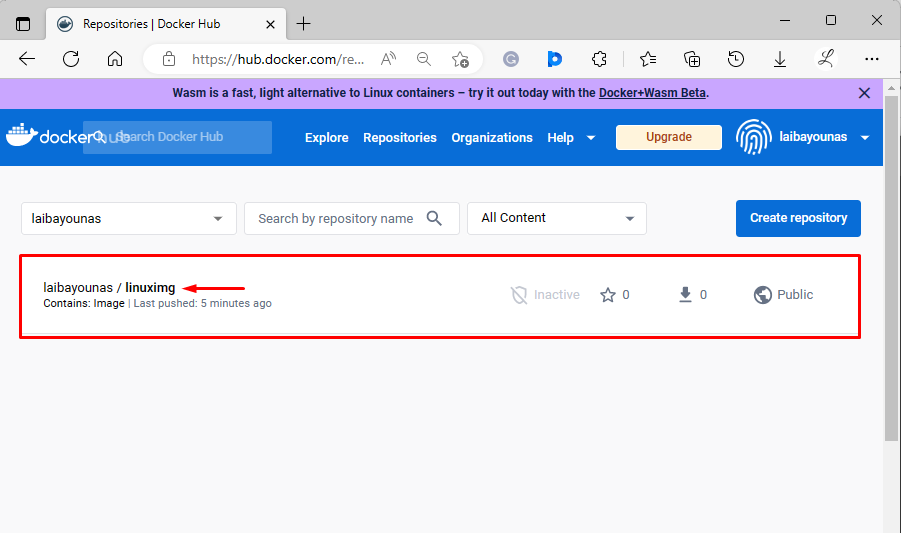
Lastly, ensure that the local image has been pushed to the Docker Hub by navigating to it:
It can be seen that the local Docker image has been pushed to the Docker Hub successfully.
Note: To see more information about Docker Hub, check out our dedicated post about it.
Conclusion
Docker Hub is Docker’s default public repository. It is used for managing, storing, and publishing Docker images. It has various images that can be utilized by anyone for their development projects. It is also used to share Docker images among team members. This blog described the default Docker registry and how to utilize it.


