If you are not familiar, Bitwarden is an extremely feature-rich and popular password manager that allows you to store your credentials in a secure manner. It also allows you to access your credentials, such as passwords and sensitive information, from any device.
Although Bitwarden does provide a free version of the service, at the time of writing, it does require a paid subscription to get access to the full features. Vaultwarden is designed to be an alternative to Bitwarden, offering a self-hosted instance and absolute control over personal data.
Some of the noticeable features of Vaultwarden include:
- Self-hosting
- Heavy encryption
- Multi-platform.
- Extensive browser extension support
- Open-Source
In this tutorial, we are going to teach you how you can quickly and efficiently have the Vaultwarden password manager running on your machine by using the Docker engine.
Prerequisites
This tutorial follows a fundamental format for setting up Vaultwarden as a Docker container. However, ensure you have the following:
- A Linux, MacOS or Windows host
- Docker Engine version 23 and above is installed on the host.
- Sufficient permissions to run Docker containers.
With the above requirements met, we can proceed and discuss how to configure Vaultwarden.
Docker Pull Vaultwarden Image
The first step is to download the Vaultwarden image on the host machine. We can do this by running the Docker pull command as follows:
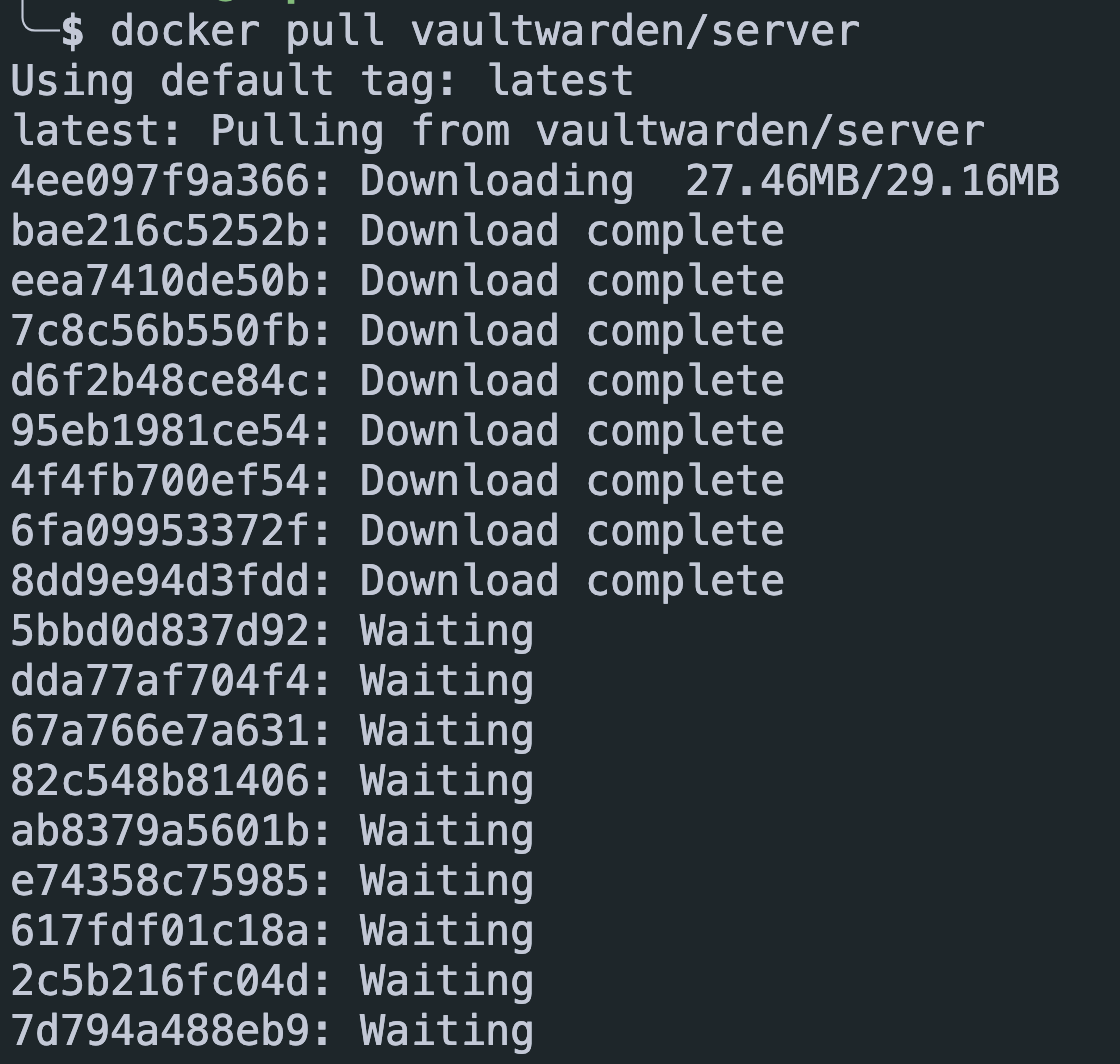
This should download the latest version of the Vaultwarden image on your machine and allow you to create containers from the image.
Docker Create Vaultwarden Container
Once we have downloaded the image, we can proceed and use the Docker run command to create a container using the image. The command is as shown:
Once you run the above command, Docker will create a container using the Vaultwarden image. It will also preserve any persistent data under /vw-data and map port 80 on your host machine.
Configuring Vaultwarden
Once the container is running, open your browser and follow the address: http://vaultwarden.orb.local.
This will prompt you to login or create a new account for your Vaultwarden instance.
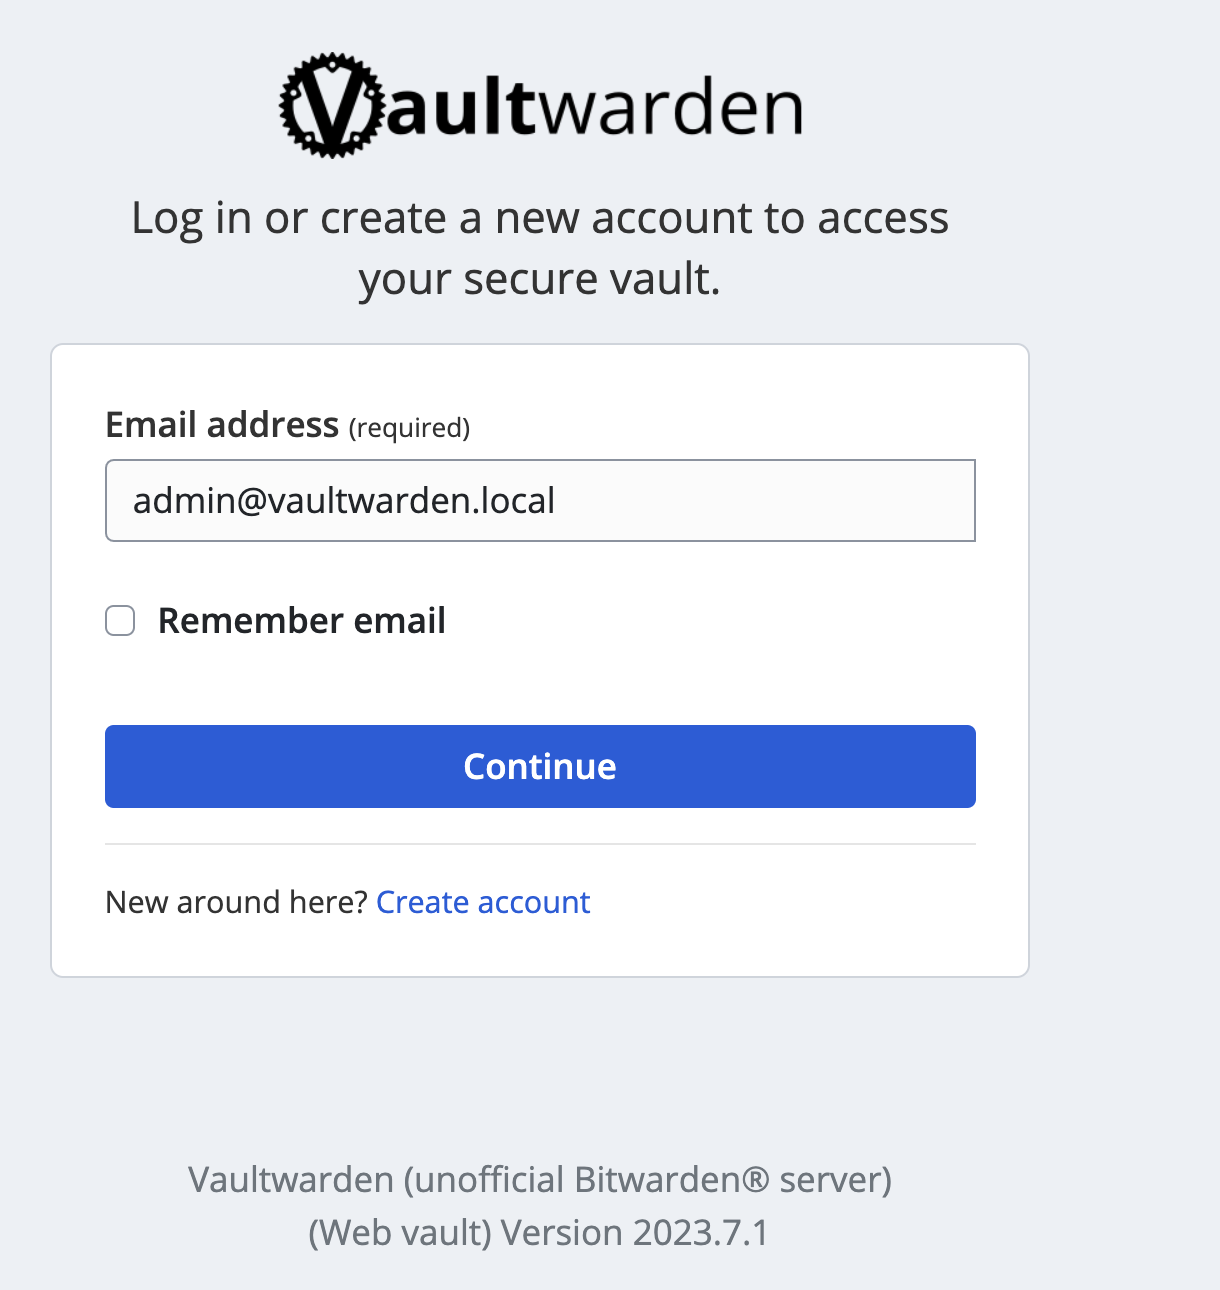
Since we are setting up the Vaultwarden instance for the first time, select Create Account to set up a new account on the server.
In this section, provide all the details for your account, such as the email, username, and master password.
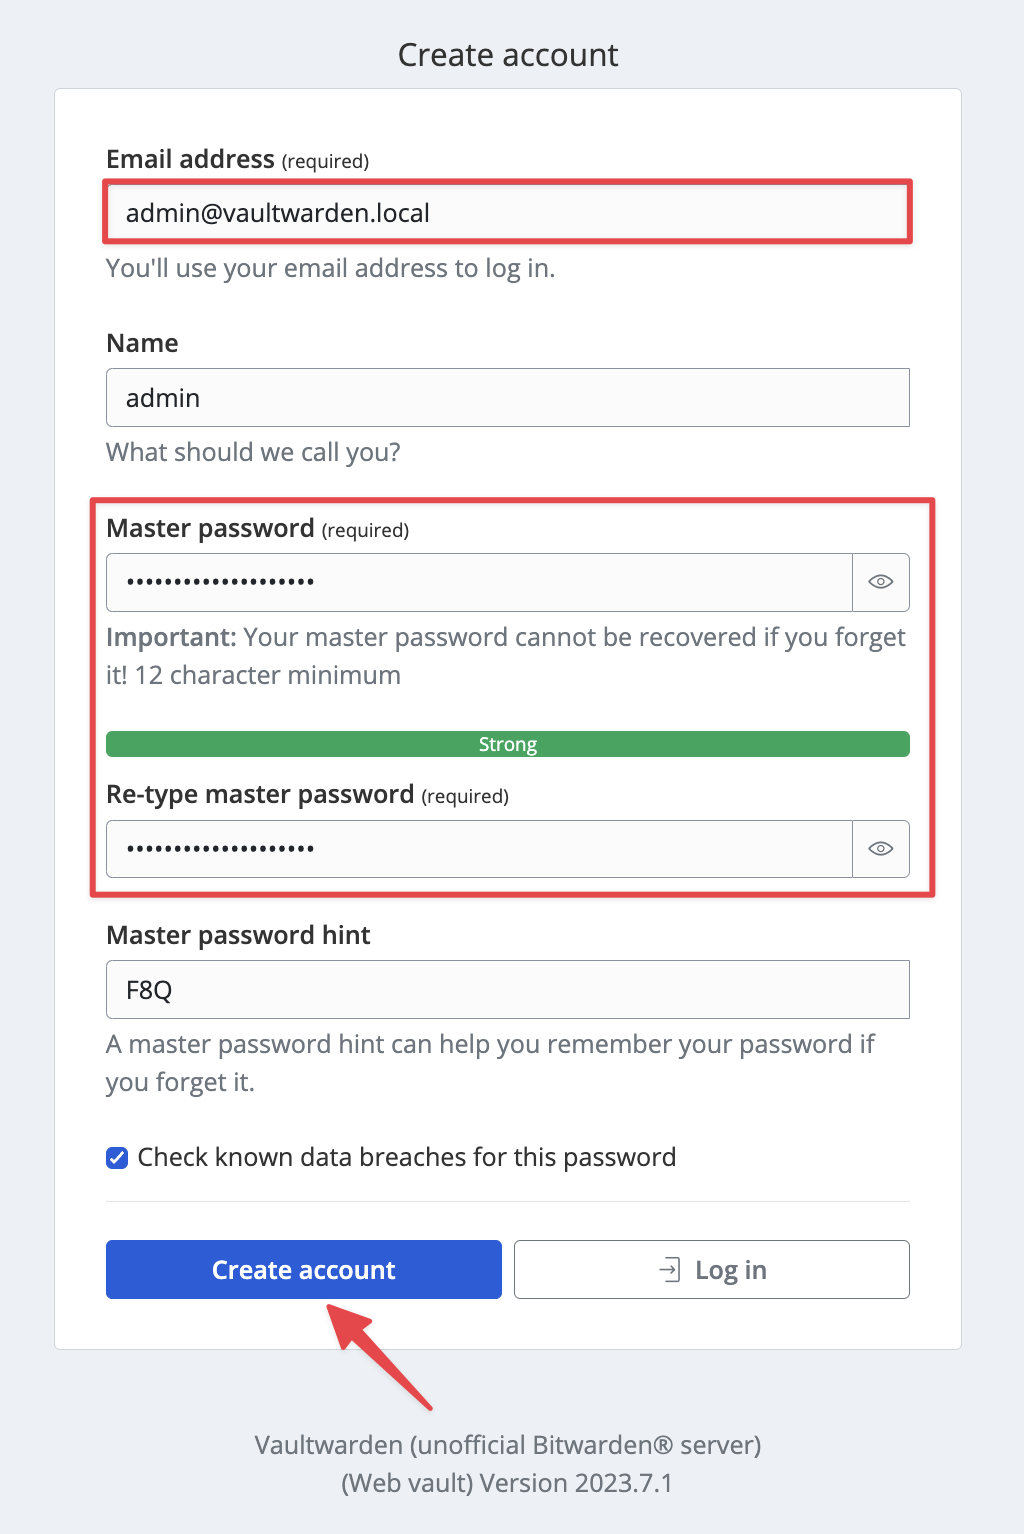
Click Create Account to set up the account with the provided details. Once done, click login and login to the web interface with the specified credentials.
In some cases, Vaultwarden will prevent you from logging into the vault without an SSL certificate. You can configure the container to use HTTPS by setting the SSL certificate details as shown:
-e ROCKET_TLS='{certs="/ssl/certs.pem",key="/ssl/key.pem"}' \
-v /ssl/keys/:/ssl/ \
-v /vw-data/:/data/ \
-p 443:80 \
vaultwarden/server:latest
Ensure the specified certificate files exist before running the command above. You can learn more about configuring HTTPS for your vault in the resource below:
https://github.com/dani-garcia/vaultwarden/wiki/Enabling-HTTPS
Conclusion
This tutorial provides the basic features of quickly setting up and running a Vaultwarden instance using Docker containers.