This guide elaborates on the use of the “Tailwind container”.
What is the Use of Tailwind Container?
Tailwind CSS “container” class creates a container that specifies the maximum width
of an HTML element for matching the minimum width of the specified breakpoint. It is mostly used to set the fixed size of an HTML element instead of displaying it on the whole web page.
This section explains the use of the Tailwind “container” class with the help of stated examples.
Example 1: Use the “container” Class to Create a Container
This example uses the “container” class to create a container of the particular HTML element i.e., div.
HTML Code
Follow the given HTML code:
In the above code snippet:
- First, link the compiled main CSS file “/dist/output.css” with the existing HTML file “index.html” via the “<link>” tag.
- Next, the “body” section defines the “<h1>” element that use the following Tailwind classes i.e., “Font Size” to apply the specified size, “Font Weight” to bold the text, “Text Align” to set the content in “center”, “Text Decoration” to underline the text, and “Text Color” to apply the specified color, respectively.
- After that, a “<div>” element is created that applies the “container” class to create a container, “mx-auto” to center it, and the discussed Tailwind classes.
Output
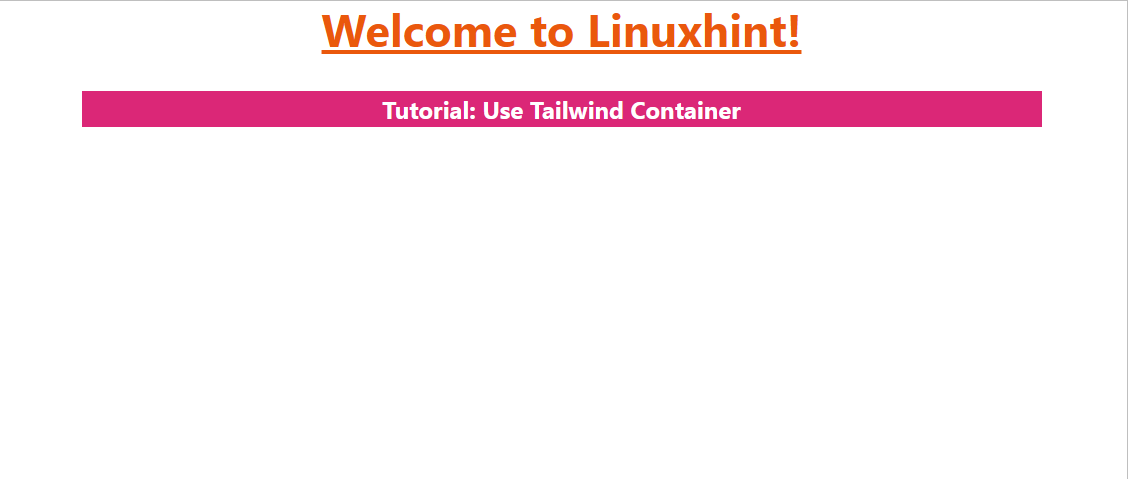
The output shows that a container is created at the center of the web page.
Example 2: Use the “container” Class to Set the Container in the Center(By Default)
By default, the “container” is not created at the center. However, a user can set it to the center permanently by specifying the key-value pair “center: true” in the main Tailwind configuration file. After that, there is no need to use the “mx-auto” utility to center the container during its creation.
tailwind.config.js File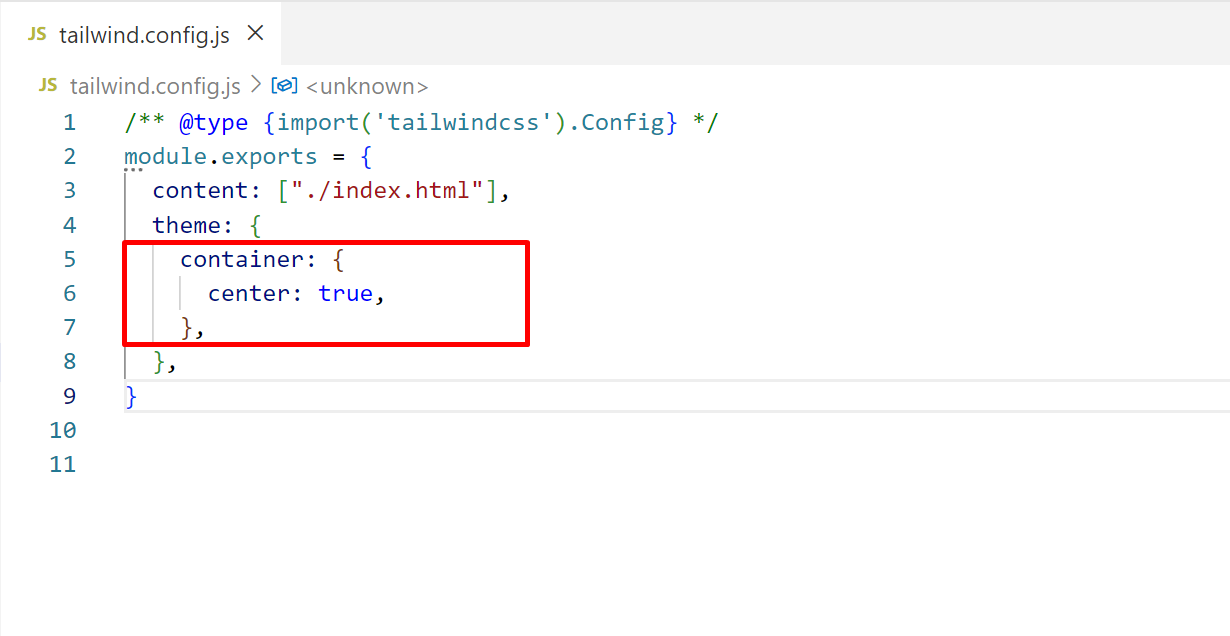
In the above code snippet, the “container” keyword specifies the container, and the key-value “center: true” sets the container at the “center” by default. Lastly, press “Ctrl+S” to save the file.
Output
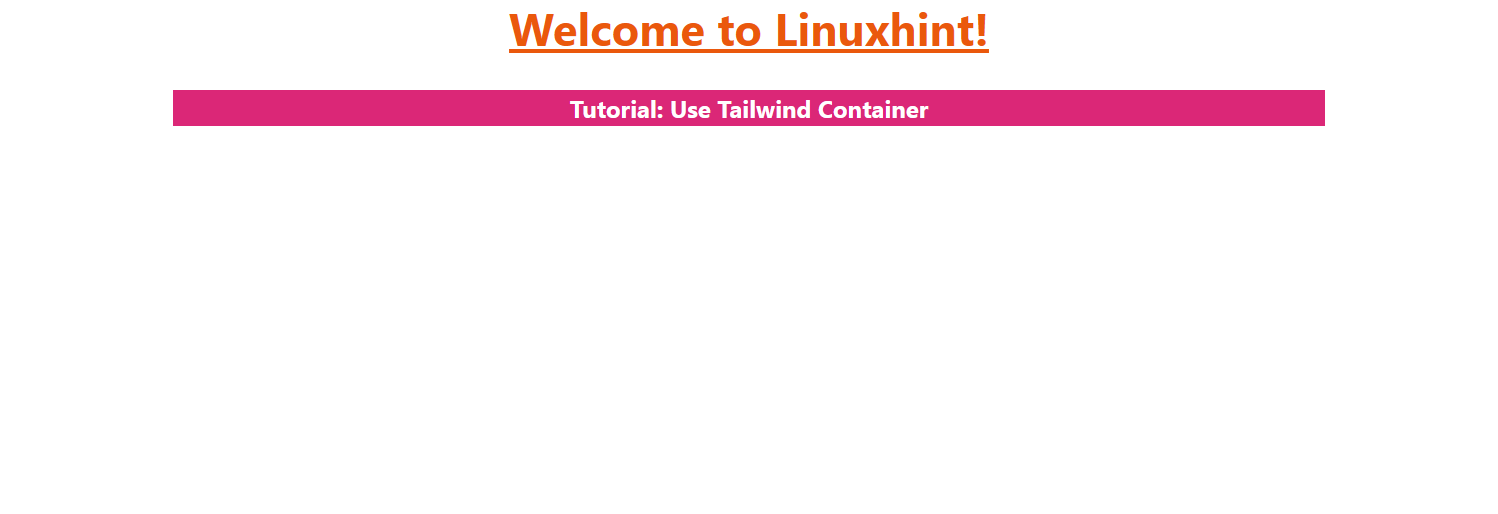
The outcome implies that the given “container” is set to center by default accordingly.
Example 3: Use the “container” Class to Add Horizontal Padding
The user can also add horizontal padding to the “container”. To perform this task, specify the padding in the “theme.container” section of the main configuration file.
tailwind.config.js File

In the above code block, the padding can be changed as per the user’s requirement and likewise, save the file.
Output
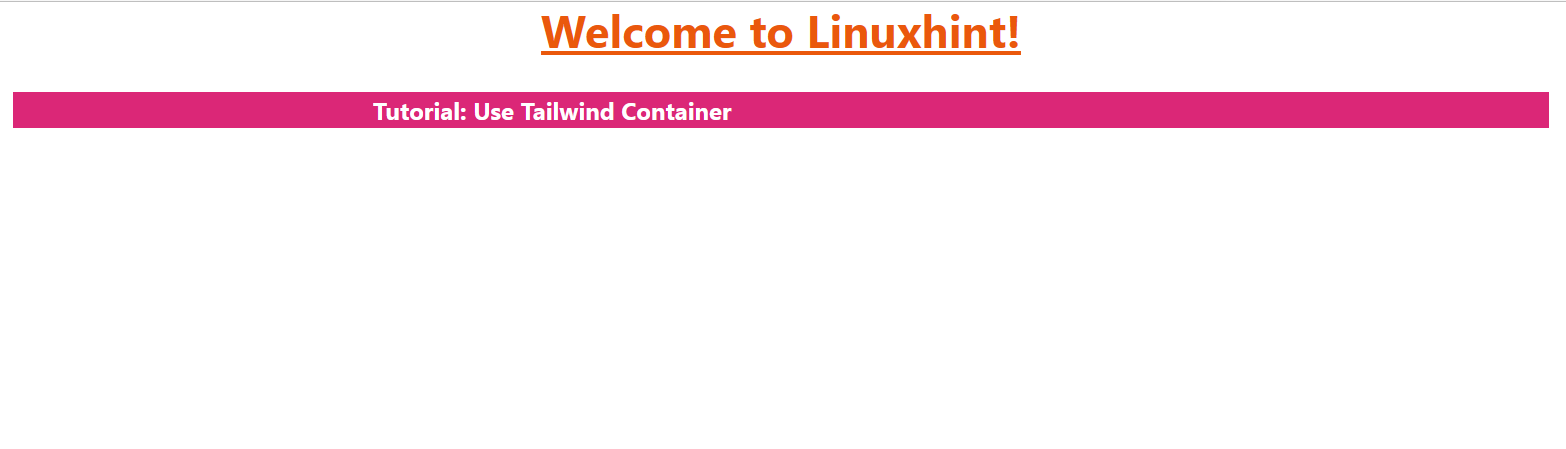
As seen, the specified horizontal padding is added to the given container.
Example 4: Use the “container” Class to Set the Default Horizontal Padding
Similar to setting the container at “center” by default, the horizontal padding can be set by default by specifying it with the “DEFAULT” keyword for the specific screen size in the “tailwind.config.js” file, as follows:
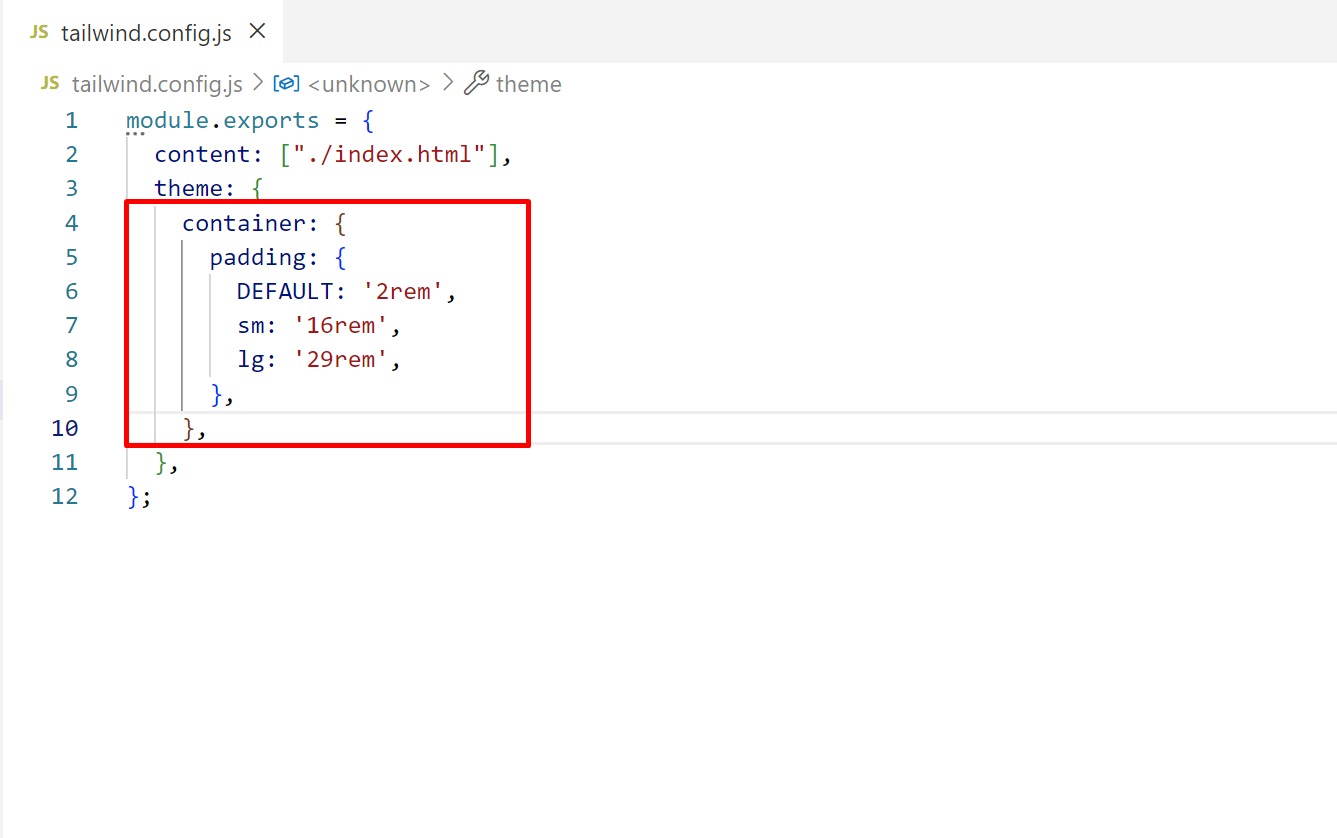
Save the new changes.
Output
As seen, the outcome shows the specified horizontal padding of the given container for small(sm) and large(lg) screen sizes.
Conclusion
Tailwind CSS offers the built-in “container” class to create a container. The creation of the container can be set dynamically using the “mx-auto” utility or by default by specifying the key-value pair “center: true” in the “tailwind.config.js” file. Moreover, it can be customized by adding horizontal padding. This guide demonstrated the use of the Tailwind container in detail.