Docker is a famous containerized open-source platform that is used to build, deploy, test, and ship Docker containers. It supports different components to dockerize the applications and software such as Docker containers, Docker images, and Docker volumes.
Docker images play a vital role in dockerizing the applications in a containerized environment. These images provide the basic template or snapshot of the container and instruct the container how to containerize and execute the application. Docker provides thousands of official Docker images to define the basic structure and environment of a container.
In this blog, we will illustrate:
What is Node Official Image in Docker?
Node.js is a JS runtime environment that runs the V8 JS engine. To create the container for the Node.js application, the Docker community provides an official Node image in the Docker Hub registry. This image is used to structure the container and provide a Node environment to the application inside the container. It is also used to design the container to create, deploy, and test node.js applications.
How to Use the Node Official Image?
To use the node Docker official image, first check out the image versions of the image in the Docker Hub registry. After that, pull the image and design the container to dockerize the node application.
For demonstration, follow the given instructions.
Step 1: Search Node Official Image in Docker Hub
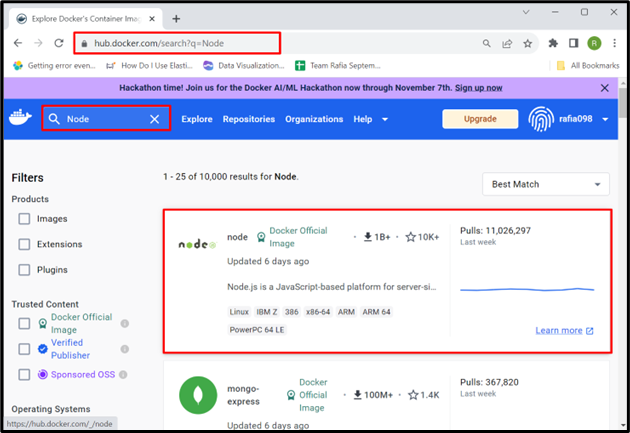
Launch the official Docker Hub registry and search for “Node” in the search menu. After that, click on the Node official Docker image:
Step 2: Copy Pull Command
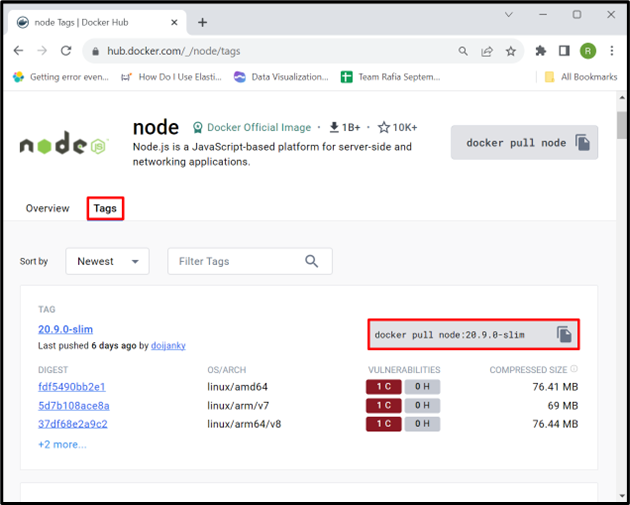
From the “Tags” option, the user can access different versions of the Node image. For demonstration, we will pull the “node:20.9.0-slim” Docker image. To do so, copy the below-pointed command:
Step 3: Download Node Official Image
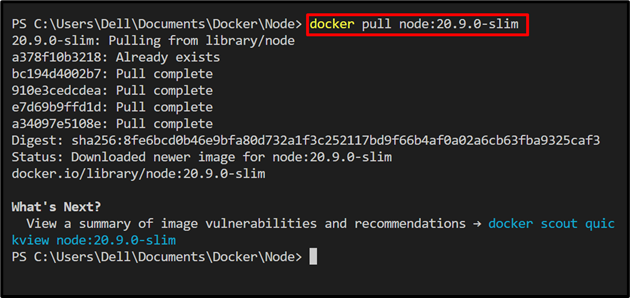
Now, launch the system terminal, and run the copied command here. To pull or download the image, utilize the “docker pull <image-name>” command:
Step 4: Verification
For verification, list down all Docker images and verify if we have successfully pulled the official Docker image or not:
Step 5: Run the Container Using the Official Image
Run the pulled image to start a new container. Here, we are directly executing the “node -v” command to check the version of the node.js:
How to Use Docker Official Image in Dockerfile to Dockerize the Node Program?
To use the node official Docker image in Dockerfile to containerize the node.js application, follow the listed steps.
Step 1: Create Dockerfile
First, create a file named “Dockerfile”. Remember that do not use any file extension along with Dockerfile. After that, copy the below commands into the file:
WORKDIR /app
COPY app.js /app/
EXPOSE 3000:3000
CMD [ "node", "app.js" ]
In the above snipped:
-
- “FROM” command specifies the base container image. It is basically used to design the container. For illustration, we have utilized the “node:20.9.0-slim” official Docker image.
- “WORKDIR” command defines the container’s working directory.
- “COPY” command creates the copy of the source file to the container’s working directory or specified path.
- “EXPOSE” command sets the container’s exposing port.
- “CMD” command sets the executable points of the Docker container.
Step 2: Create Program File
Next, create another file named “app.js” file. Then, paste the provided node.js code into the file:
const server = http.createServer((req, res) => {
res.statusCode = 200;
res.end('Welcome to Linuxhint Tutorial\n');
});
server.listen(3000, () => {
console.log(`Server running at http://localhost:3000/`);
});
Step 3: Generate New Docker Image
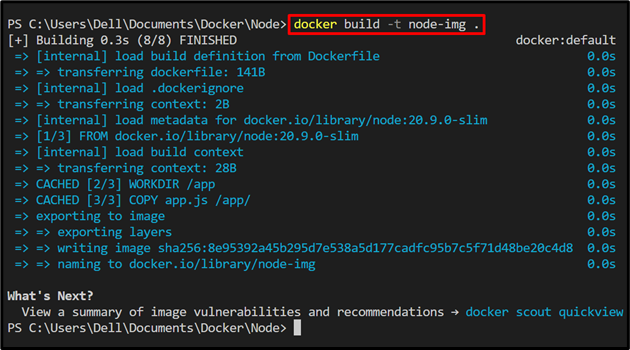
Now, generate the new Docker image by reading the build context from Dockerfile. To do so, follow the below command. Here, the “-t” option tags the Docker image:
Step 4: Run Docker Container
Dockerize the node.js app by executing the above generated image. To do so, run the mentioned command:
In the given command, the “–name” flag sets the container name, and “-p” defines the exposing ports of the container:
Step 5: View Containers
Now, list the Docker containers and verify if the container is executing or not:
The output shows that Docker container is effectively executing:
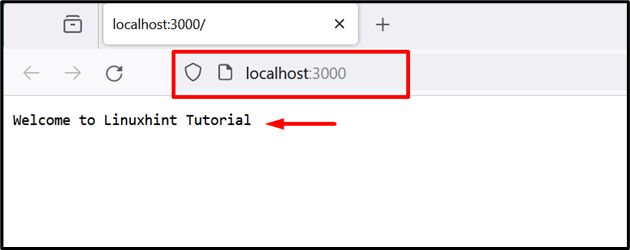
Navigate to the “http://localhost:3000/” URL and verify if the “app.js” program is executing on the localhost exposing port or not:
The above output shows that we have successfully dockerize the node.js program using the official node Docker image.
How to Dockerize Node Program in Docker Compose?
Docker compose is one of the essential components of Docker. It is used to operate and run multiple container projects and services. To dockerize the node.js application using Docker Compose, follow the provided steps.
Step 1: Create Dockerfile
First, create a Dockerfile that will use the official node Docker image in the FROM command. For instance, we are using the Dockerfile of the above section:
WORKDIR /app
COPY app.js /app/
EXPOSE 3000:3000
CMD [ "node", "app.js" ]
Step 2: Create “docker-compose.yml” File
Now, create another file named “docker-compose.yml” file and copy the below snippet into the file:
services:
node:
build: .
ports:
- "3000:3000"
environment:
NODE_ENV: production
Here,
-
- “service” key defines the service that will be executed in a separate container. We have created a “node” service to dockerize the node application.
- “build” key specifies the source of the build context through which the container will be created. For instance, we are using “Dockerfile”.
- “ports” defines the exposing ports of the compose container.
- “environment” key sets the environment variable of the container. Here, we have set “NODE_ENV” as “production”.
Step 3: Fire Up Docker Compose Container in Detached Mode
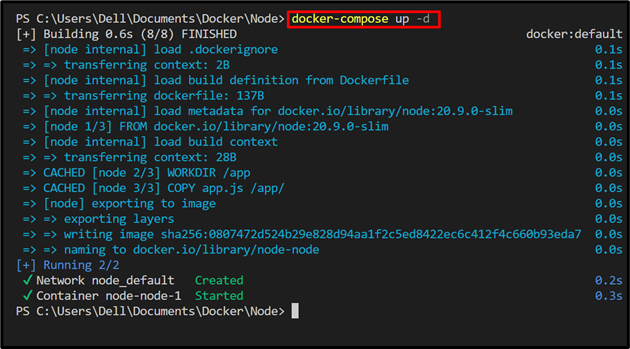
Run the compose service by reading the “docker-compose.yml” file through the “docker-compose up” command. Here, “-d” option executes the service in detached mode:
List down the compose containers using below command:
The output shows that we have successfully executed the node.js service inside the container using Docker compose:
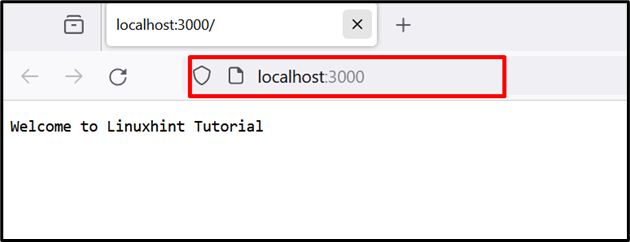
For verification, open the browser, navigate to “http://localhost:3000/” URL and verify if “app.js” program is executing on localhost port “3000” or not:
That is all about using the node official Docker image to dockerize the node.js app.
Conclusion
To use the Node Docker official image, first, download or pull the image from the official Docker Hub registry. After that, run the image to start the node container. Users can use the official Docker image in Dockerfile to use it as a base container image. This will provide the node.js environments to the developer to run and test the node application inside the container. We have demonstrated how to use Node’s official Docker image.

