Docker containers are light-weighted runnable packages that are usually used to develop, manage and execute applications. The Docker containers include all the essentials to deploy projects, like code, dependencies, packages, and settings. Additionally, Docker containers are created and managed by Docker images.
Typically, programmers must change Project dependencies and source code within a container. Then, updating the Docker image or creating a new one according to modifications is required. For this purpose, the “docker commit” command can be used.
This write-up will demonstrate how to use “docker commit” to change container images.
How to Use Docker Commit to Change Container Images?
To update or change the container image according to container modification, the users must commit the container to save changes and generate a new Docker image. To do so, follow up on the provided instructions.
Step 1: Create Dockerfile
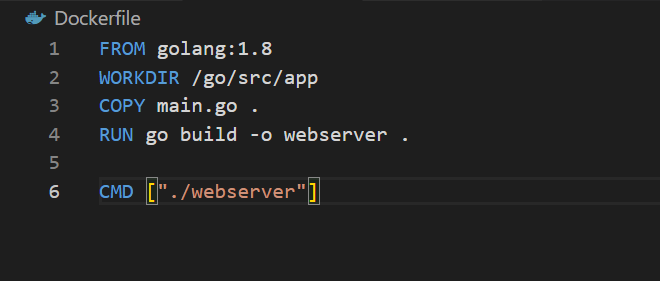
Firstly, create a new file named “Dockerfile” and paste the below-coded instructions into the file:
WORKDIR /go/src/app
COPY main.go .
RUN go build -o webserver .
CMD ["./webserver"]
The above instructions will execute the “main.go” program on the web server:
Step 2: Generate the Image in Docker
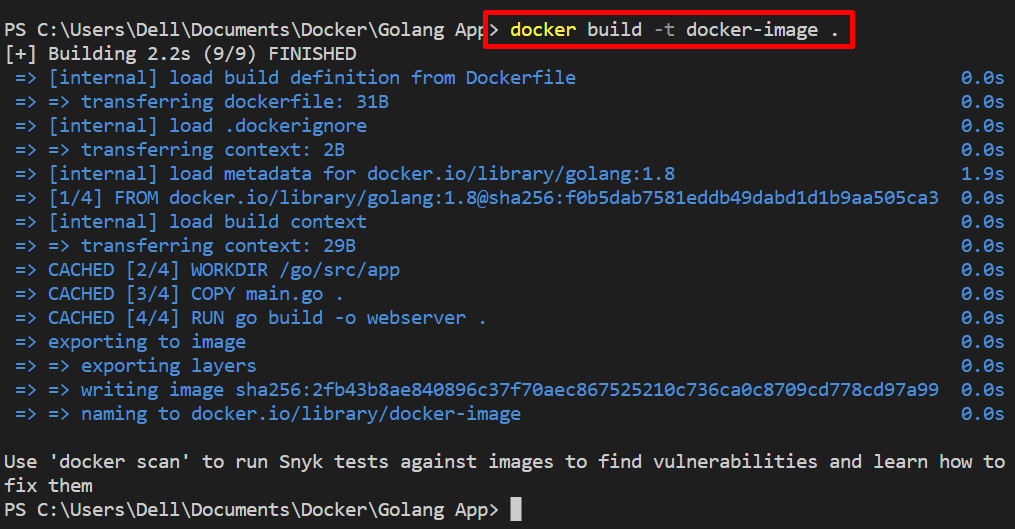
Next, generate the Docker image through the provided command. This command will read instructions from Dockerfile and generate a new Docker image:
Step 3: Create a Container
After that, create a new container through the newly generated Docker image. To do so, check out the mentioned command:
In the above command:
- “–name” flag defines the container name.
- “-p” is used to specify the port on which the container will execute:

Step 4: Start Container
Now, start the Docker container to run a program within a container:

For verification, navigate to the defined port to check if the container is started or not. You can see that the container has been successfully running on the specified port:

Step 5: Make Changes in Container
Make some modifications to the container application or Dockerfile. For instance, we have changed the “FROM” statement:

Step 6: Commit Container to Change Docker Image
Now, commit the container to save changes through the “docker commit” command:
The above command will automatically generate the unnamed new image for the container:

Alternatively, in order to generate the image by name, utilize the “docker commit <container-name> <image-name>” command:

For verification, list down all Docker images using provided command:
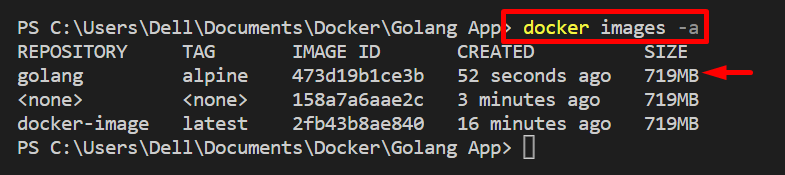
It can be observed that we have successfully changed the container image using the “docker commit” command.
Conclusion
In order to change the Docker image of the container after modifications, the “docker commit <container-name>” command is used. This command commits the container as well as changes and automatically generates the new image for the container. This write-up has provided the method to use “docker commit” to change the container image.