How to Set the Table Width to 100% and Use Vertical Scroll Inside tbody?
To use a vertical scroll inside the table body, the “overflow-x”, “overflow-y”, and “display” CSS properties can be used. Follow the below-detailed steps:
Step 1: Create a Table
In the HTML file, create a table having multiple columns and rows. For instance, five columns and seven rows are created for the sake of explanation. Along with it, assign a class of “verticalScroll” to the table:
<thead>
<tr>
<th>Week 1</th>
<th>Week 2</th>
<th>Week 3</th>
<th>Week 4</th>
<th>Week 5</th>
</tr>
</thead>
<tbody>
<tr>
<td>Article 1</td>
<td>Article 2</td>
<td>Article 3</td>
<td>Article 4</td>
<td>Article 5</td>
</tr>
<tr>
<td>Article 6</td>
<td>Article 7</td>
<td>Article 8</td>
<td>Article 9</td>
<td>Article 10</td>
</tr>
<tr>
<td>Article 11</td>
<td>Article 12</td>
<td>Article 13</td>
<td>Article 14</td>
<td>Article 15</td>
</tr>
<tr>
<td>Article 16</td>
<td>Article 17</td>
<td>Article 18</td>
<td>Article 19</td>
<td>Article 20</td>
</tr>
<tr>
<td>Article 21</td>
<td>Article 22</td>
<td>Article 23</td>
<td>Article 24</td>
<td>Article 25</td>
</tr>
<tr>
<td>Article 26</td>
<td>Article 27</td>
<td>Article 28</td>
<td>Article 29</td>
<td>Article 30</td>
</tr>
</tbody>
</table>
After executing the above code, the webpage looks like this:
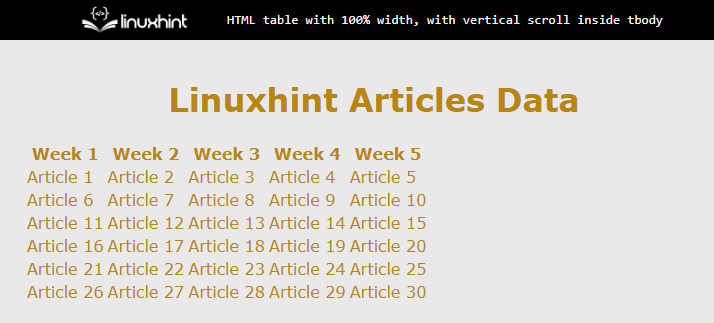
The output displays that the table data is displayed, and initial styles are also applied.
Step 2: Style the Table
After creating the table now, it is time to add some styling to it. The purpose of setting styles is to enhance user visibility. And to display the data more prominent:
An explanation of the above code snippet is:
- First, use the class “verticalScroll” to access the header portion of the table.
- In it, set the black “background” and set the “#fff” to “color”.
- After that, use the “line-height” property to set the height of each line to “30px”.
- Next, select the table header “th” and table data “td” elements using the table class name.
- In the end, set the “text-align” property to “center” and adjust the “width” of each cell to 300px.
After executing the above code, the webpage looks like this:
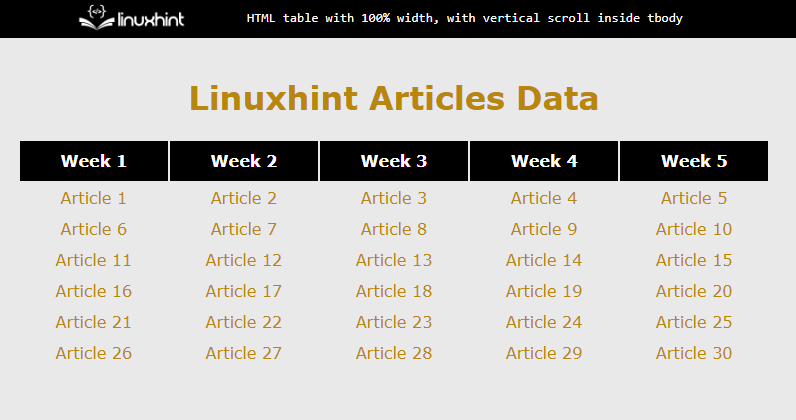
The output shows that the table is now styled, and each cell data is now more prominent.
Step 3: Add Styles to the “verticalScroll” Class
After the basic styling of the table, now add couple more CSS properties to make the table boundary prominent:
width: 100%;
border: 2px solid black;
}
.fixed_header tbody, thead{
display: block;
}
In the above code snippet:
- First, the table “width” is set to 100% to cover all available space.
- Then, the “border” property makes the border of 2px solid in black color.
- In the end, the “display” property is utilized to set each element to block.
After executing the above code, the updated webpage looks like this:
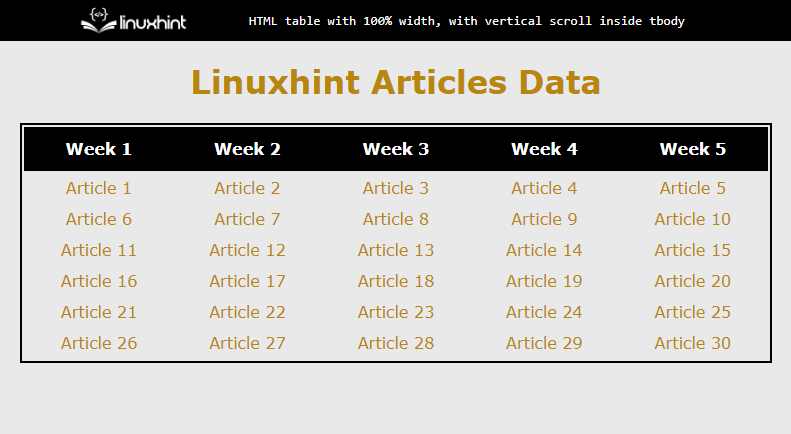
The output illustrates that new styles are applied to the webpage.
Step 4: Vertical Scroll Inside “tbody” Section
To make a vertical scroll inside the tbody section. Select the “tbody” using the class name in the “<style>” tag. Then set its “height” to the length which is available on the web page for the table:
height: 100px;
overflow-y: auto;
overflow-x: hidden;
}
In the code, set the overflow hidden for the x-axis and auto for the y-axis using “overflow-y” and “overflow-x” CSS properties.
After adding the above styles, the webpage looks like this:
The output confirms that the table width is set to 100% and vertical scroll is working inside the “<tbody>” tag.
Conclusion
To add a “vertical scroll” inside the table body, the “overflow-y” property is set to “auto”. It makes a scrolling effect enabled. Along with it, the “display” property sets every cell of the table to “block”. It occupies all allocated space. This article has successfully demonstrated how to add a scroll inside the “tbody” section.