When a user designs a database to manage employee data in a company, most of the data and records cannot fit into a single sheet or table. To manage the data, the user makes the sheet scrollable. There are two types of “scrollable”. The first is vertically scrollable, and the second is horizontally scrollable. Horizontal scrollable allows the user to scroll the contents of the window left or right. Whereas the vertical scrollbar allows the user to scroll up or down the content.
This post will state:
- Method 1: How to Table Scroll Horizontally With HTML/CSS?
- Method 2: How to Table Scroll Vertically With HTML/CSS?
Method 1: How to Table Scroll Horizontally With HTML/CSS?
To make a table scroll horizontally with the HTML/CSS, first, design a table by utilizing the “<table>” element. Then, set the “height” and “width” of the table in CSS and apply the “overflow” property with the value “scroll”.
For practical implications, try the below-stated method.
Step 1: Add a div Container
For the purpose of creating a div container, add the “<div>” element in the HTML document.
Step 2: Design a Table
Next, utilize the “<table>” tag for designing a table to add data to the HTML page. Then, add the following attribute inside the table tag:
- “cellspacing” determines the space in the table cell.
- “cellpadding” specifies the space between the cell’s walls and the cell data. It is an inline attribute utilized in the table tag to overwrite the CSS style. The value of the cellpadding is set in pixels and can be specified as “1” or “0” by default.
- “border” is utilized for adding space around the cell.
- Here, “width” defines the cell size in the table element.
Step 3: Add Data in Table
Next, add the following elements to add the data:
- “<tr>” element is utilized for defining the rows in the table.
- “<th> element determines a cell as the header of a group of table cells.
- “<td>” is used to add the data in the table:
<table cellspacing="1" cellpadding="0" border="0" width="325">
<tr>
<td>
<table cellspacing="1" cellpadding="1" border="1" width="300">
<tr>
<th>Team Sharqa Members</th>
<th>Team Adnan Members</th>
<th>Team Usama Members</th>
</tr>
</table>
</td>
</tr>
<tr>
<td>
<div class="table-data">
<table cellspacing="0" cellpadding="1" border="1" width="300">
<tr>
<td>Sharqa</td><td>Adnan</td><td>Usama</td>
</tr>
<tr>
<td>Hafsa</td> <td>Areej</td><td>Zara</td>
</tr>
<tr>
<td>Farah</td> <td> Minhal</td><td>Zainab</td>
</tr>
<tr>
<td>Maria</td><td>Anees</td><td>Faiza</td>
</tr>
<tr>
<td> Umar</td><td>Taimoor</td><td>Awais</td>
</tr>
<tr>
<td>Farhan</td> <td>Hammad</td><td>Aliyan</td>
</tr>
<tr>
<td>Rafia</td><td>Haroon</td><td>Yumna</td>
</tr>
<tr>
<td>Laiba</td><td>Hadia</td><td>Rafia</td>
</tr>
<tr>
<td>Shahrukh</td><td>Talha</td><td>Danish</td>
</tr>
<tr>
<td>Nadia</td><td>Mukh</td><td>Nimra</td>
</tr>
</table>
</div>
</td>
</tr>
</table>
</div>
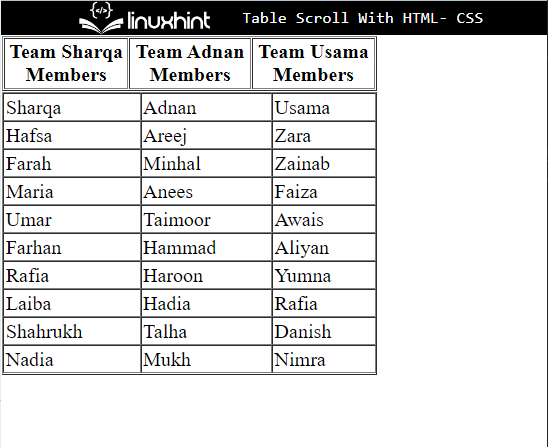
It can be seen that the table has been added successfully:
Step 5: Style div Container
Access the div container by using the defined attribute value with the attribute selector. To do so, the “#main-content” is utilized in this scenario:
border:3px groove blue;
margin:30px 60px;
padding:30px;
}
Then, apply these CSS properties:
- “border” is used for defining the boundary around the element.
- “margin” determines the space outside of the defined element.
- “padding” allocates space inside the defined boundary.
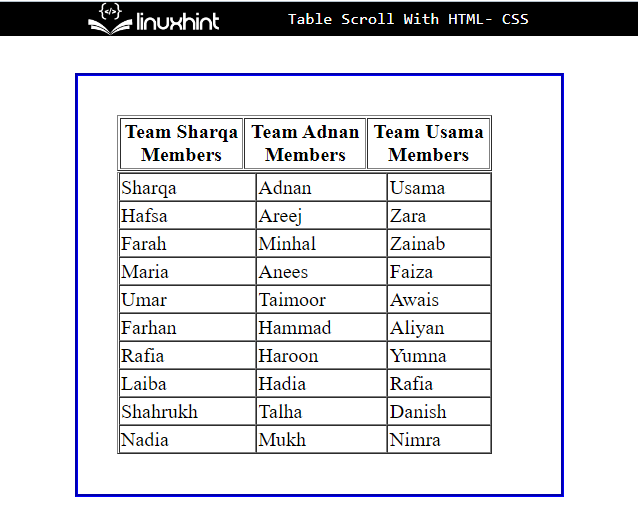
Output
Step 6: Make Table Horizontally Scrollable
Now, utilize the class name to access the table and apply the below-stated properties to make the table horizontally scrollable:
width:250px;
height:360px;
overflow:scroll;
}
According to the given code:
- “height” and “width” properties are utilized for settings the size of the element.
- “overflow” controls what happens to content that is lengthy to fit into an area.
Output
Step 7: Style Table
For the purpose of styling the table, access the “table” and table data with “td”:
color:rgb(66, 40, 233);
background-color:rgb(243, 164, 164);
}
Here:
- The “color” property is used for setting the color of the text in an element.
- “background” determines the color at the backside of the element.
Step 6: Style Table Heading
Access the table heading with the help of “th”:
background-color:rgb(193, 225, 228);
}
Apply the “background-color” property to set the color at the element’s backside.
Method 2: How to Table Scroll Vertically With HTML/CSS?
To scroll the table vertically with the HTML/CSS, set the table width access the table with the help of the class name “.table-data” and apply the below-mentioned properties in the code snippet:
width:400px;
height:150px;
overflow:scroll;
}
Here:
- The value of the “width” property is set “400px” for setting the size of the table.
- “height” is set to less than the width value to make the vertically scrollable.
- “overflow” property is utilized for making the scroll element if the element’s data is lengthy and cannot fit on the table.
Output

That’s all about the table scroll with HTML and CSS.
Conclusion
To make a table scroll with HTML and CSS, first, create a table by using the “<table>” element. Then, access the table in CSS and apply “the height”, width, and “overflow” properties on the table. For that purpose, the value of the “overflow” is specified as “scroll”, which makes the element scrollable if the element’s data is length. This tutorial has explained the method for designing the scrollable table with the help of HTML and CSS.