This post enlightens on how to style images in CSS. In this guide, you will go through the following:
- How to make circled images
- How to make rounded corner images
- How to make responsive images
- How to center images
- How to make transparent images
- How to place text on images
- How to add filter to images
- How to make hover overlay on images
- How to flip images
Let’s get started.
How to make circled images
For the purpose of making your images appear as circles, use the CSS border-radius property. Below we have presented you with an example of a circled image.
HTML
Here we have simply added an image in the src attribute of the <img> tag.
CSS
border-radius: 50%;
width: 200px;
height: 200px;
}
Setting the border-radius to 50% we are making the image a circle. You can change the value if you wish to make it an oval or less rounded.
Output
The image was circled successfully.
How to make rounded corner images
The CSS border-radius property can also be used to make the corner of images rounded, here is how you do it.
CSS
border-radius: 10px;
width: 200px;
height: 200px;
}
Here we are giving the border-radius value in pixels to make the corners rounded.
Output
The corners of the image have been rounded.
How to make responsive images
Images that are responsive adjust their size according to the browser window. The below-mentioned example demonstrates how to do it.
HTML
In the above code, we have simply added an image.
CSS
max-width: 100%;
height: auto;
}
To make the image responsive, set the max-width to 100% and height to auto.
Output
The image is changing its width according to the size of the browser window.
How to center images
To place an image in the center, display it as a block-level element and set its margins to auto. Consider the example below.
CSS
display: block;
margin-left: auto;
margin-right: auto;
width: 300PX;
}
To center an image we are simply displaying it as a block-level element and setting its right and left margins to auto.
Output
The image has been center aligned.
How to make transparent images
If you wish to make your images transparent then use the CSS opacity property. The lesser the value of the opacity property, the more the transparency of the image.
CSS
opacity: 0.3;
width: 300px;
}
In the above code, the opacity of the image was set to 0.3.
Output
The image was made transparent successfully.
How to place text on images
Use the CSS position property to place text on certain positions on the images. The various positions that you can place the text on the image are as follows.
- Top left
- Bottom left
- Center
- Top right
- Bottom right
Here we have demonstrated with the help of an example.
HTML
In the above code, we have created a div container and placed the image and another div container inside it.
CSS
position: relative;
}
.topleft {
position: absolute;
top: 5px;
left: 5px;
font-size: 20px;
font-style: italic;
}
img {
width: 400px;
opacity: 0.5;
}
The first div has been given a relative position so that the second div that holds the text can be placed inside it. Using the topleft class we are assigning the second div an absolute position and giving it some length from top and left, moreover, giving certain font size and style to the text.
Output
The text has been added on the image at the top left position.
How to add filters to images
For the purpose of adding filter to images such as blurriness or saturation, use the filter property. Consult the example below:
CSS
width: 300px;
}
.invert {
filter: invert(100%);
}
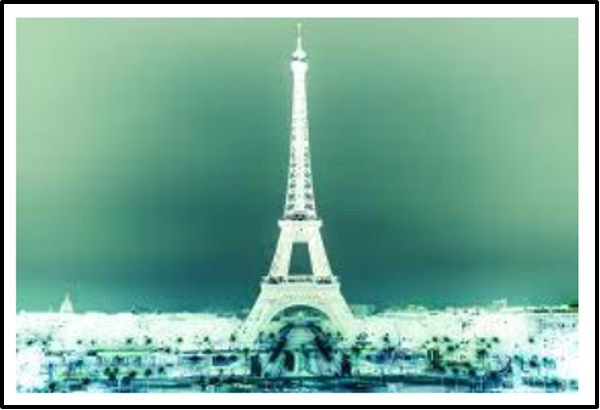
Here we are using the invert() method on the filter property to add visual effects to the image.
Output
Visual effects were added successfully to the image.
Some other methods that you can use on the filter property to add various visual effects are:
- blur(),
- contrast(),
- brightness(),
- grayscale(),
- saturate(),
- opacity(), etc.
How to flip images
Flipping an image when the user brings the mouse over it can be an interesting thing to do. In order to do this, use the CSS transform property.
CSS
transform: scaleY(-1);
width: 300px;
}
Here we are flipping the image along the Y-axis using the scaleY() method of transform property.
Output
The image was flipped across the y-axis.
Conclusion
Styling images that appear on your website is highly important and this can be done using various CSS properties. Multiple things that you can do to style your images is that make them a circle, make their corners rounded, or make them a thumbnail. Moreover, you can make your images responsive, or add text or certain visual effects on them. In this post, we have shown many ways in which you can style your images using CSS, along with relevant examples.

