This write-up will illustrate the method to style headings by adding the base style in Tailwind.
How to Style Headings Using Base Style Tailwind?
To style headings in Tailwind, check out the given-provided steps:
- Open the CSS file of the project.
- In the CSS file, add the base style to the headings using the “@layer” directive under the “@tailwind base;” directive.
- Make an HTML program and use heading elements in it.
- Run the HTML program and verify the output.
Step 1: Add base Style to Headings in CSS File
First, open the “style.css” file and add the base style to the headings in it using the “@layer” directive. For instance, we have added the base style to the following headings:
@layer base {
h1 {
@apply text-6xl;
}
h2 {
@apply text-5xl;
}
h3 {
@apply text-4xl;
}
h4 {
@apply text-3xl;
}
h5 {
@apply text-2xl;
}
}
@tailwind components;
@tailwind utilities;
Here:
- “@layer base { … }” defines a new base layer and contains the styles for the heading components.
- “h1 { @apply text-6xl; }” applies the “text-6xl” utility class to the “h1” elements.
- Similarly, “h2”, “h3”, “h4”, and “h5” elements have their font sizes set using “@apply” and respective utility classes (text-5xl, text-4xl, text-3xl, and text-2xl).
Step 2: Create HTML Web Page Using Headings
Then, make the HTML program and use the heading elements in it. Here, we have used the following heading elements:
Step 3: Run HTML Program
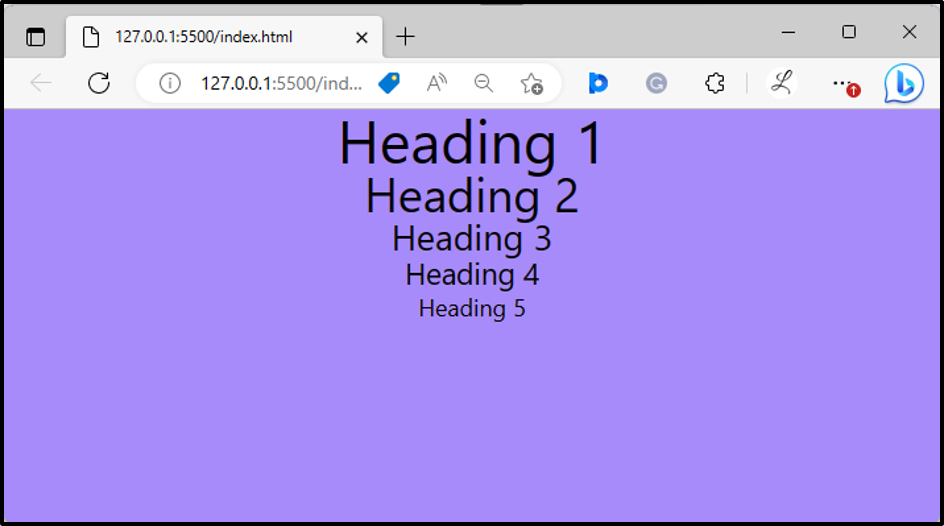
Finally, run the HTML program and view the web page for verification:
The above output has displayed the headings as they were styles in the CSS file.
Conclusion
To style headings in Tailwind, open the CSS file, and add the base style to the headings using the “@layer” directive under the “@tailwind base;” directive. Then, make an HTML program and use heading elements in it. Lastly, view the HTML web page to verify the output. This write-up has explained the method to style headings by adding the base style in Tailwind.

