This article will illustrate the following content:
What are the Steps for Installing Home Assistant Container Using Docker?
To install the Home Assistant container using Docker, follow the below-provided steps:
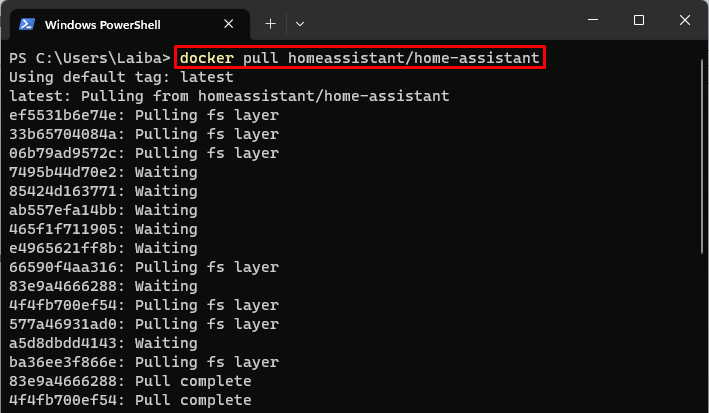
- Pull the Home Assistant image using the “docker pull homeassistant/home-assistant” command.
- Run the Home Assistant container via the “docker run –name <cont-name> -p <port-no> -d <image-name>” command.
- Verify the running container.
- Access the Home Assistant Web Interface.
Step 1: Pull Home Assistant Image
First, pull the official Home Assistant image from the Docker Hub using the below-stated command:
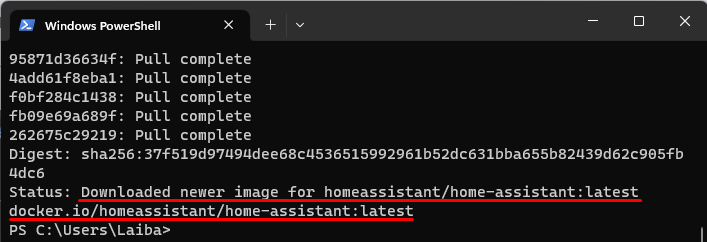
It can be observed that the Home Assistant image has been downloaded successfully.
Step 2: Run Home Assistant Container
Then, execute the “docker run –name <cont-name> -p <port-no> -d <image-name>” command to run the home assistant container using the Home Assistant image:
Here:
- The “–name” option is used to define the container name which is “home-assist” in our case.
- The “-p” flag is utilized to assign the port. For instance, we have assigned the “8123:8123” port.
- The “-d” option is used to run the container in detached mode.
- The “homeassistant/home-assistant” is the Docker image to use:
This command has started a new container named “home-assist” running the official Home Assistant image in detached mode.
Step 3: Verification
To verify whether the Home Assistant container is started and running, execute the provided command:
The “home-assist” container has been successfully started and running.
Step 4: Access Web Interface of Home Assistant
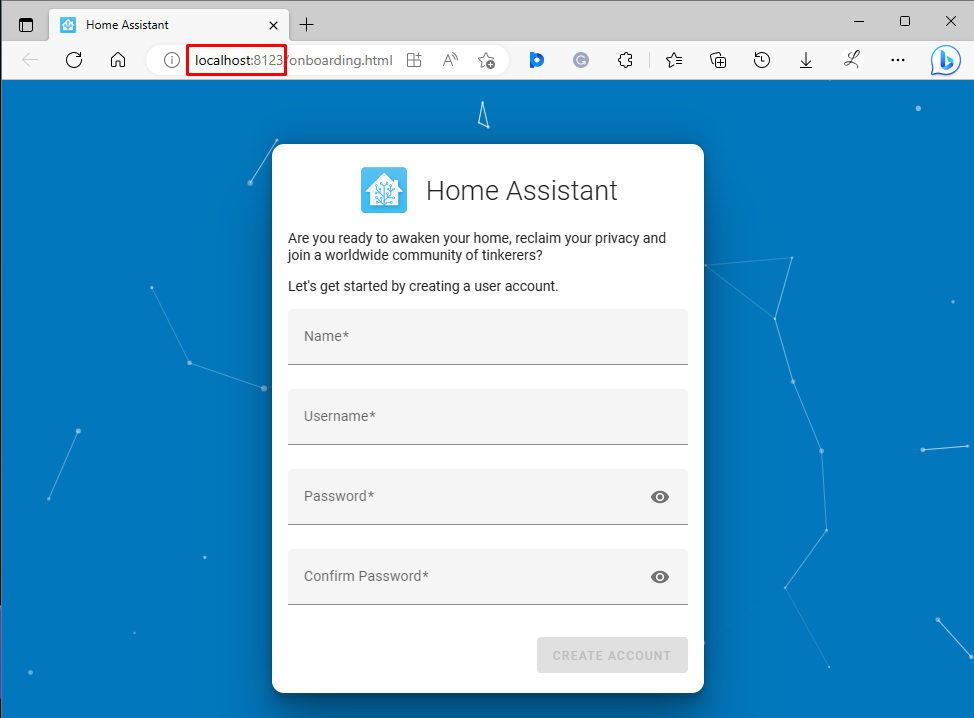
Finally, navigate to the allocated port and access the Home Assistant web interface on the browser:
We have successfully installed the Home Assistant container using Docker.
What are the Steps for Updating Home Assistant Container Using Docker?
To update the Home Assistant container using Docker, check out the following steps:
- Pull the latest Home Assistant image using the “docker pull homeassistant/home-assistant” command.
- Stop the running container.
- Remove the old container.
- Start the container again with the updated version using the “docker run –name <cont-name> -p <port-no> -d <image-name>” command.
Step 1: Pull the Latest Home Assistant Image
Pull the latest Home Assistant Image from Docker Hub using the given-provided command:
The above output indicates that the Home Assistant image is already up to date.
Step 2: Stop Old Running Container
Then, stop the old running container using the “docker stop” command along with the container name:
This command has stopped the running container.
Step 3: Remove Old Container
Next, use the “docker rm” command to remove the old container.
This command has removed the “home-assist” container.
Step 4: Start New Home Assistant Container
Now, start a new Home Assistant container using the same “docker run” command that you used above to start the original container:
This command starts a new container with the updated version of Home Assistant using the same configuration as the original container.
Conclusion
To install the Home Assistant container using Docker, first, pull the Home Assistant Image using the “docker pull homeassistant/home-assistant” command. Then, run Home Assistant Container via the “docker run –name <cont-name> -p <port-no> -d <image-name>” command. Next, verify the running container and access the Home Assistant Web Interface. To update the Home Assistant container, pull the latest image. Then, stop and remove the old container. Finally, run the updated version of the Home Assistant container. This article has explained the steps to install and update the Home Assistant container.


