This post explains the “Tailwind CLI” build process in detail.
How to Start the Tailwind CLI Build Process?
To start the CLI build process, run the “npx” command that initializes the project’s main CSS file and redirects it to the newly created CSS file. It is considered the fastest way to use the Tailwind CSS from scratch and implement it on the content.
This section carries out some essential steps to start the “Tailwind CSS” build process from CLI.
Step 1: Install “TailwindCSS”
First, open up the “Terminal” and install the “Tailwind CSS” using the “npm(node package manager)” with the help of the following command:
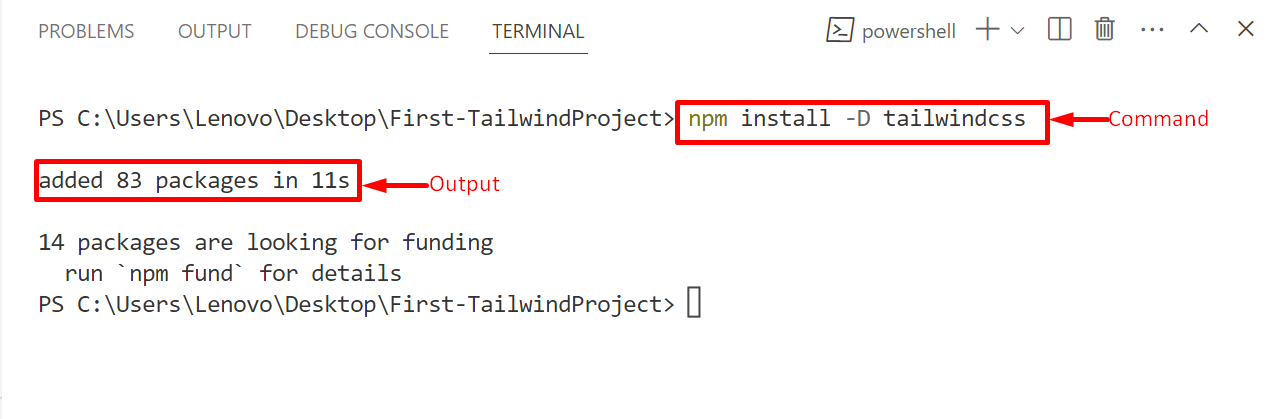
The output shows that “Tailwind CSS” is installed successfully.
Step 2: Create Configuration File
Next, create the mandatory “tailwind.config.js” file via the “npx(node package executer)”. It specifies the custom CSS and the template paths on which the user wants to apply Tailwind CSS:

As seen, the “tailwind.config.js” file is created.
Step 3: Set Template Configuration Path
Open the “tailwind.config.js” file and specify the template path in the “content” section. In this case, the HTML template is specified with the “./(dot followed by a forward slash)” because it is present in the current directory “First-TailwindProject”:
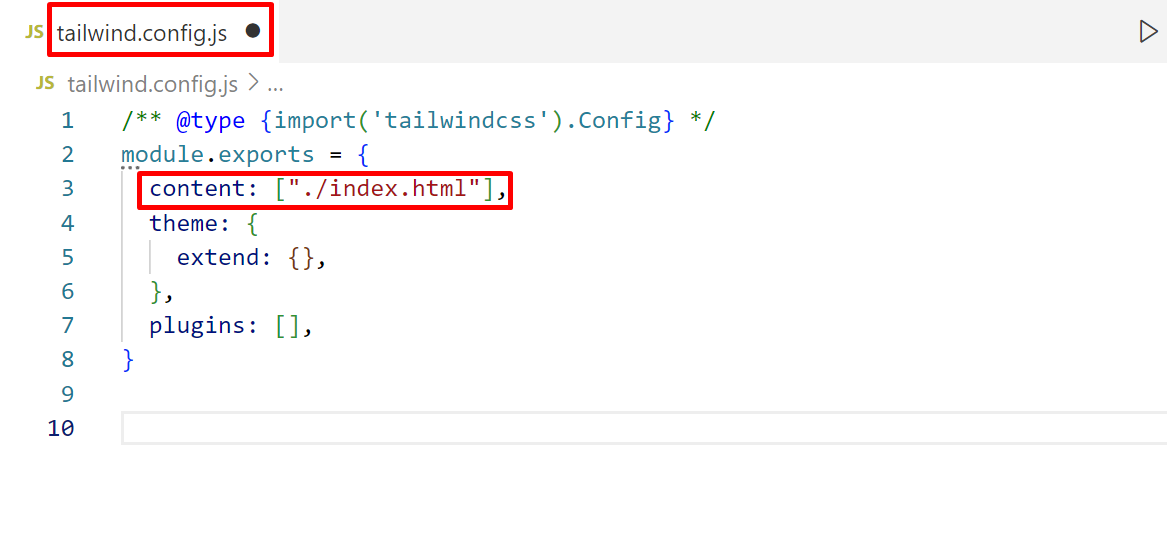
Press “Ctrl+S” to save the new changes in the file.
Step 4: Apply Predefined Tailwind Directives to CSS
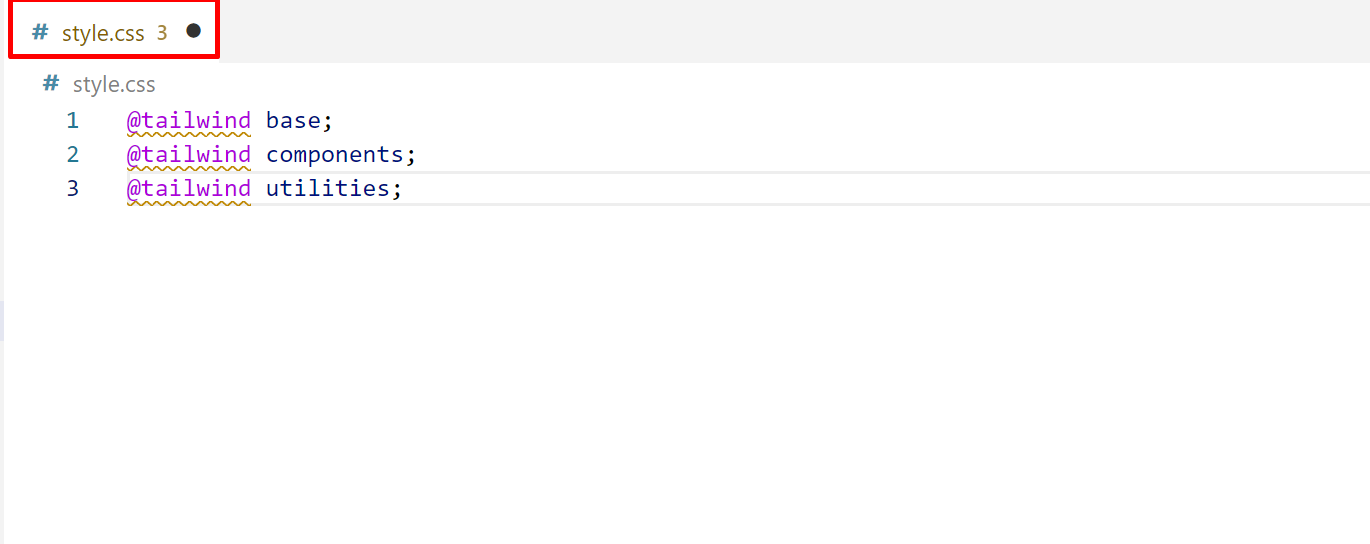
Now, create a “style.css” file, and add the predefined tailwind layers with the “@tailwind” directives in it. It will add the special functionalities based on the specified template:
@tailwind components;
@tailwind utilities;
In the above code block:
- base: It is the first layer of Tailwind CSS that modifies the web page styling by default like background color, text color, or font family.
- components: This second layer is available inside the “container” class that adds the width according to the browser size. In its section, the user can add their own created external components.
- utilities: It is the third layer that adds up almost all the styling classes such as shadows, colors, adding, flex, and many other classes.
These three built-in layers can be seen in the following image:
Press “Ctrl+S” to save this file.
Step 5: Start the Tailwind CLI Build Process
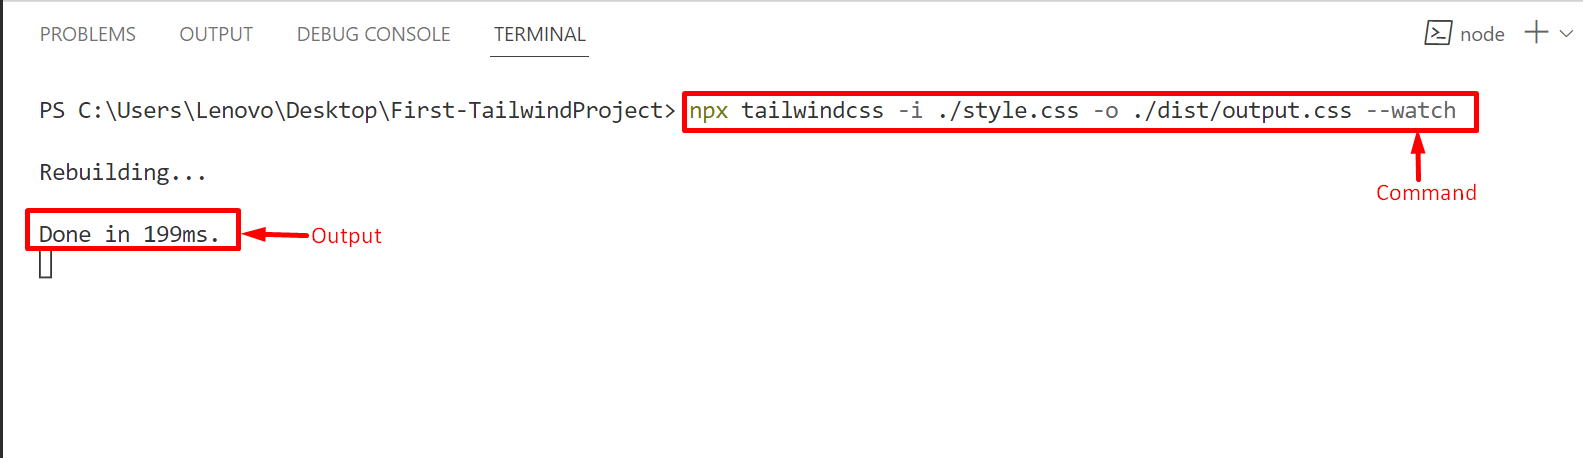
Now, build the “Tailwind CSS” with the help of “Tailwind CLI” to run all the defined CSS files:
In the above command:
- The “i” flag initializes the “style.css” file present in the current directory.
- The “-o” (redirect) flag denotes the “output.css” file which is automatically created with the Tailwind CSS classes after executing this command.
- The “watch” command watches the file continuously and rebuilds it in case of new changes.
Below is the above-executed command:
Drawback: The above build process must be performed for every change in the specified file.
Solution: A better solution to manage the above-given command is to add it to the “package.json” script section. It helps in building the CSS files automatically for each application:
"build": "npx tailwindcss -i ./style.css -o ./dist/output.css --watch"
},
It confirms that Tailwind generates the required essential CSS files at the build process.
Step 6: Apply Tailwind CSS to Your HTML Template
Now, apply the “Tailwind CSS” to the existing or newly created HTML file. In this scenario, the following “index.html” file is customized which is specified in the “tailwind.config.js” configuration file:
<link href="/dist/output.css" rel="stylesheet">
</head>
<body>
<h1 class="text-2xl font-bold text-center text-white bg-orange-500">Linuxhint Website!</h1><br>
<h2 class="text-center text-pink-500">Tutorial: Tailwind CLI build process.</h2>
</body>
According to the above code block:
- The “head” section links the compiled CSS file with this HTML file via the “<link>” tag.
- Next, the “body” section first defines the main heading of level 1 using the “<h1>” tag. This heading is styled using the Tailwind classes “Text Size” to set its size, “Font Weight” to “bold” the text, “Text Align” to set its alignment at “center”, “Text Color” to add the specified color, and the “Background Color” to apply the given background color, respectively.
- Next, the“<h2>” tag only applies the “Text Align” and the “Text Color” class to style it.
Output
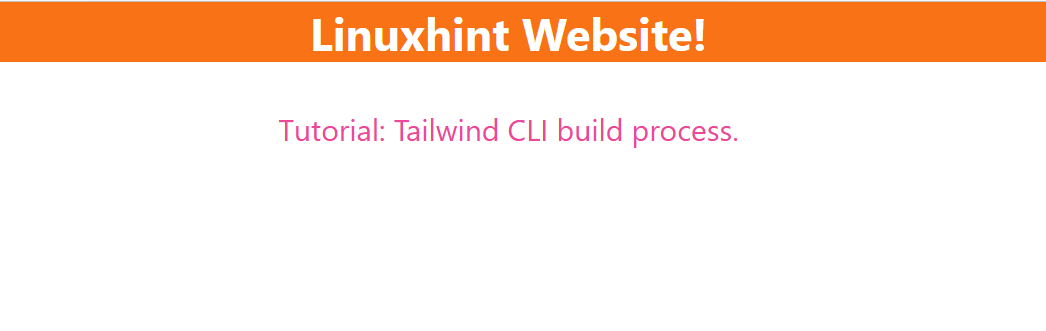
The output displays the customized HTML content with the help of Tailwind CSS.
Conclusion
“Tailwind CSS” allows the user to build the CSS files for the created templates to style their content. The build process can be done with the help of the “CLI (Command Line Interface)” tool using the “npx (node package executor)” command and by specifying this command in the “script” section of the “pacakge.json” file. This guide explained to start the Tailwind CLI build process in detail.