In this manual, we will learn the procedure to show and hide the div with the “transition” property of CSS.
How to Show and Hide a Div with Transition in CSS?
The CSS “transition” property makes it easy to change the property’s value based on a specific period. It can be a floating or active element, depending on its state. Moreover, the transition property of CSS is used to show and hide the div in HTML.
Now, let’s move on to the syntax of the transition property.
Syntax
There are two things you need to specify when creating a transition effect:
Basically, “transition” is a shorthand property consisting of four other properties, which are given below:
transition-timing-function transition-delay
Here is the description of the mentioned properties:
- transition-property: It is utilized to set the transition to any CSS property. Such as width, height, opacity, and many more.
- transition-duration: It is used to specify the duration of the transition.
- transition-timing-function: It is utilized to set the speed of the transition.
- transition-delay: It specifies the time when the transition starts or delays.
Let’s take an example in which we will show and hide the div with the “transition” property of CSS. For this purpose, first, we create a “div” and an input type “checkbox”.
Step 1: Create and Style Div
Within the <center> tag, we will add a label using the <label> tag and add an input type as “checkbox”. After that, create a div and close the </center> tag.
HTML
<label>Show the Div</label><input type="checkbox">
<div>Hidden Div</div>
</center>
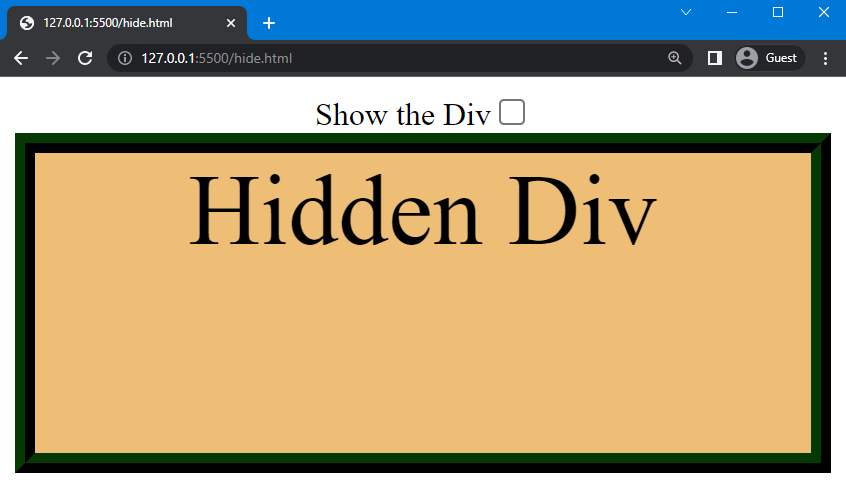
Hereafter, we will style the div by using the background-color property and set the color of the background as “rgb(238, 190, 118)”. We will set the height of the div as “150px” and adjust the border around it as “10px”, “ridge”, and “rgb(6, 56, 2)”. In the end, we will specify the font-size as “50px”.
CSS
background-color: rgb(238, 190, 118);
height: 150px;
border: 10px ridge rgb(6, 56, 2);
font-size: 50px;
}
The output of the above-described code is given below. Here, you can see that the div and checkbox are successfully created:
Now, move to the next step in which we hide and show the div using the transition property.
Step 2: Show and Hide a Div With Transition
To do this, we will set the transition effect by setting “opacity”, its duration as “2s”, and the value of opacity as “0” in the div class we created in the CSS:
opacity: 0;
Note: We will apply the transition on “opacity” property to set the transparency of the element. Here, we will specify its value as “0”, which means when the transition starts, the div will be hidden for two seconds.
After setting the transition values, we will use “input” to access the input type created in the HTML file and set the pseudo-class of the input element as “:checked”. Then, we will access the created div, and the “+” operator will be used to associate the checkbox with the div. Thus, when an operation is performed on the checkbox, its usage will affect the div. Next, we will set the opacity value as “1”:
opacity: 1
}
Note: We will specify the opacity value as “1”, which means that when the checkbox is marked, the created div will be shown. Moreover, unmark it to hide the div
As you can see, the div is shown and hidden using the “transition” property and “:checked” pseudo-class element:
We have explained the method to hide and show a div with transition property in CSS.
Conclusion
To show and hide a div, the “transition” property and “:checked” pseudo-class element is used in such a way that the value of div opacity is set as “0”, and in :checked pseudo-class element, set opacity as “1”. When the user clicks on the checkbox, the div will be displayed, and when it becomes unchecked, the div will hide. In this manual, we have described the method to hide and show div by using the transition property.


