Let us get started.
Requirements
To set up a complete Kali Linux mirror, you will need to have a few resources. These include:
- An accessible web server with HTTP and HTTPs access
- A large disk space—As of writing this, according to Kali Linux maintainers, the Kali Linux package repository is 1.1 TB and growing fast
- HTTP and RSYNC services installed and running on the system
Set up a User for Kali Linux mirror
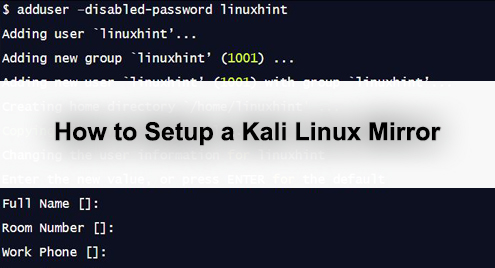
The first step is to set up a full account dedicated to kali Linux mirrors only. Use the adduser command:
Adding user `linuxhint’...
Adding new group `linuxhint’ (1001) ...
Adding new user `linuxhint’ (1001) with group `linuxhint’...
Creating home directory `/home/linuxhint' ...
Copying files from `/etc/skel' ...
Changing the user information for linuxhint
Enter the new value, or press ENTER for the default
Full Name []:
Room Number []:
Work Phone []:
Home Phone []:
Other []:
Is the information correct? [Y/n] y
Set up Mirror Directories
Next, we need to set up the directories that contain the mirrors and assign permissions to the user we’ve created.
chown linuxhint:linuxhint /srv/mirrors/kali{,-images}
The commands above will create the directories kali and kali-images and set ownership to the user we created earlier.
Set up rsync
The next step involves starting and configuring rsync service. Export the directories using the command:
# nano /etc/rsyncd.conf
# cat /etc/rsyncd.conf
uid = nobody
gid = nogroup
max connections = 25
socket options = SO_KEEPALIVE
[kali]
path = /srv/mirrors/kali
read only = true
[kali-images]
path = /srv/mirrors/kali-images
read only = true
# service rsync start
Starting rsync daemon: rsync.
Configuring your Mirrors
Next, we need to export the mirrors under http://domain.com/kali and http://domain.com/kali-images
We start by downloading and unarchiving the http://archive.kali.org/ftpsync.tar.gz archive in the user’s directory created earlier.
# wget http://archive.kali.org/ftpsync.tar.gz
# tar zxf ftpsync.tar.gz
Next set up the configuration file.
cp etc/ftpsync.conf.sample etc/ftpsync-kali.conf
nano etc/ftpsync-kali.conf
grep -E '^[^#]' etc/ftpsync-kali.conf
MIRRORNAME=`hostname -f`
TO="/srv/mirrors/kali/"
RSYNC_PATH="kali"
RSYNC_HOST=archive.kali.org
Configuring SSH Access
The final step is to configure SSH authorized keys for archive.kali.org to trigger the mirror.
chown 700 /home/linuxhint/.ssh
wget –O- -q http://archive.kali.org/pushmirror.pub >> /home/linuxhint/.ssh/authorized_keys
chown 644 /home/linuxhint/authorized_keys
Contacting Kali.org
Once you have finished setting up your system, send an email to [email protected] providing all details for your mirrors, including the user, the port to access the SSH service, and public hostname. You should also state who Kali should contact in case of problems and if any changes should get applied according to the mirror setup.
From there, all you have to do is wait for the first push from archive.kali.org.