We cover one such platform that emulates web-server-like environments on a local system, i.e., XAMPP/LAMPP. There is numerous other software available as well, but XAMPP takes the lead due to the offered features. XAMPP provides an appropriate testing environment that facilitates and speeds up the developmental process. This tutorial will learn to install, configure, and use XAMPP/LAMP on a Linux system.
What is XAMPP?
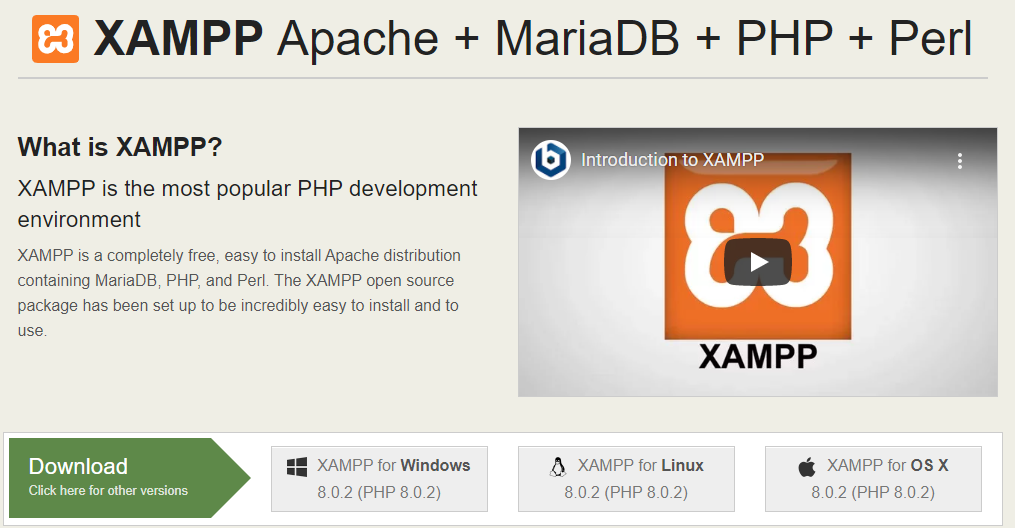
XAMPP is a software package that contains Apache HTTP server, PHP, MariaDB/MySQL, and Perl. Since it’s cross-platform, we can use it on Windows, Linux, and Mac, as well. XAMPP for Linux is called LAMPP. This package, created by apache friends, offers services as a local host or local server.
Besides, aforementioned tools, the latest versions of XAMPP include additional tools useful for database administration such as PhPmyAdmin, mail server Mercury, FileZilla FTP server, OpenSSL, etc.
All it requires is to download the software and test clients or websites before the deployment.
Installing and Setting up XAMPP on your PC
The installation process of XAMPP is effortless and swift. Once installed, it behaves as a localhost/server that verifies websites before uploading them to the webserver. Hence, the XAMPP software provides a befitting environment to evaluate MySQL, Apache, Perl, and PHP applications on a local system.
Step One: Getting Started
Before plunging into the steps required to set it up on your system, download the latest version of the XAMPP installer from https://www.apachefriends.org/index.html.
For this tutorial, we will be using the latest release of the XAMPP installer that is xampp-linux-x64-8.0.2-0-installer.run.
Step Two: Turn the Installer File into an Executable
Now convert the installation package into an executable file. Move to your ‘Downloads’ directory and type the following command to assign relevant permissions:
For the latest version, we will be using:
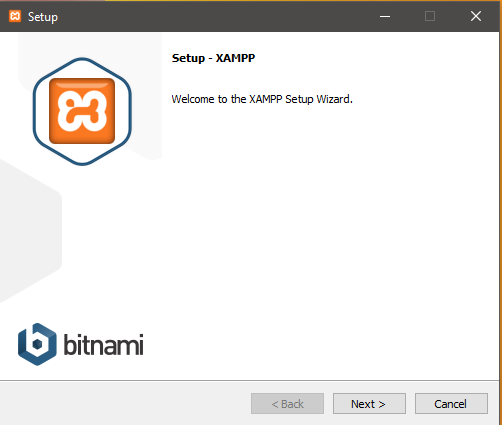
Step Three: Launch the Wizard
Now Launch the wizard to proceed further with the installation process. With superuser privileges, run the following command to launch the graphical wizard.
For the latest package, it appears as follows:
The above command will output the following screen:
Step Four: Initiate the installation
Click Next to initiate the installation process. Keep the default setting intact where it recommends choosing the desired software. Keep clicking Next until it reaches this point.
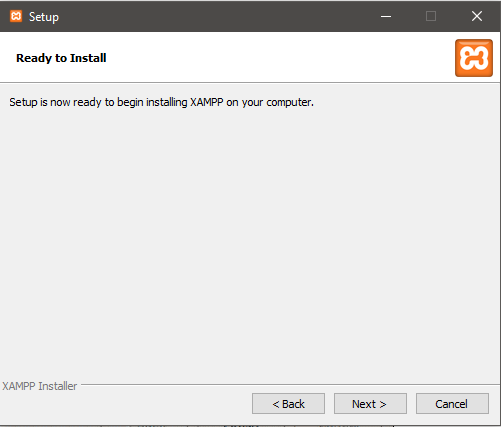
Here it’s all set to install the XAMPP on your machine. Click next to begin the installation process.
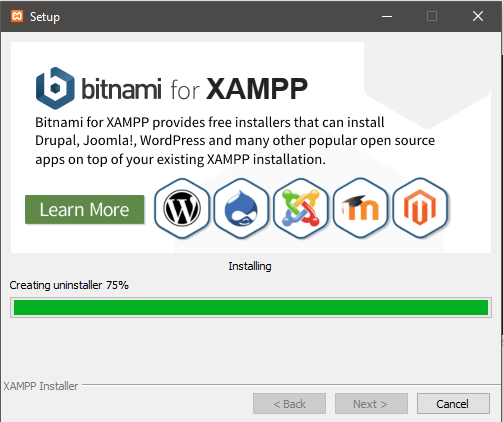
Lastly, click on the Finish button. Uncheck the launch Xampp option to disable the automatic launch of XAMPP.

Type the following command to start lampp daemon.
Now let’s explore the XAMPP package.
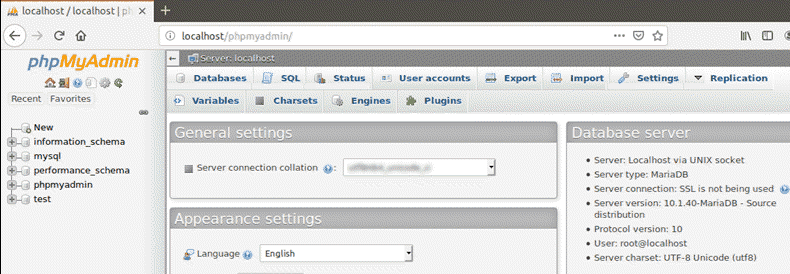
Step Five: Verify Your Installation
You can verify XAMPP installation in Linux to check desired functionality. Launch your favorite web-browser and type the following URL:
http://localhost/phpmyadmin
The following screen implies the successful XAMPP installation.
XAMPP Security Configuration
Since XAMPP is devoted to the developers to provide as much accessibility as possible to test their developments, it is not meant for production purposes. When used in production environments, it could be really fatal.
Let’s see a list of possibly missing security checks in XAMPP:
- MySQL and apache are run under the same user that is ‘nobody’.
- MySQL administrator(root) is not password protected.
- Any host can access MySQL daemon through the network.
- The Examples can be accessed through the network.
- ProFTPD protects the user ‘nobody’ under the password ‘lamp’, which is easy to guess.
- PhpMyAdmin can also be accessed via the network.
The lack of these minor security measures exhibits great vulnerabilities that can cause severe consequences. To avoid the issues mentioned above, XAMPP requires security configuration before launching in a sensitive environment.
Type the following command in the terminal to perform a quick security check and ensure secure XAMPP installation:
Uninstalling XAMPP
The XAMPP uninstallation is as simple as its installation process. From the Linux terminal, cd into the installed XAMPP directory /opt/lampp.
List ‘ls -a’ all the files of the directory to identify the uninstall program. Then run the “./uninstall” file with root privileges to uninstall XAMPP.
A dialogue box will prompt to confirm the requested changes. Select ‘Yes’ to continue uninstalling XAMPP and its modules; the process may take a while. Lastly, a dialogue box will appear to confirm the successful completion of the process.
Manual removal of the Lampp folder and subfolders is yet another important step. Type the following command:
You can also delete the installation packages from the system. Now all the XAMPP files and modules are removed from the system.
Conclusion
XAMPP/LAMP offers a handy environment for the developers to get their applications tested before getting them deployed to a remote professional server. It offers a quick debugging environment for non-production setup, which can be a security risk if exposed to the internet without taking precautions.