
But on Windows, one of the preferable ways to use Kali Linux is by running it on Windows’s built-in virtualization tool (HyperV). This can be possible through WSL(Windows Subsystem for Linux). Users can easily switch between Kali Linux and Windows.
This blog will demonstrate:
Prerequisites
To set up Kali Linux on Windows by using the WSL tool, the user must fulfill the following prerequisites:
- WSL: WSL enables us to run any Linux distribution on Windows. It is available in two versions “WSL1” and “WSL2”. However, to run Kali Linux, the preferable version is WSL2 as it uses Windows virtualization(HyperV).
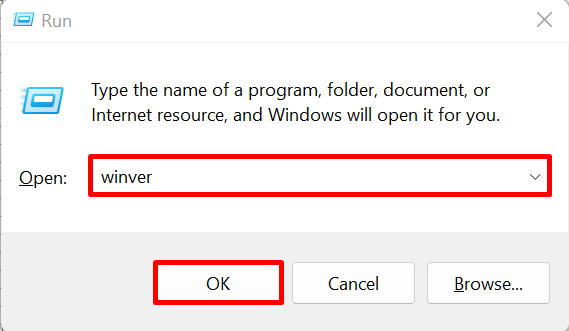
- Windows Version: To run and enable WSL on the system, the user must have at least Windows 10 version version 20H1 (Build: 19041, Version: 2004). However, a preferable version for Kali Linux is Windows 11. To check the Windows build, first, open the “Run” box using the “Window+R” key. Then, search for “winver”:
This will show the information about installed Windows and its version on the system:
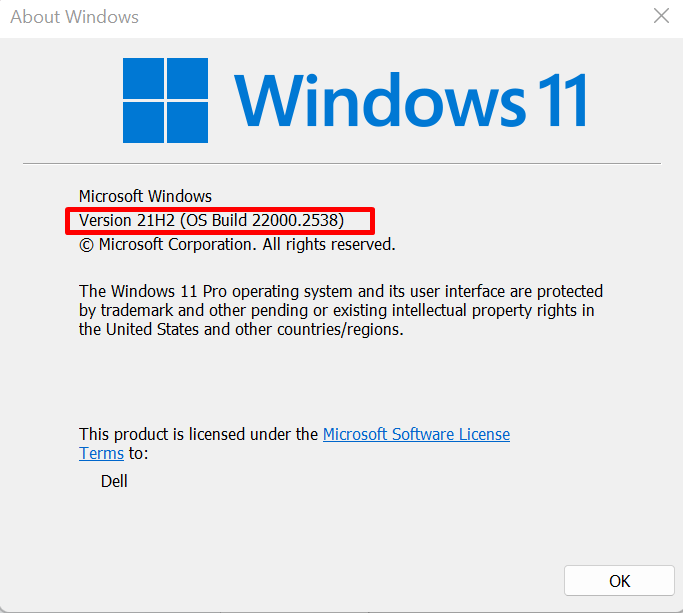
For this article, we are using Windows 11. But the procedure will be the same for both.
- Dism: The “dism.exe” is a Windows built-in utility used to service Windows desktop images. It repairs the Windows image and manages and operates Windows installation tools.
- PowerShell: It is a Windows built-in terminal and scripting program that is used to automate administrative tasks and run Windows commands.
Let’s move ahead toward the section below to install Kali on WSL.
How to Set Up Kali on WSL?
The WSL is referred to as the Windows Subsystem for Linux distributions. It enables us to run different Linux distros on Windows without creating virtual machines and hypervisor tools. To set up and install Kali on WSL, follow the given illustrations.
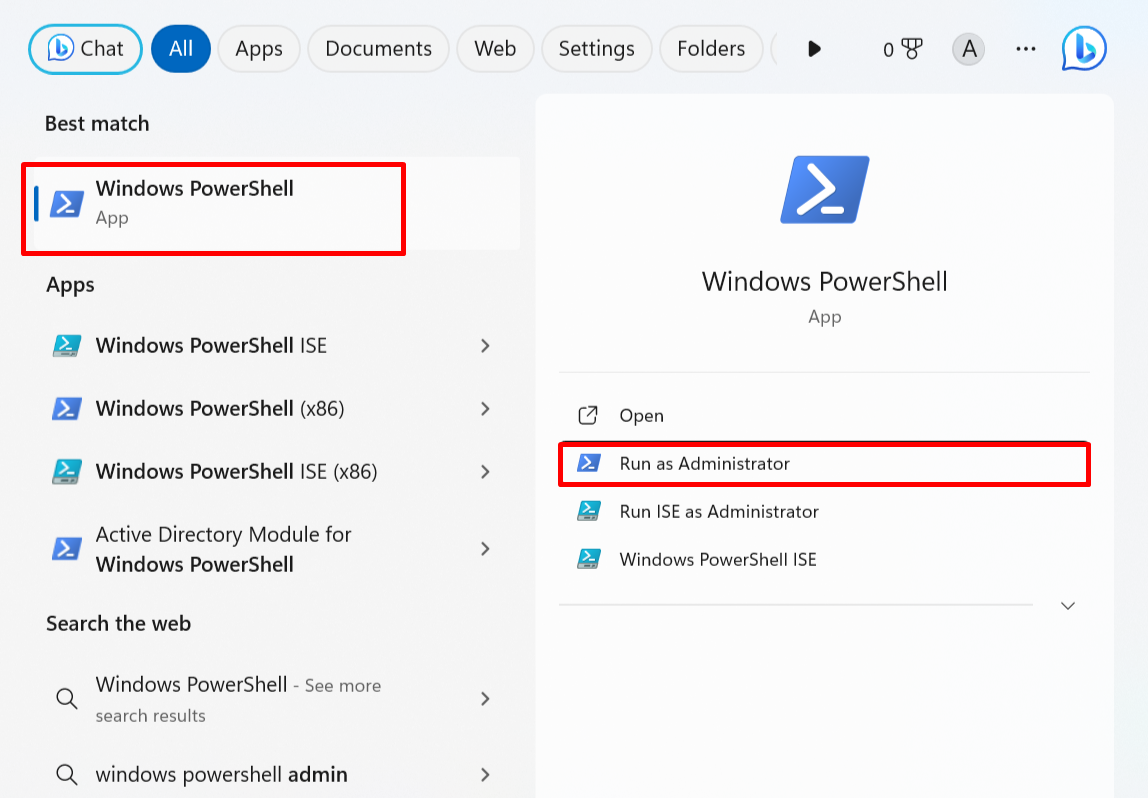
Step 1: Launch PowerShell
Open the Windows PowerShell with administrator right via the Start menu:
Step 2: Enable WSL
Now, enable the WSL tool from Windows features. For this purpose, run the “dism.exe” command to enable and install WSL on Windows:

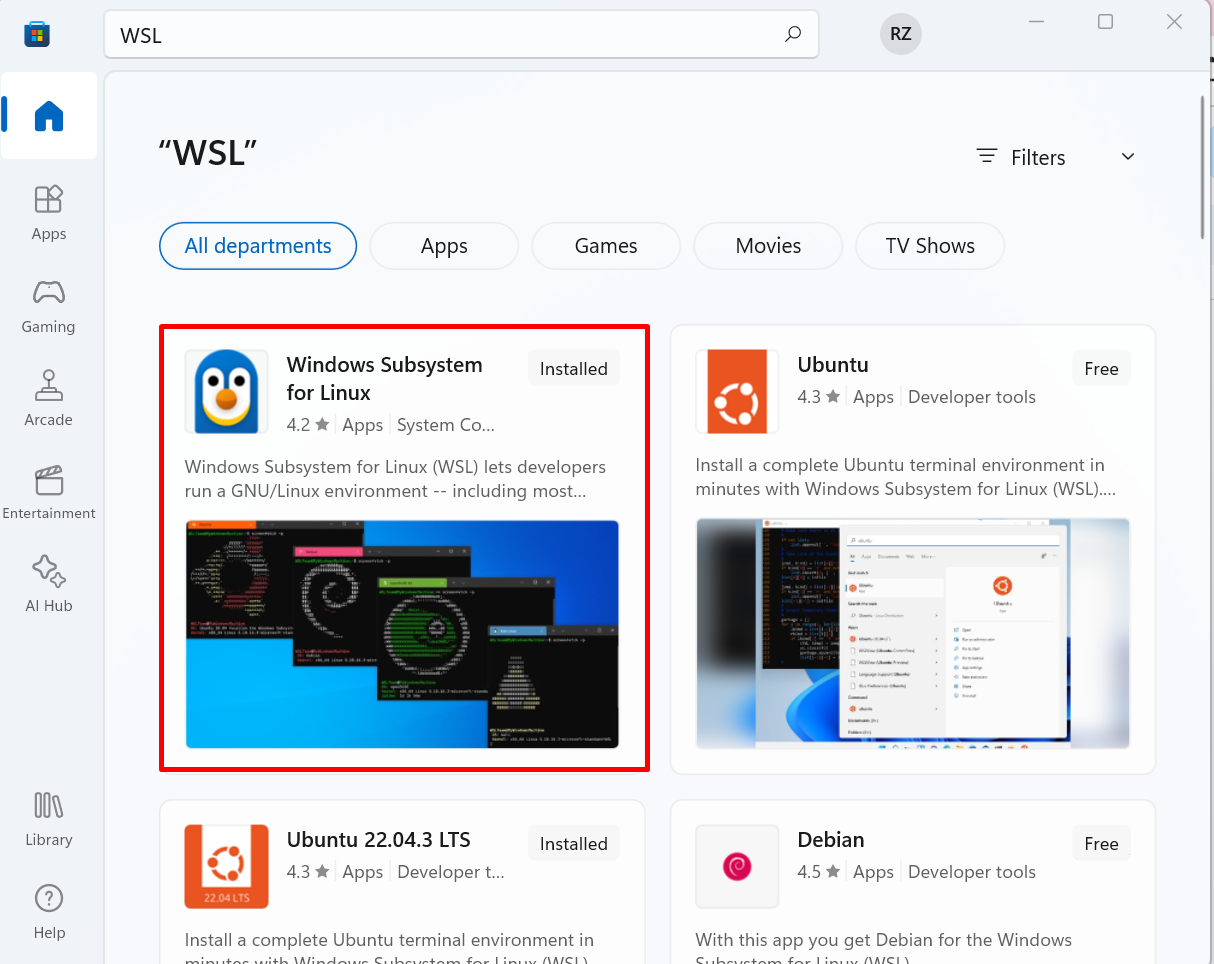
However, users can also install the WSL tool from the Microsoft Store:
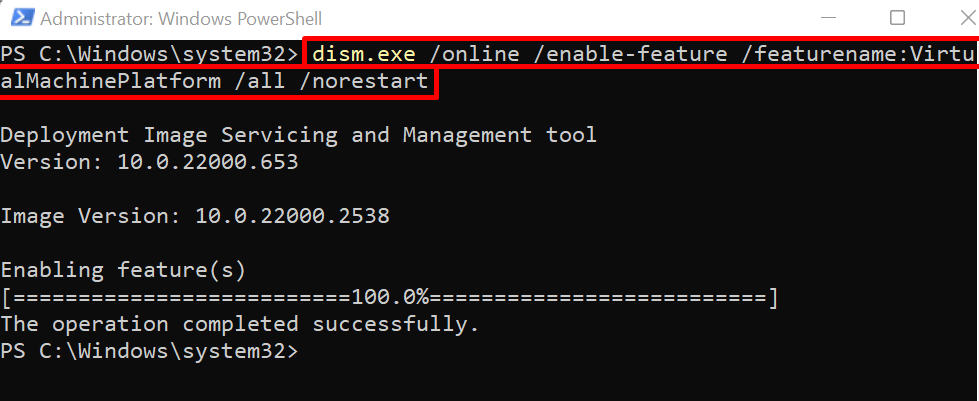
Step 3: Enable VirtualMachine Platform
In the next step, enable the VirtualMachine Platform tool using the below command. This will enable us to run the Kali on system virtualization:
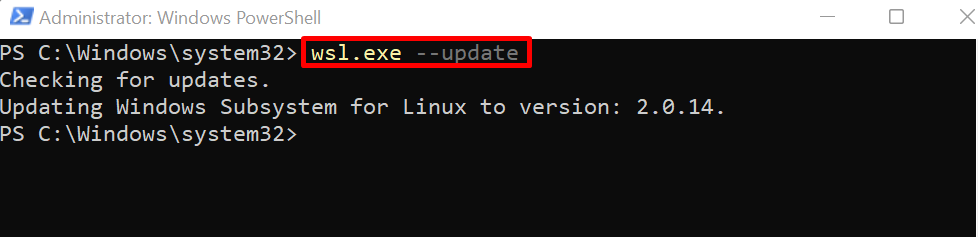
Step 4: Update WSL 1 to WSL 2
To run Kali Linux, the WSL 2 is the preferable version. Windows 10 by default has WSL 1. To update the default WSL version to WSL 2, run the below command:
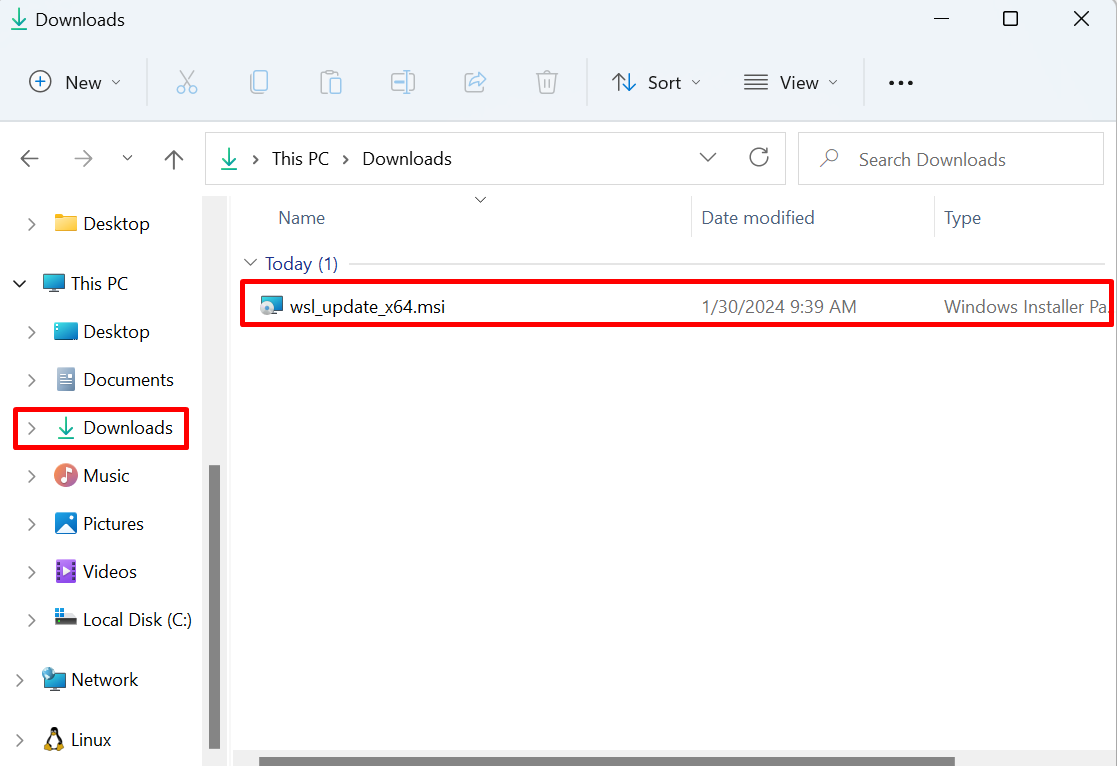
Some Windows 10 builds do not update the WSL version. To manually update the WSL version, download the “WSL Linux kernel update” package for Windows by clicking on the attached link.
After downloading the WSL kernel update msi file, open the “Downloads” directory and execute the file:
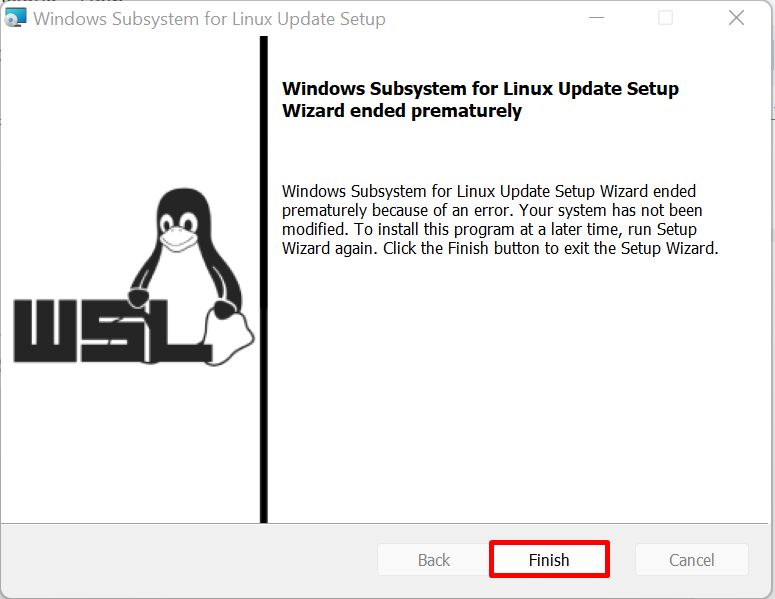
This will run the WSL update to update the version:
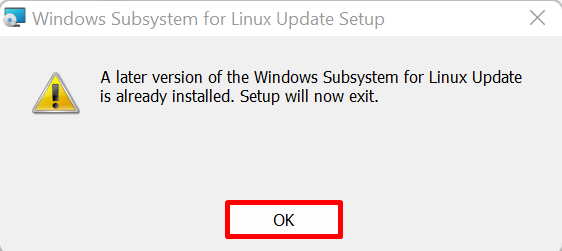
After updating the WSL version, press the “Finish” button. Ignore the error this is because we have already updated WSL2, and this setup does not execute any update:
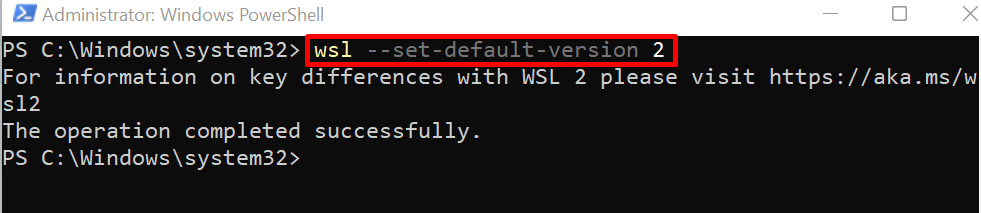
Step 5: Set WSL Default Version
Now, set the WSL default version as “2” using the below command:
After setting up WSL2 on the system, now you can install Kali Linux or any other Linux distro on the Windows subsystem.
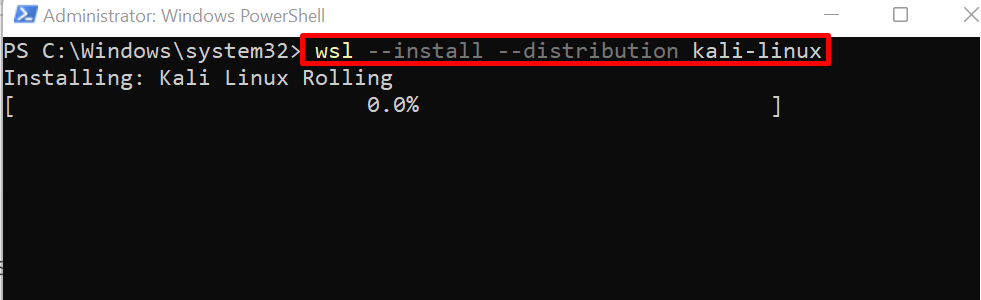
Step 6: Install Kali Linux
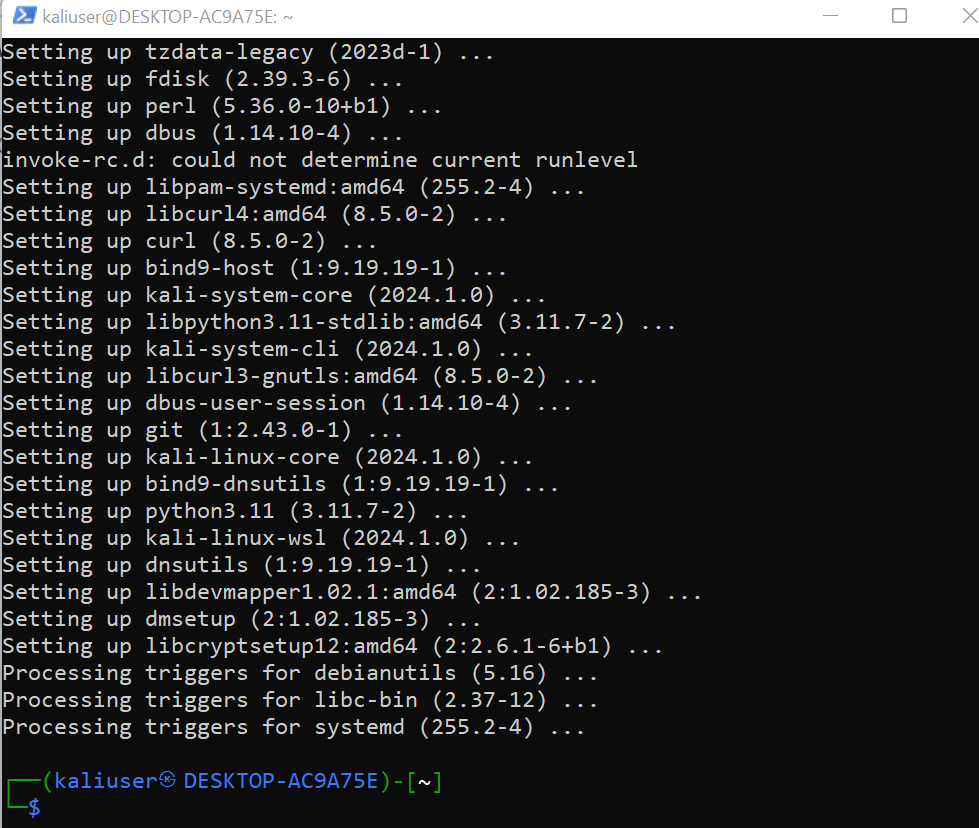
To install the Kali Linux distro using WSL, run the “wsl –install –distribution <distribution-name>” command. Here, the “–distribution” option is used to specify the distribution name. We have installed the “kali-linux” distribution on WSL2:
After completing the installation process, set the username and password for Kali Linux as shown below:
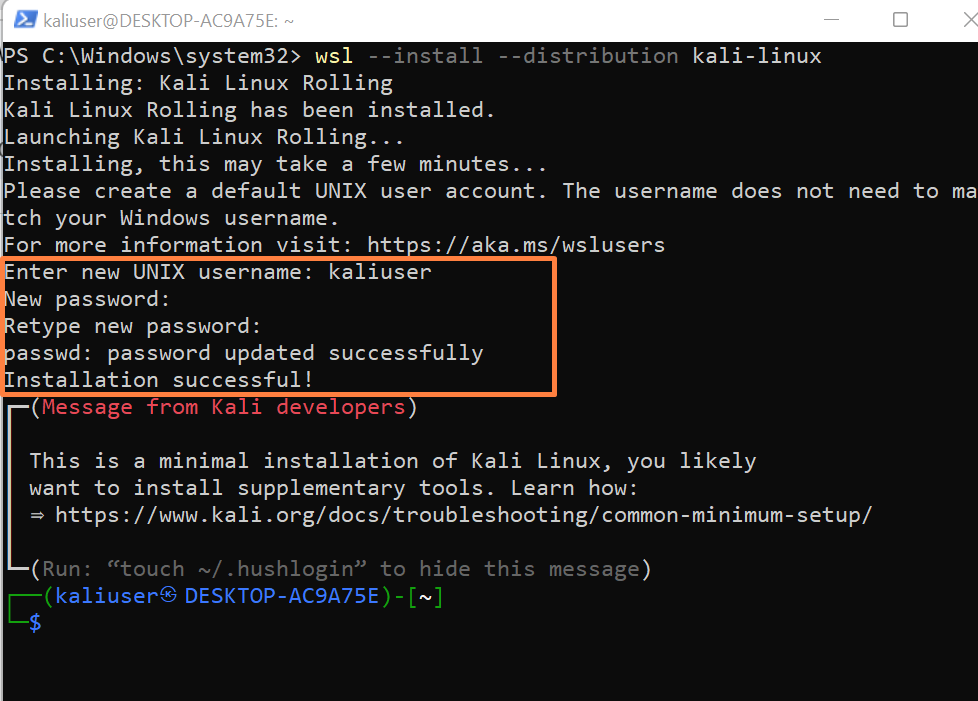
The above output shows that we have successfully installed the Kali Linux on WSL2.
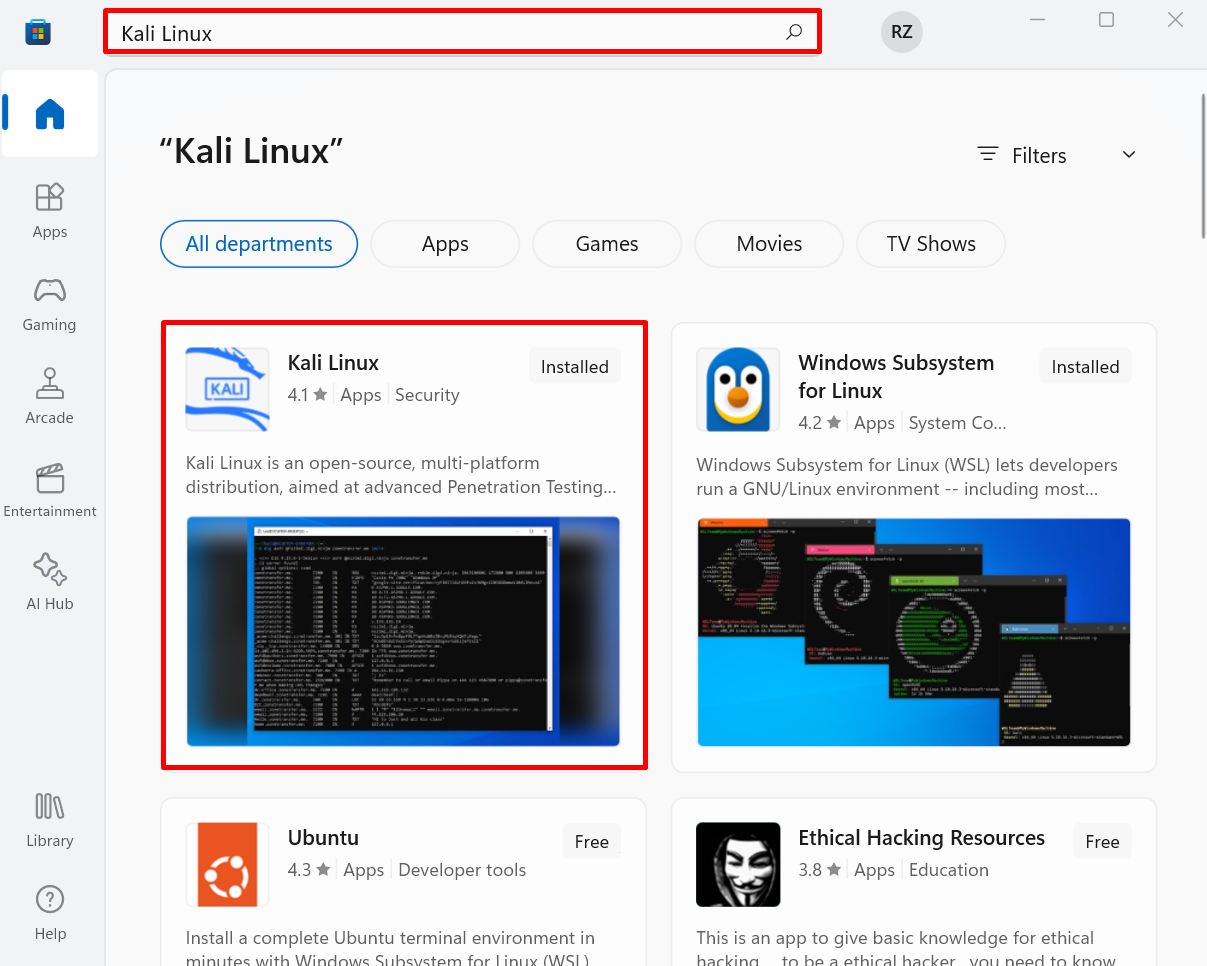
Alternatively, users can directly install the Kali Linux distribution from Microsoft’s official store:
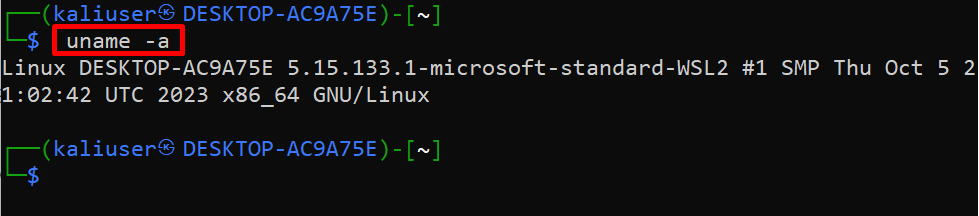
Step 7: Check Kernel Information
To check the information about Kali’s kernel, run the below command:
Step 8: Update the Kali’s Repository
To update the Kali’s repository, utilize the “apt update” command:
This will update the Kali Linux to the latest version:
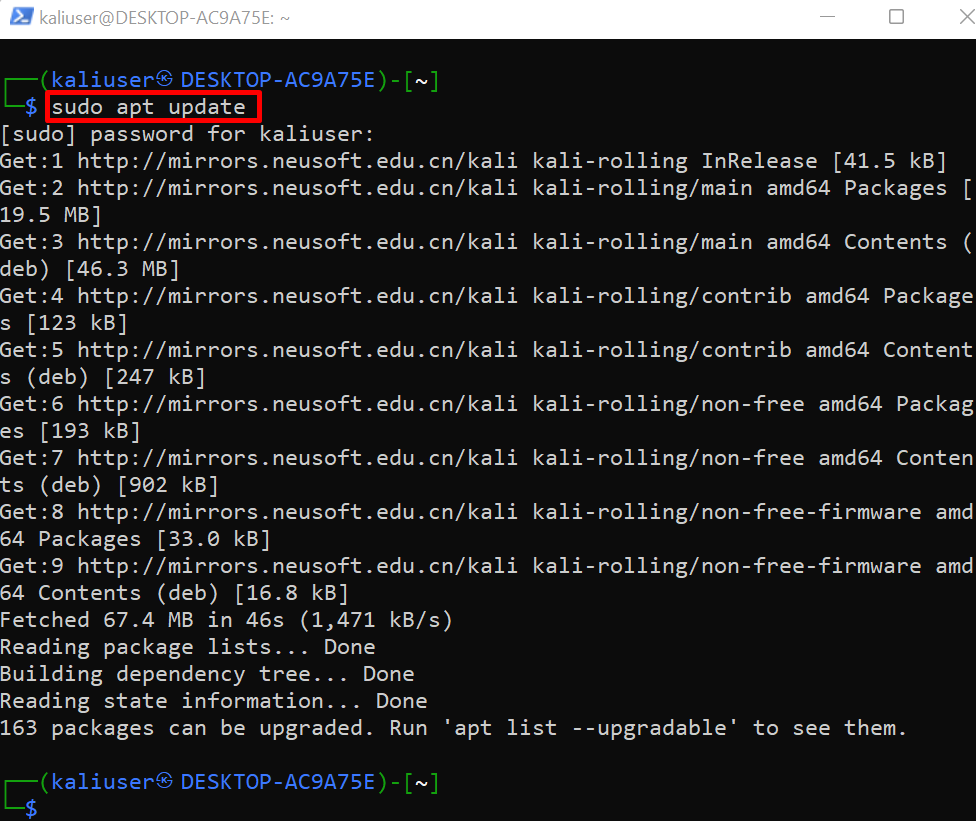
The above snap shows that “163” packages are required to be upgraded.
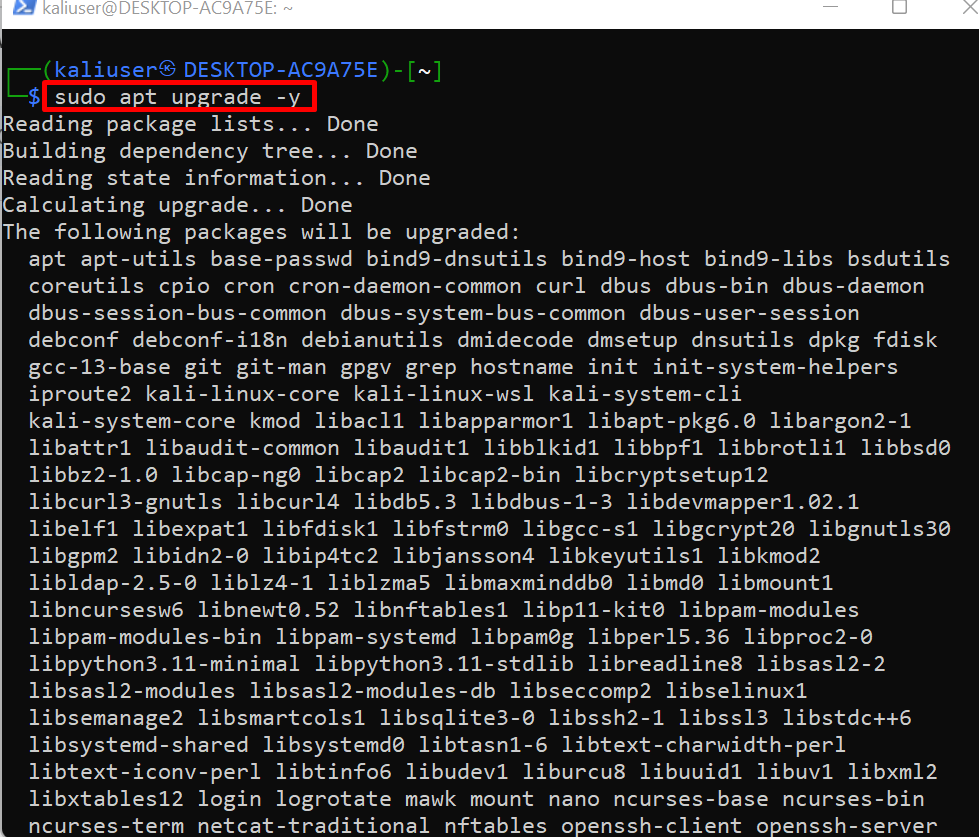
Step 9: Upgrade Kali’s Packages
To upgrade the Kali’s packages, execute the “apt upgrade” command with root user rights:
The operation may require additional disk space, to allow all permissions, the “-y” option is used:
We have effectively installed Kali Linux on WSL2. However, in order to use the Kali desktop on Windows, follow the below session.
How to Access Kali Desktop By Using KeX?
The Kali remote desktop can be accessed by connecting to the KeX server. To install Kali’s Windows KeX tool and run the server, follow the below steps:
Step 1: Launch Kali Linux
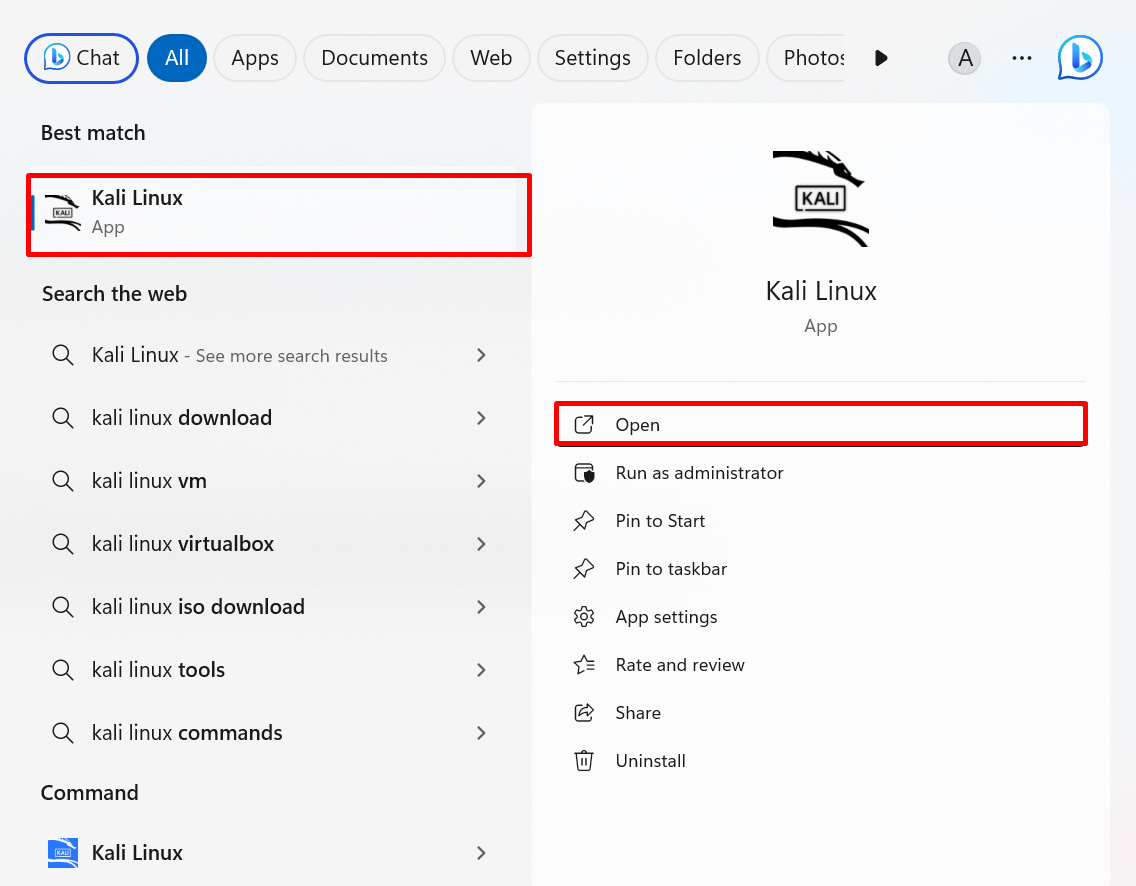
First, launch the Kali Linux distribution on Windows by searching it in the Start menu:
Step 2: Install Kali’s Windows KeX
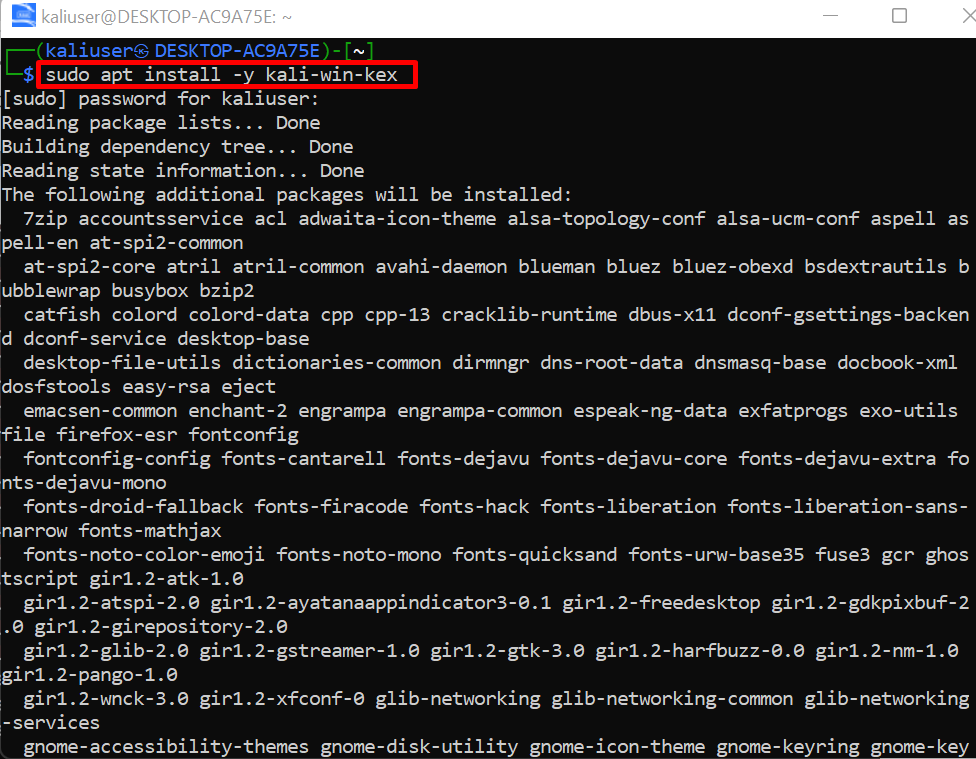
Next, install the “kali-win-kex” tool from Kali’s APT repository using the below command. This tool will be used to run the Kali KeX server on Windows:
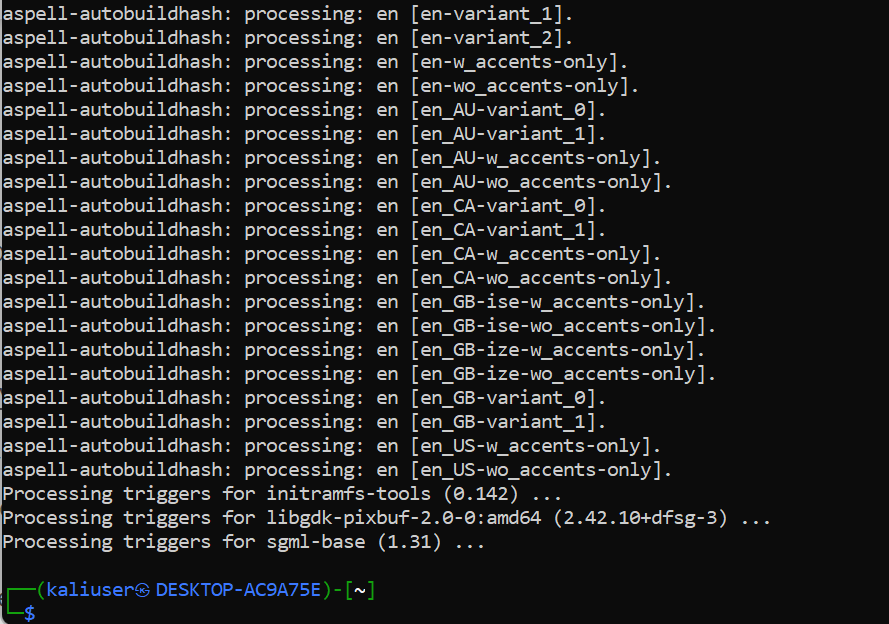
The output shows that we have installed the Kali windows KeX package on the system:
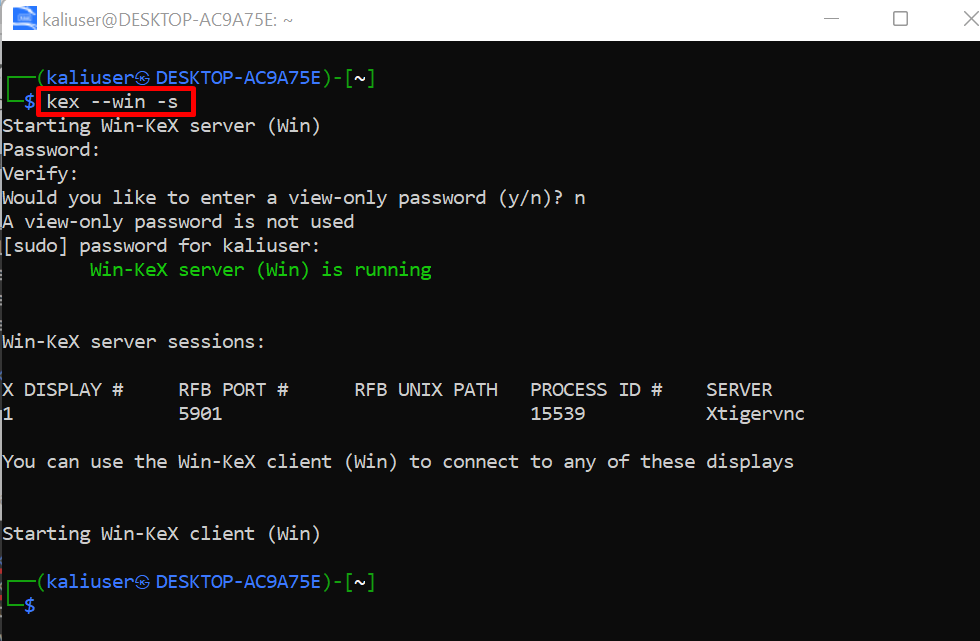
Step 3: Connect to Kali’s Desktop
Now, run and connect Kali’s KeX server on Windows by executing the below command in Kali’s terminal:
The below result shows that the “Win-KeX server is running” at port “5901”:
This command will automatically open the Kali Linux Desktop in full mode on the screen. Here, you can see we have effectively accessed the Kali remote Desktop on Windows:

We have covered the method to completely set up Kali Linux on WSL.
Conclusion
To set up Kali Linux on the system through WSL, first, enable the Windows built-in WSL and VirtualMachine Platform tools. After that, update the WSL1 to WSL2. Then, install the Kali Linux using the “wsl –install –distribution kali-linux” command. This will install and open the Kali Linux terminal. In order to access the Kali remote desktop, the user needs to install Windows KeX and start the KeX server. This will open the Kali Desktop on the system screen. This post has covered the methods to set up and use Kali on WSL.