Docker is a software platform that is specially designed to build, deploy, and execute different application/software using containers. It has multiple components, such as Docker image, Docker file, Docker container, Docker registry(repositories), Docker Hub, and many more. Developers can create containers, Dockerfiles, Docker images and also set the name of the image while building it inside the Docker.
This guide will illustrate:
What is Docker Image?
In Docker, an image is an executable instruction that is needed to execute an application. In simple words, it determines how a container should be built and which component of the application will execute as well as how. A Docker container is a virtual environment that has all the multiple necessary dependencies which are used to run the application code.
What is the Usage of Images in Docker?
There are multiple uses of the docker image, which are listed below:
-
- Docker image is utilized to run the containers quickly and efficiently.
- Docker images are forum independent.
- Docker image contains all types of configuration settings, libraries, environmental variables, codes, and runtime.
How to Specify the Image Name in DockerFile?
To set the image name in DockerFile, users need to first make a file for any type of application on their system. Then, use it for building Docker images by providing your desired image name. For that purpose, check out the following instructions.
Step 1: Make Program File
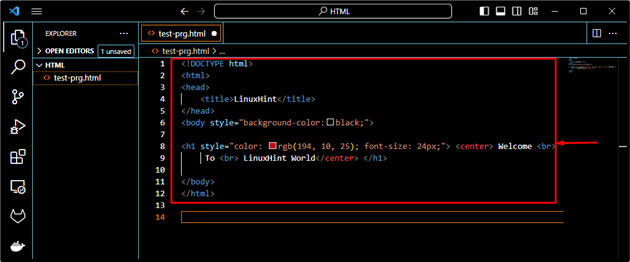
Initially, make a program file, and then add the following code. In our case, we have created a “test-prg.html” file:
<html>
<head>
<title>LinuxHint</title>
</head>
<body style="background-color:black;">
<h1 style="color: rgb(194, 10, 25); font-size: 24px;"> <center> Welcome <br> To <br> LinuxHint World</center> </h1>
</body>
</html>
As you can see, the file has been created and we opened it with the Visual Studio Code source code editor:
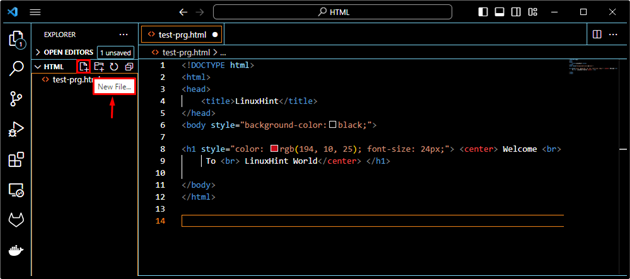
Step 2: Generate Dockerfile
Now, click on the below highlighted file icon to create a new file named Dockerfile:
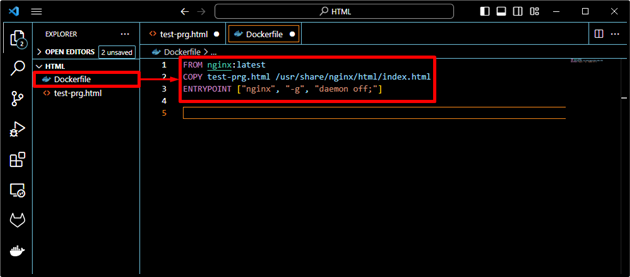
Step 3: Edit Dockerfile
After doing so, add the below-stated code in the Dockerfile and press CTRL + S to save changes:
COPY test-prg.html /usr/share/nginx/html/newprg.html
ENTRYPOINT ["nginx", "-g", "daemon off;"]
Here:
-
- FROM command is utilized for initializing a new build stage and specifying a Base image for the container.
- COPY command permits developers to copy a file or directory from the host system into the Docker image. In our case, the test-prg.html file into the provided container path.
- ENTRYPOINT instruction is utilized for configuring the execution point for the container that will always run after its initialization:
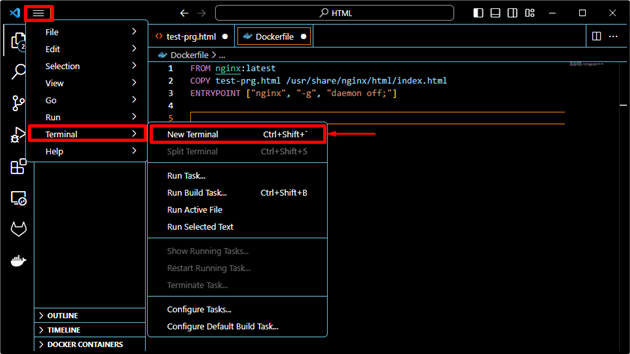
Step 4: Open New Terminal
To generate a Docker image, you need to run the required command on the terminal. For that purpose, open the terminal. As you can see in the below screenshot:
Step 5: Build and Set Image Name
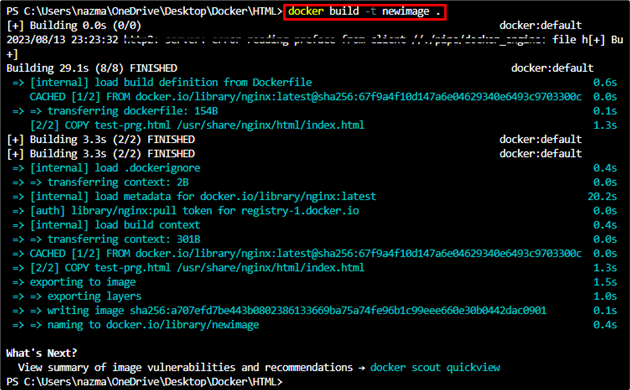
Now, execute the below-stated command on your terminal to automate the procedure of generating a new Docker image and setting its name:
According to the above-given command:
-
- docker build command is utilized for creating a new Docker image.
- -t tag is used to set the desired image name.
- newimage is our new Docker image name.
- . used for loading the newly created image:
Step 6: List Docker Images
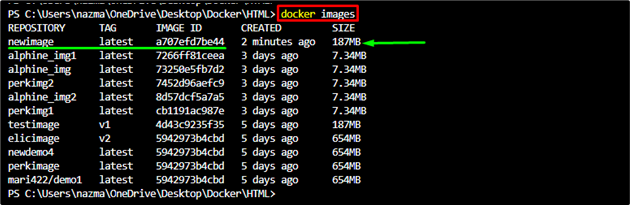
Now, run the docker images command to check the existing Docker images:
It can be seen that our newly created image exists in the list which indicates that it has been built successfully:
OR
To list Docker images, you can also execute the following command:
That’s it! We have compiled the easiest steps for setting the Docker image name while building it.
Conclusion
Docker image is an executable package of software that determines how a container should be built and which component of the application will run as well as how. To create and set the Docker image name, first, make a program file. Then, open your desired source code editor, create a Dockerfile, provide the required set of commands, and launch the terminal. Next, execute the docker build -t <image-name> command to build and set the name of the docker image. We have demonstrated about generating and setting the name of the Docker image.