Let’s Encrypt helps in getting and installing free SSL certificates to automate the designed process on Apache and totally eliminate the manual installation, validation, creation, and renewal using the software client and Certbot.
Let’s Encrypt issues the certificate when an issue occurs, and the certificate stays valid for 90 days, and that certificate is trusted by almost all the major browsers nowadays. So, in this post, we will help you and guide you on how to install. Let’s Encrypt and secure Apache using it on Ubuntu 20.04 LTS Operating System.
Installation of Let’s Encrypt
For getting started with the installation of Let’s Encrypt, there are some prerequisites that you should must-have. For example,
- You should have apache installed.
- You should have a domain name(e.g., http://example.com) for which you want to get the certificate.
If you have fulfilled the requirements for getting started with the installation of Let’s Encrypt, follow the simple step-by-step guide.
Step 1: Install the Certbot
First, we will install the Certbot, a command-line utility and used to get the certificate. It helps to get and renew the SSL certificate when needed.
It is available in the official APT package repository of Ubuntu, and it can easily be downloaded and installed from there.
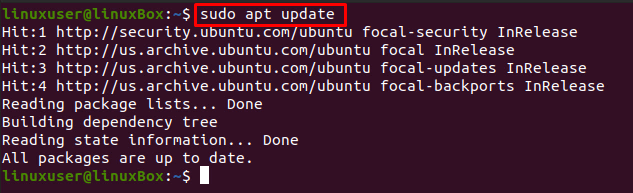
First, update the Ubuntu system’s cache repository by typing the command provided below:
Start the installation process of Certbot and python3-certbot-apache, using the command given below:

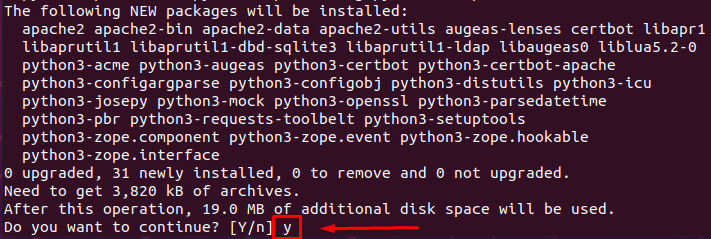
To confirm and begin the installation, type ‘y’ and press the ‘Enter’ key.

The Certbot is successfully and can be verified by typing the command given below:

You can witness that version 0.40.0 of Certbot is installed.
Step 2: Enable and Configure the firewall
To enable the firewall to allow HTTPS traffic for the configuration of the SSL certificate, we will use Ubuntu’s by default and pre-installed UFW to modify the firewall rules.
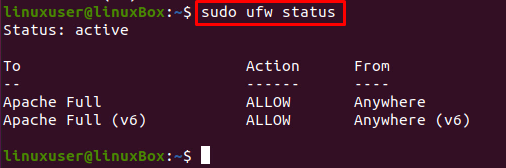
To know about the UFW rules currently running on the system, type the below-given command:

If the status is inactive, enable the ufw utility using the command:

Now again, check the status:

It will show all the rules running, if there are any.
Now, allow the Apache Full using the command provided below:

Check the status of UFW again to verify the configuration using the command mentioned below:
Alright! Now let’s get the SSL certificate using Certbot.
Step 3: Get the Let’s Encrypt SSL certificate
From a lot of options available for getting an SSL certificate, we will get the SSL certificate using the Certbot.
To get the SSL certificate using the Certbot, type the command given below:
The execution of the above command will prompt a couple of questions, so read them carefully and answer accordingly as per your requirements and needs.
First, provide the email address:

Next, Agree to the Terms of Service by typing A and pressing Enter:

Later, it will ask for sharing your email address with the EFF(Electronic Frontier Foundation), so type Y if you want to share or N if you do not want to share your email address:
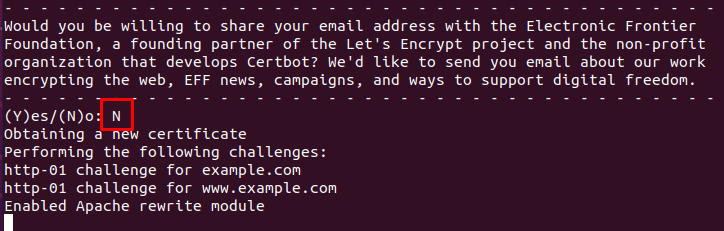
After answering all the questions, the installation will start, and you will have the new SSL certificate.
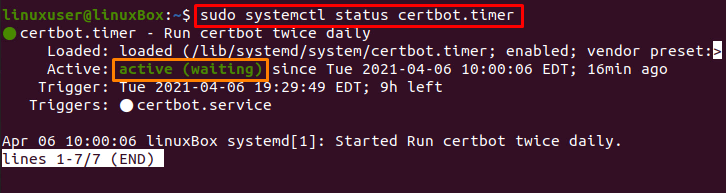
Step 4: Verify the Certbot service status
Afterward, to verify the Certbot auto-renewal, just check the status of the service using the command:
Step 5: Perform a dry run
If it is active, you can test the renewal process by doing a dry run using the certbot, using the command provided below:

If the above command did not throw any error, then you are all set.
Conclusion
This is how you can secure Apache with Let’s Encrypt on Ubuntu 20.04. This post provides a step-by-step guide on securing the Apache server with Let’s Encrypt using the Certbot, and you have learned how to get and renew the SSL certificate using the Certbot.